

Find a Game to Play Tonight!

Share Some laughs around the table!

Start a Great Conversation!
Helping Parents build connections one day at a time through laughter, fun, and shared experiences with their kids!
Looking for more?
Shop the Store!
Visit our digital printable store for games, fun printables, crafts, and more!
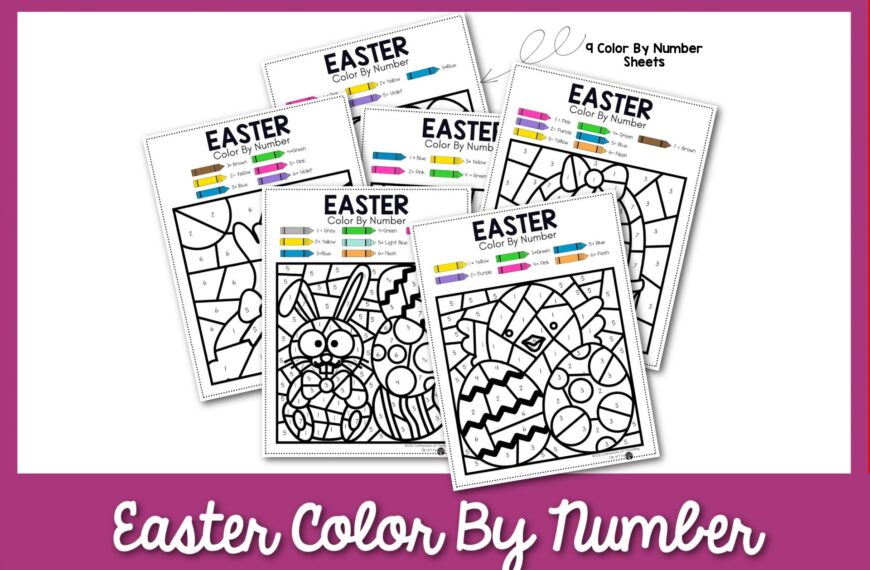
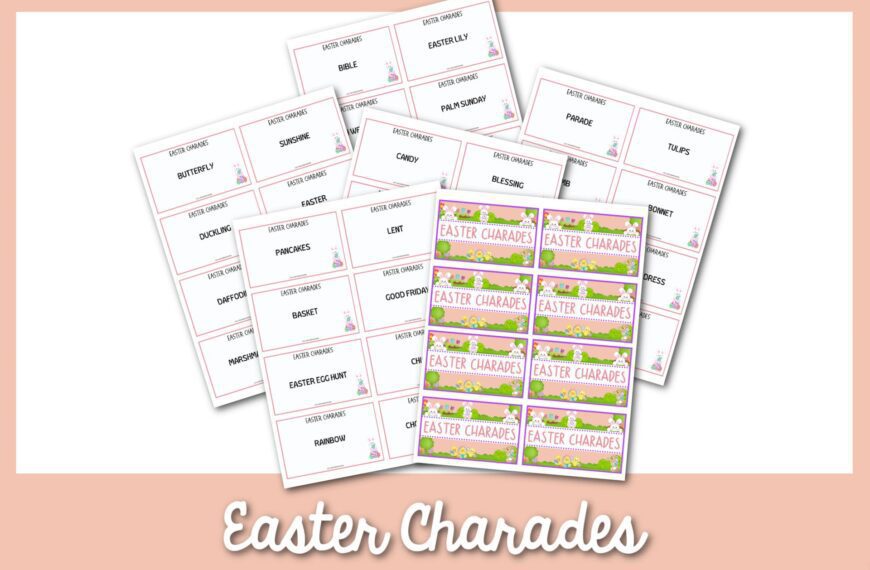
EASTER IDEAS


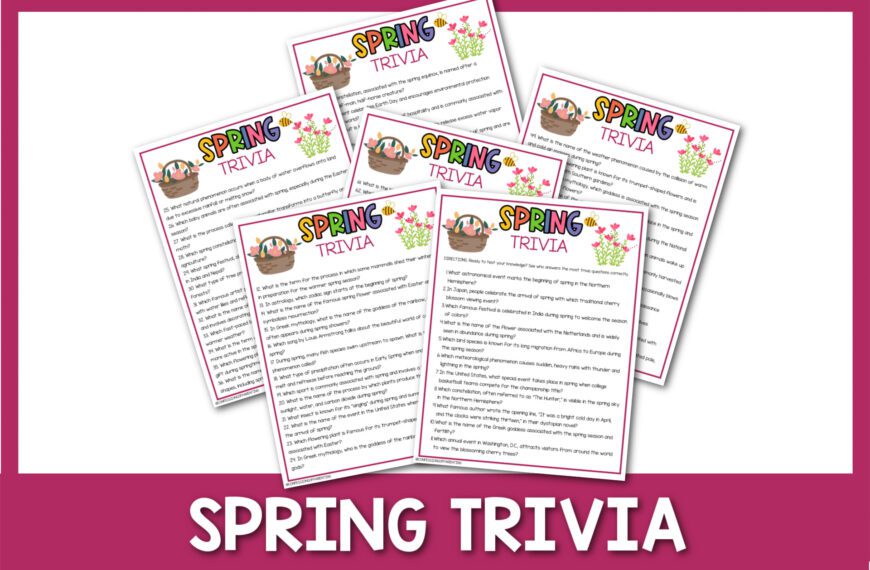
SPRING IDEAS


Are you trying to find simple, affordable ways to connect with your kids?
Let’s connect!
Ideas by Theme


Welcome Friends!
MY NAME IS MICHELE! I AM SO GLAD YOU ARE HERE!
I AM A WIFE AND A MOM OF FIVE KIDS BASED IN DALLAS, TEXAS. THROUGH MY YEARS OF BEING A MOM, MY TRAINING TO BE A FAMILY LIFE EDUCATOR, AND MY DEGREE IN MARRIAGE AND FAMILY STUDIES, I KNOW FIRSTHAND HOW DIFFICULT IT IS TO RAISE A FAMILY THESE DAYS, AND I AM HERE TO HELP YOU EVERY STEP OF THE WAY!
I WILL NOT ONLY SHARE REAL-WORLD EXPERIENCE WITH YOU BUT ALSO EVERYTHING I HAVE LEARNED IN AND OUT OF THE CLASSROOM.
I AM PASSIONATE ABOUT TEACHING FAMILIES TO BE SUCCESSFUL AND CREATE LONG-LASTING MEMORIES WITH ONE ANOTHER.
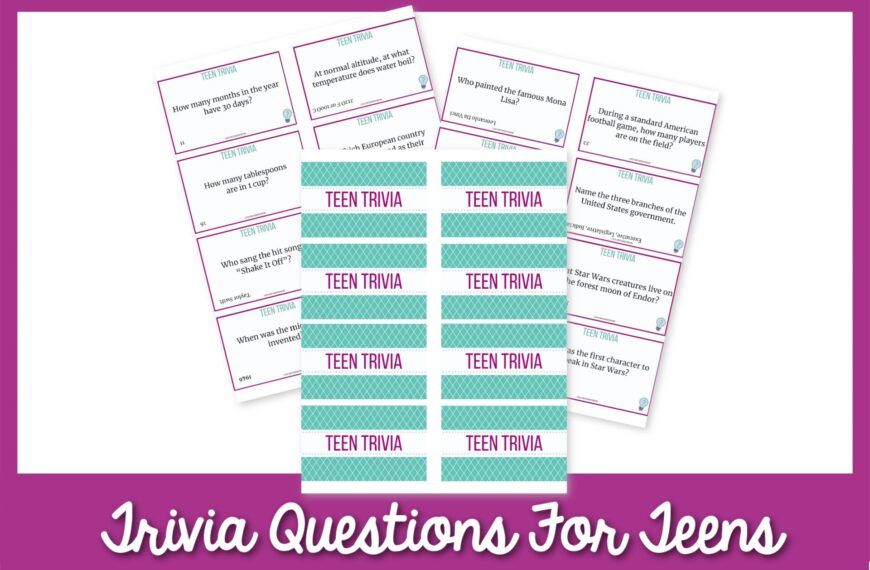
Just For Teens

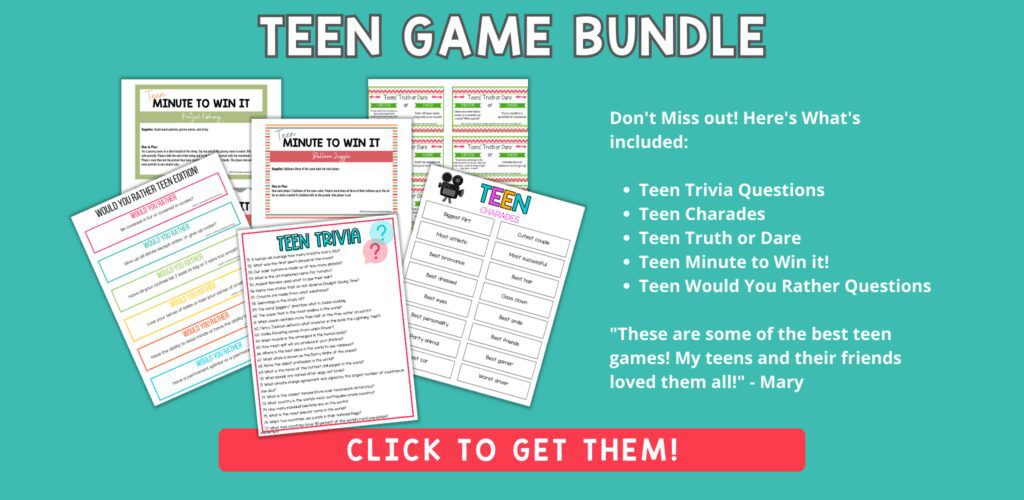
Fun GAMES
![The Best 80’s Trivia Questions [Includes Music & Movies]](https://confessionsofparenting.com/wp-content/uploads/2024/02/80s-trivia-questions-870x570.jpg)
![The Best 90s Trivia Questions [Includes Music and Movies]](https://confessionsofparenting.com/wp-content/uploads/2024/02/90s-trivia-questions-870x570.jpg)

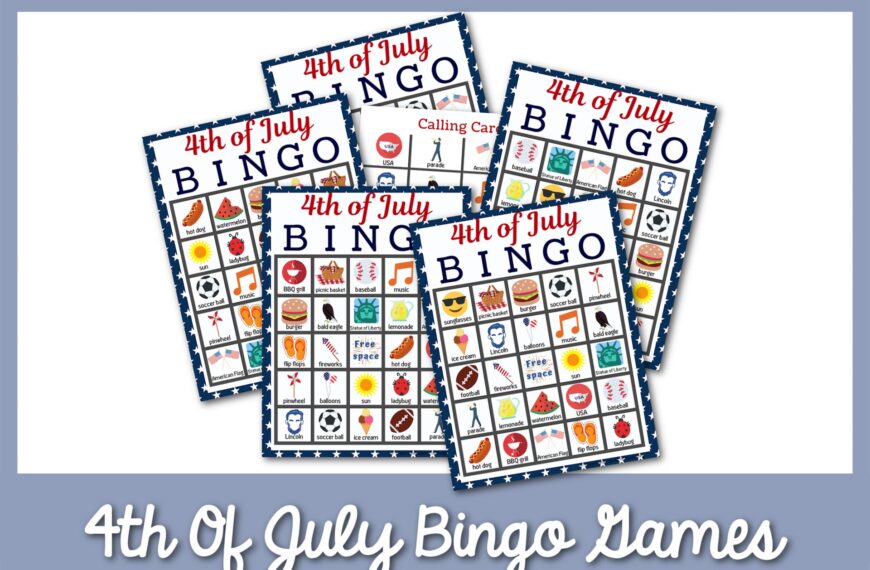
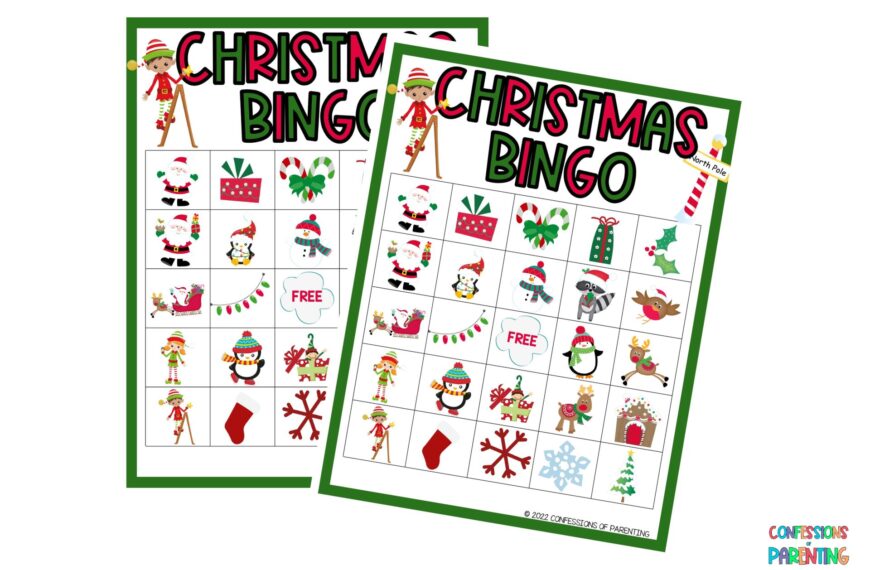
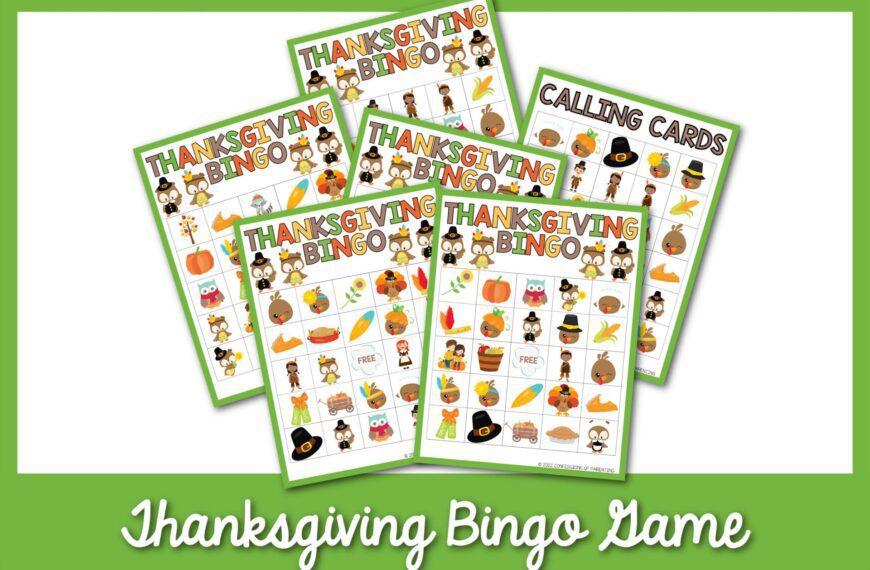
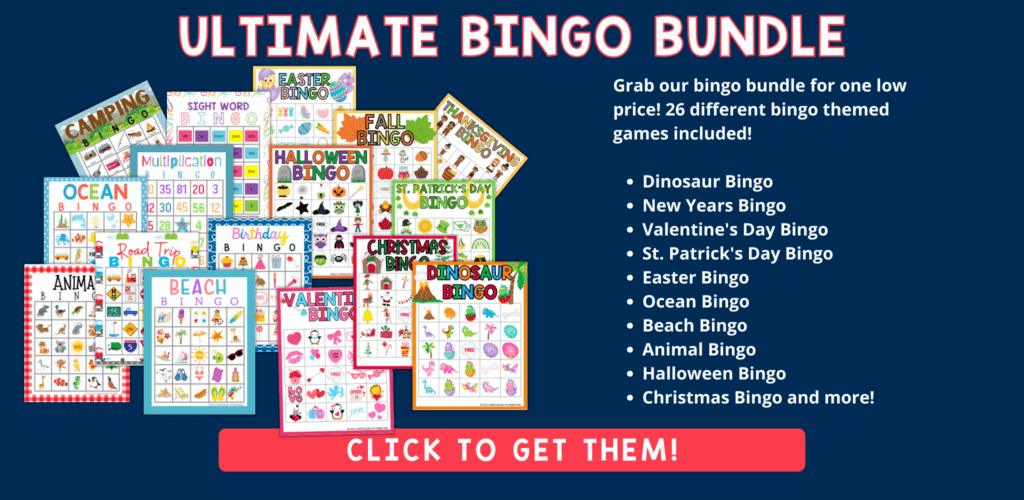
Bingo games
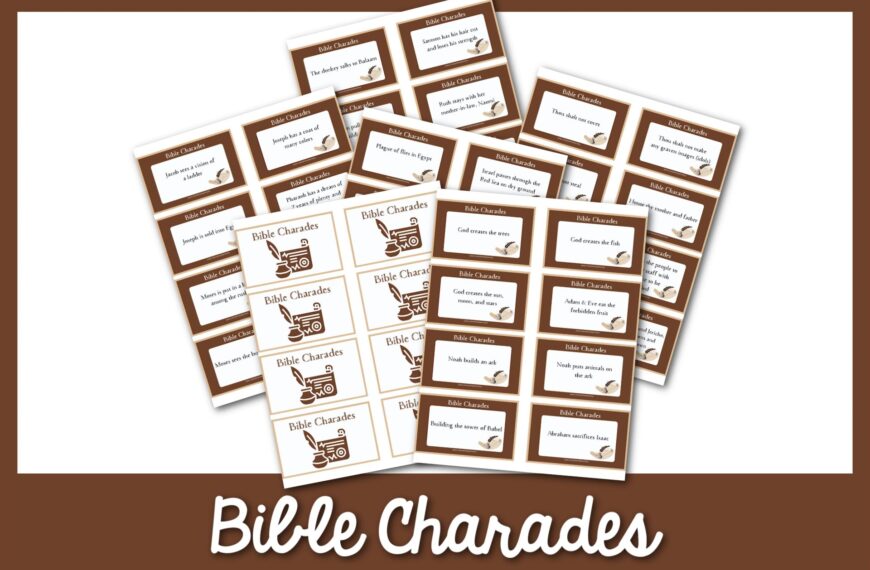
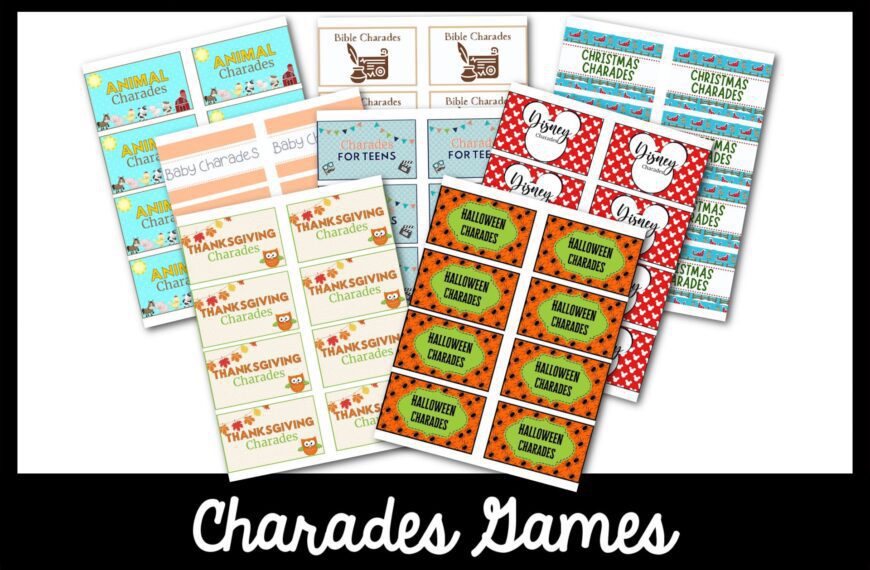
Charades ideas
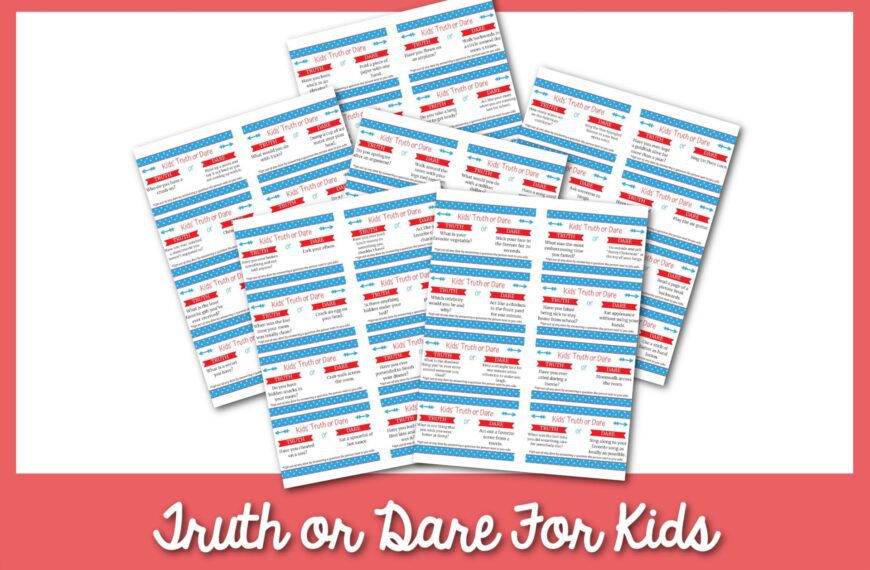
truth or dare fun


WOULD YOU RATHER…
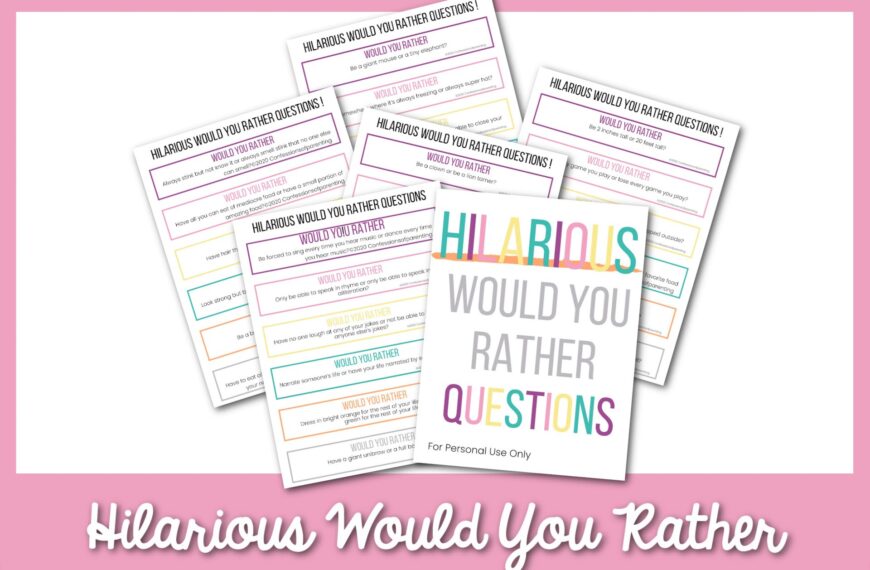
See All Would You Rather Questions
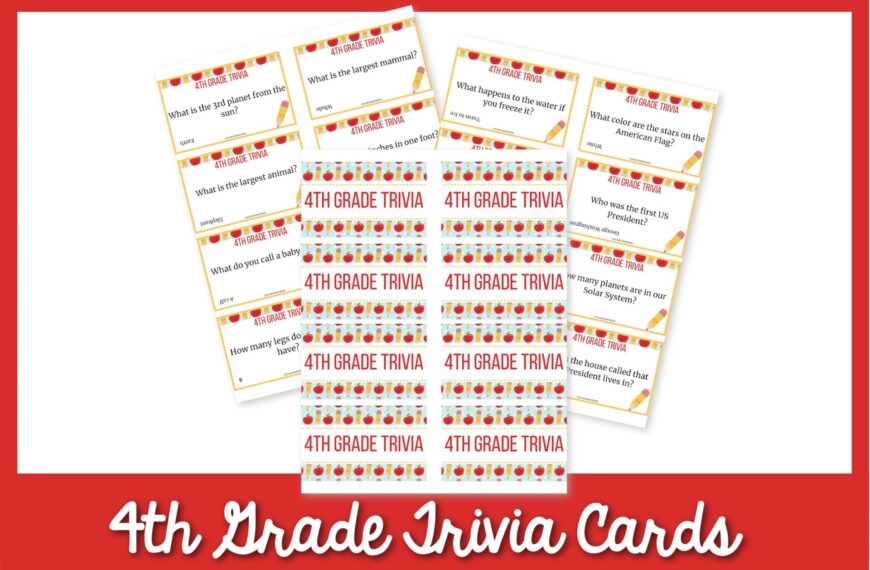
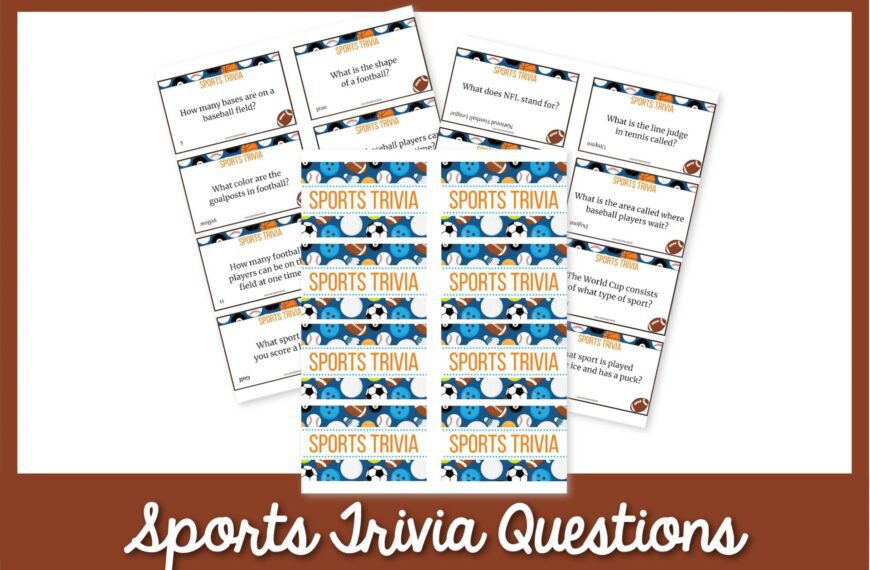
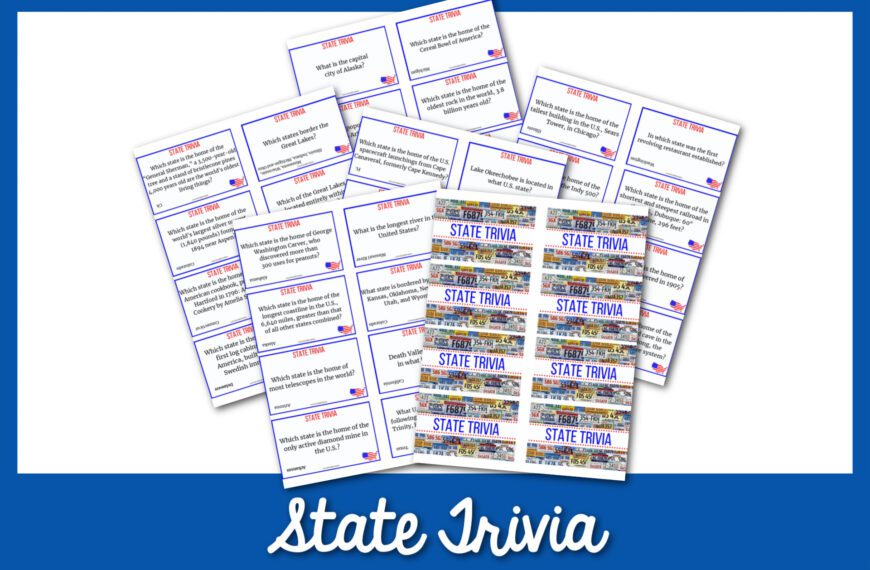
Trivia questions

Fun Learning activities
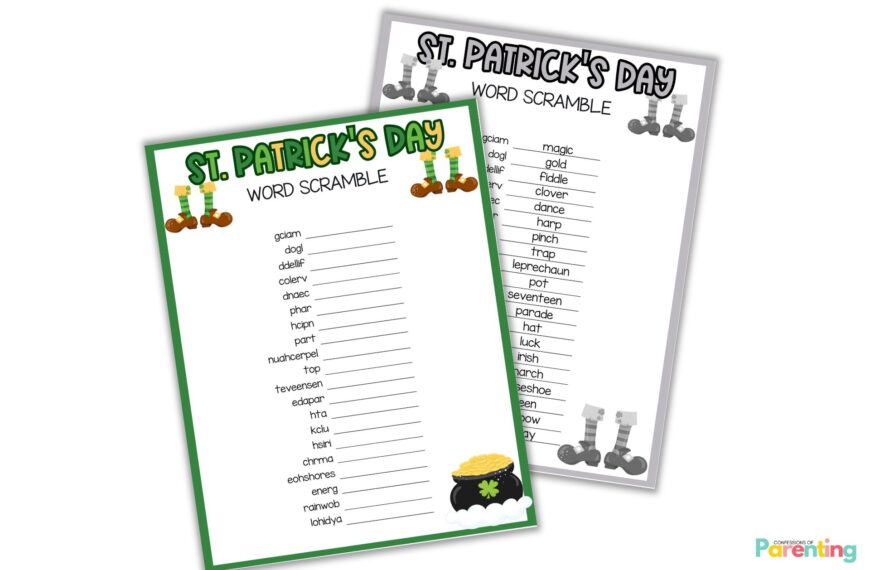
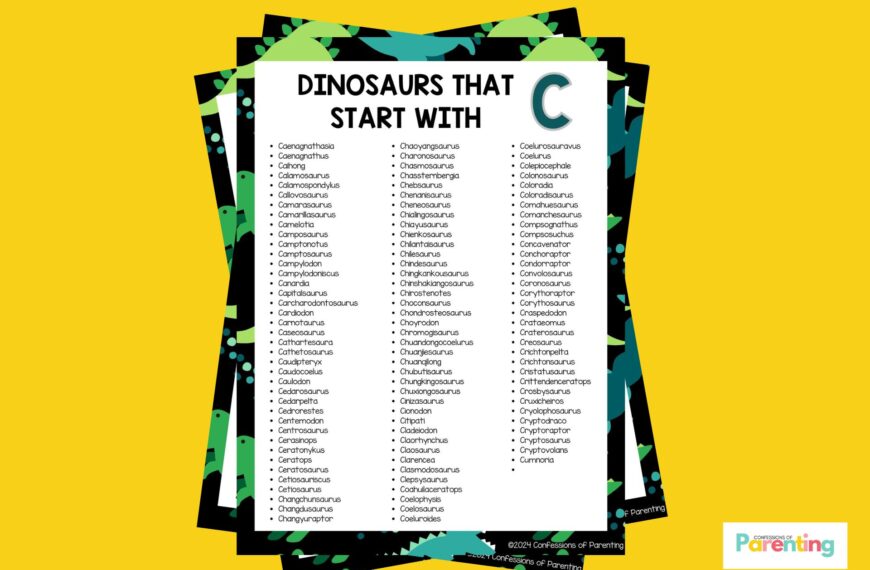
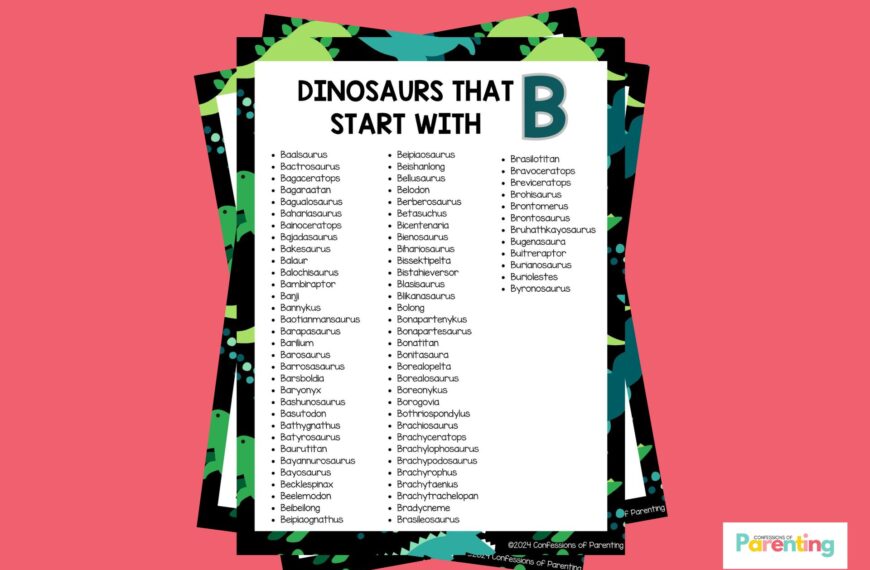

Find More Learning Activites
Funny jokes & puns


Laugh with More Jokes and Puns
Funny RIDDLEs


![50+ Fun Pregnancy Announcement Riddles [Free Riddle Cards]](https://confessionsofparenting.com/wp-content/uploads/2023/04/pregnancy-announcement-riddles-2-870x570.jpg)

Find More Riddles
Readers’ favorites


![129 Halloween Would You Rather Questions [Free Printable]](https://confessionsofparenting.com/wp-content/uploads/2021/11/halloween-would-you-rather-4-870x570.jpg)
latest Posts


More Posts You’ll Love
As Seen on