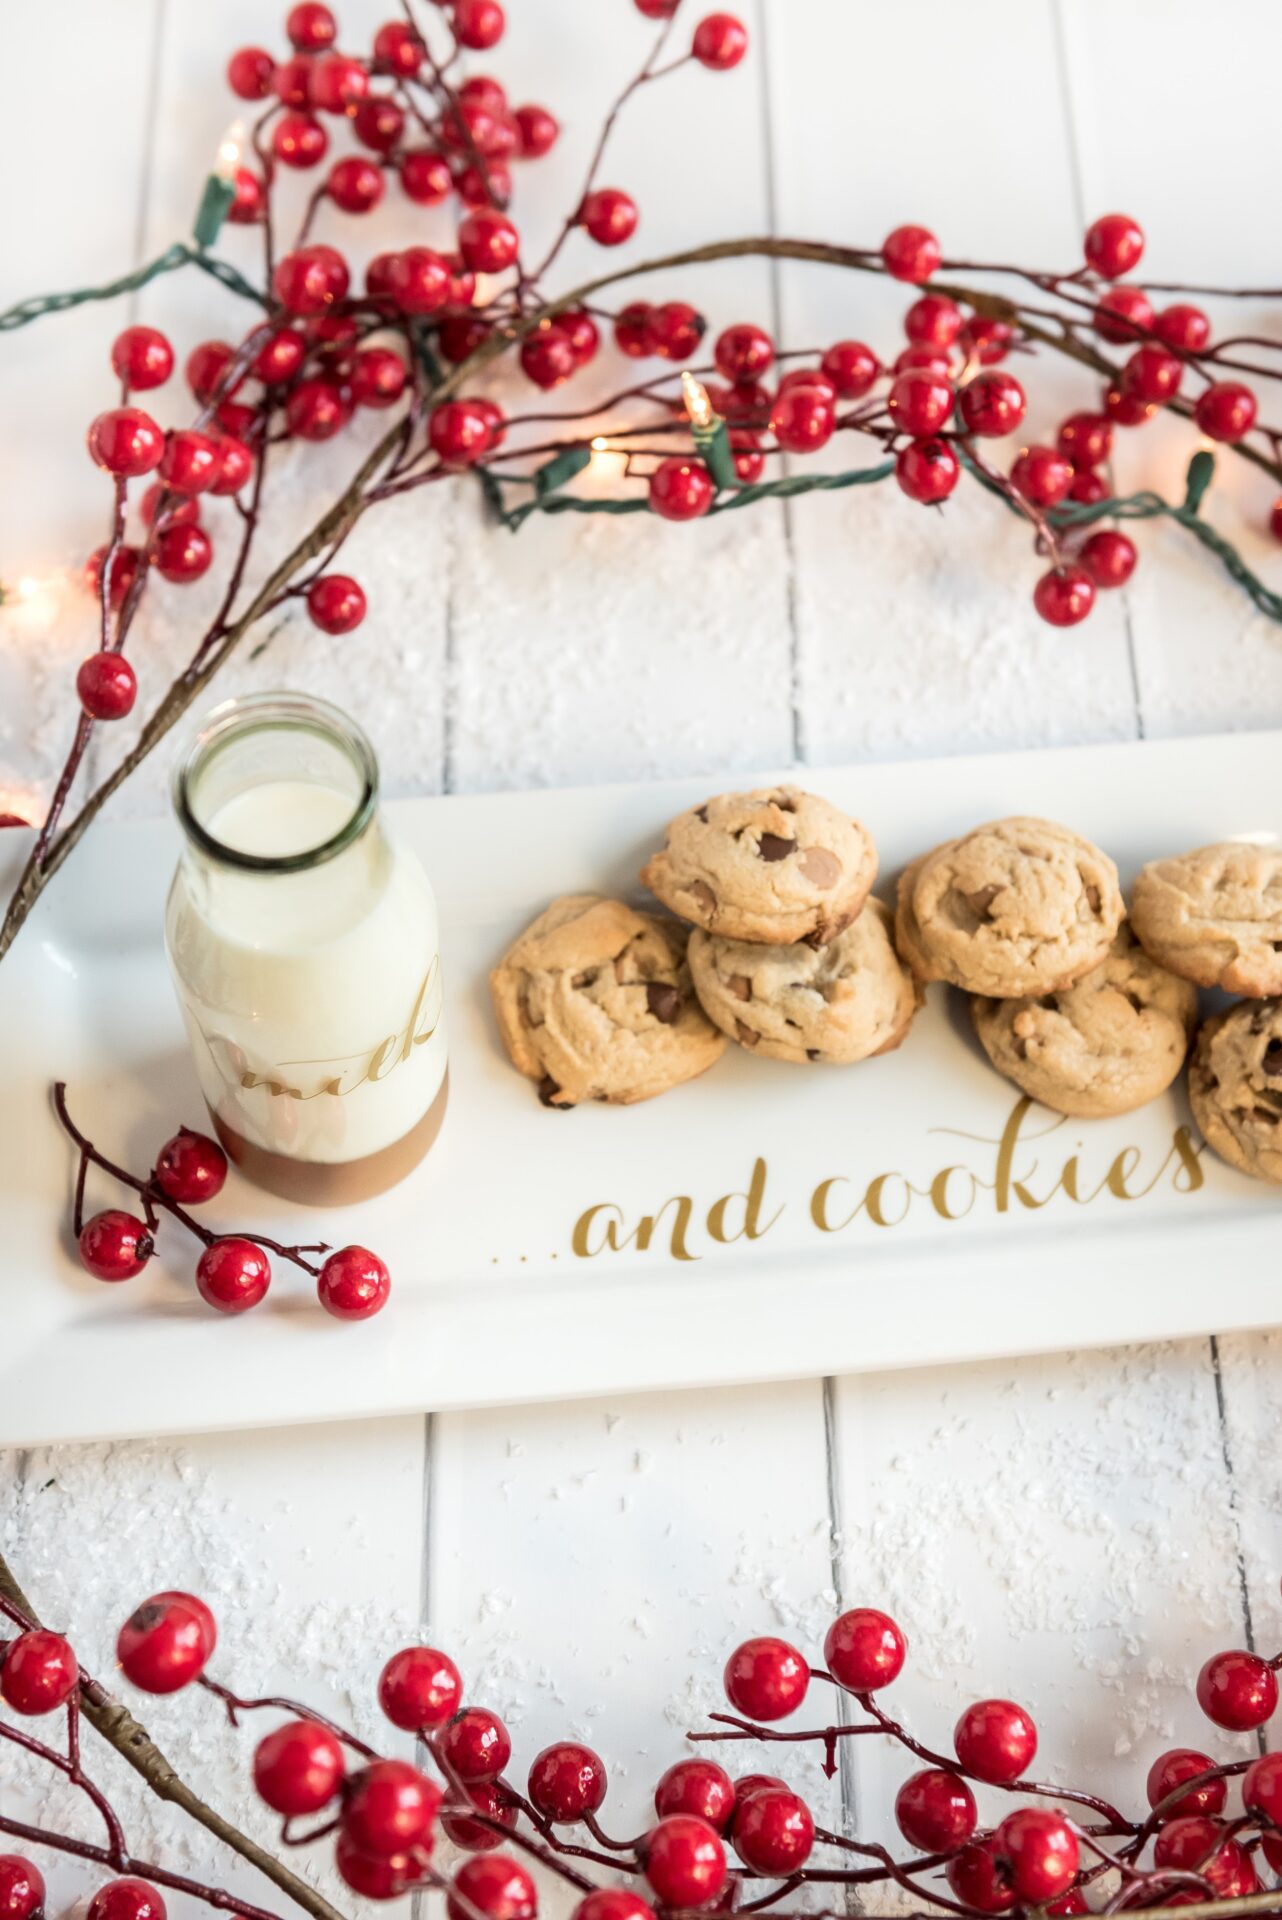
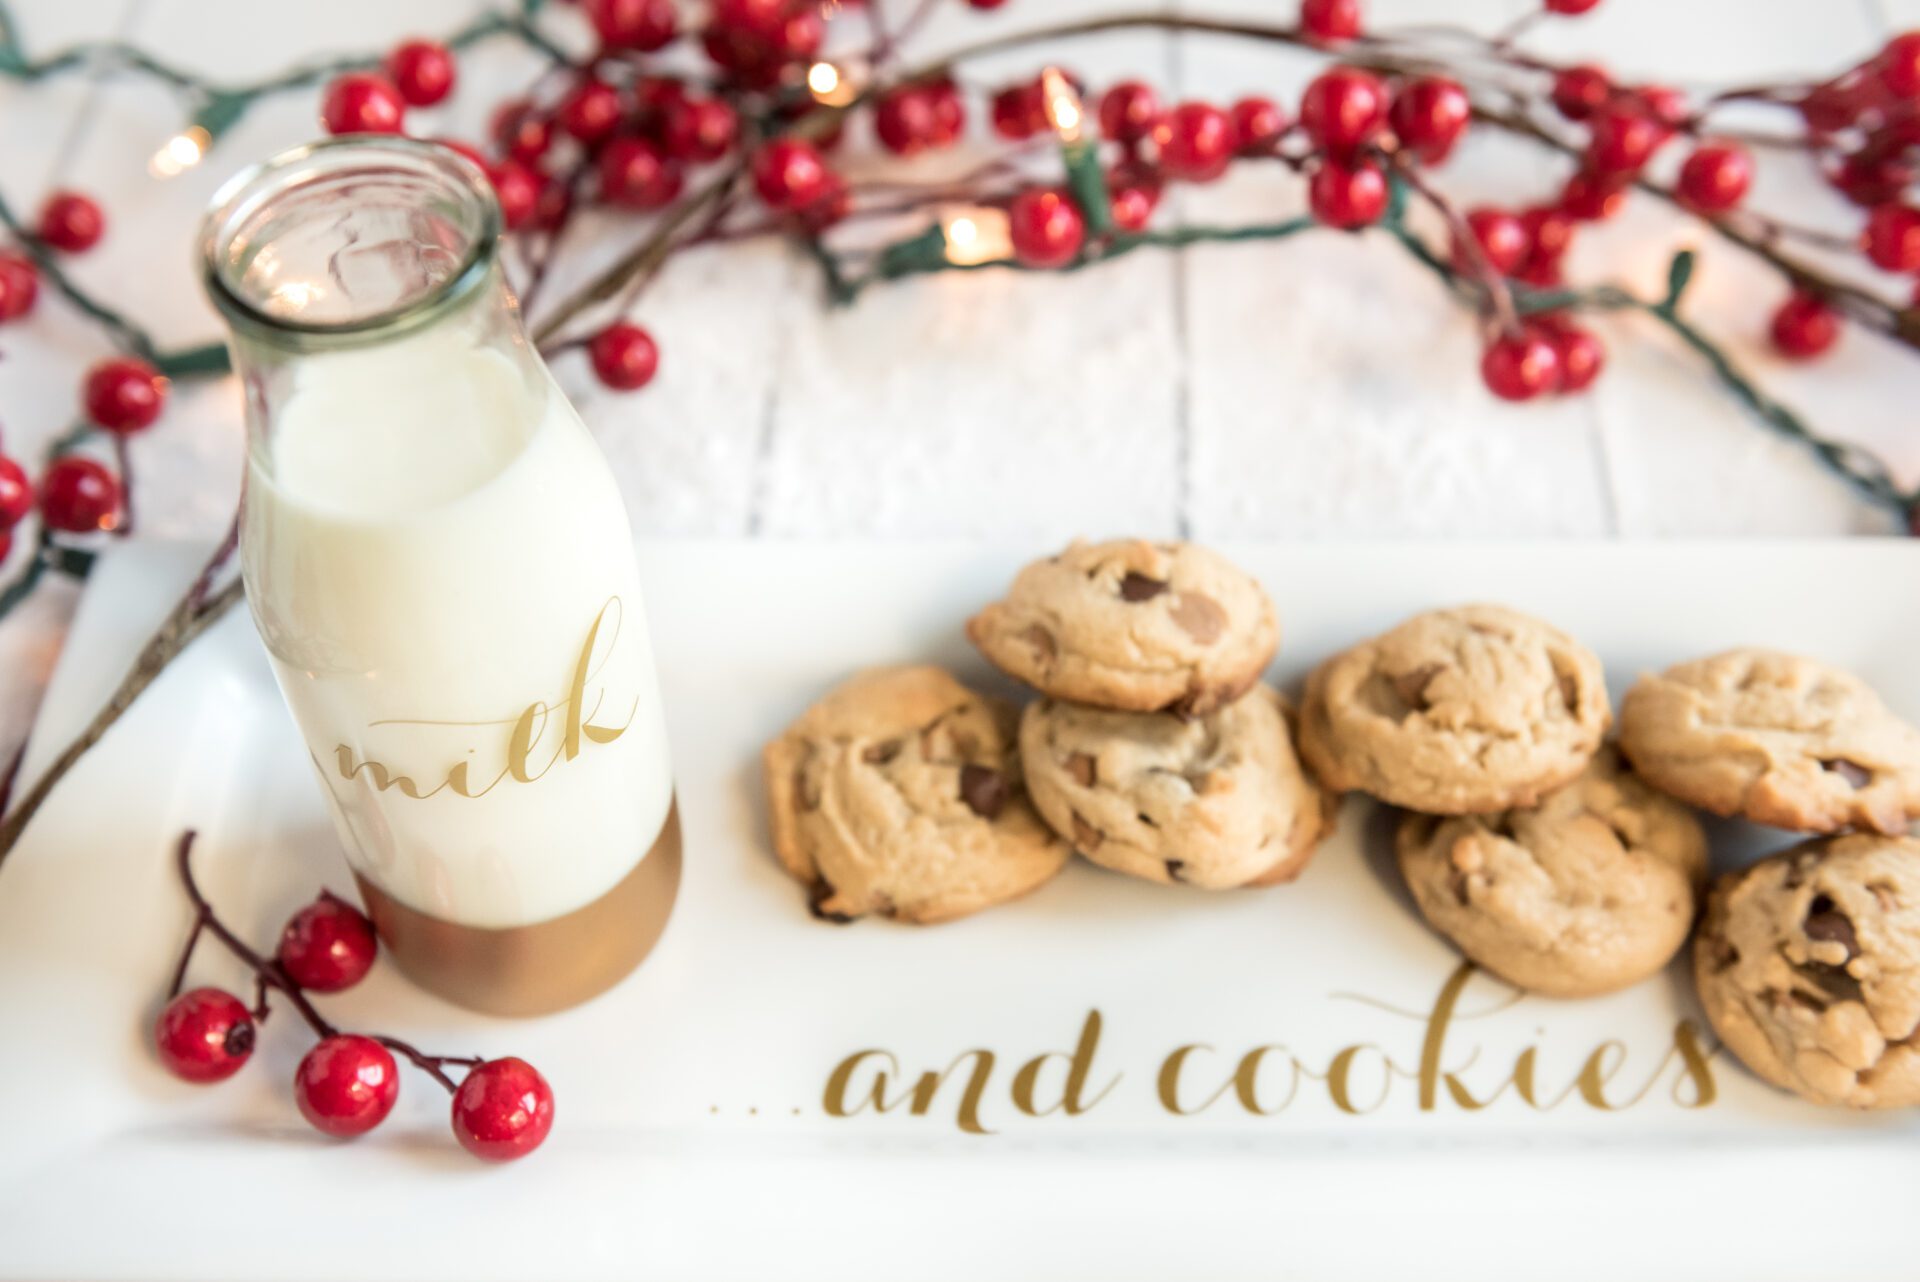
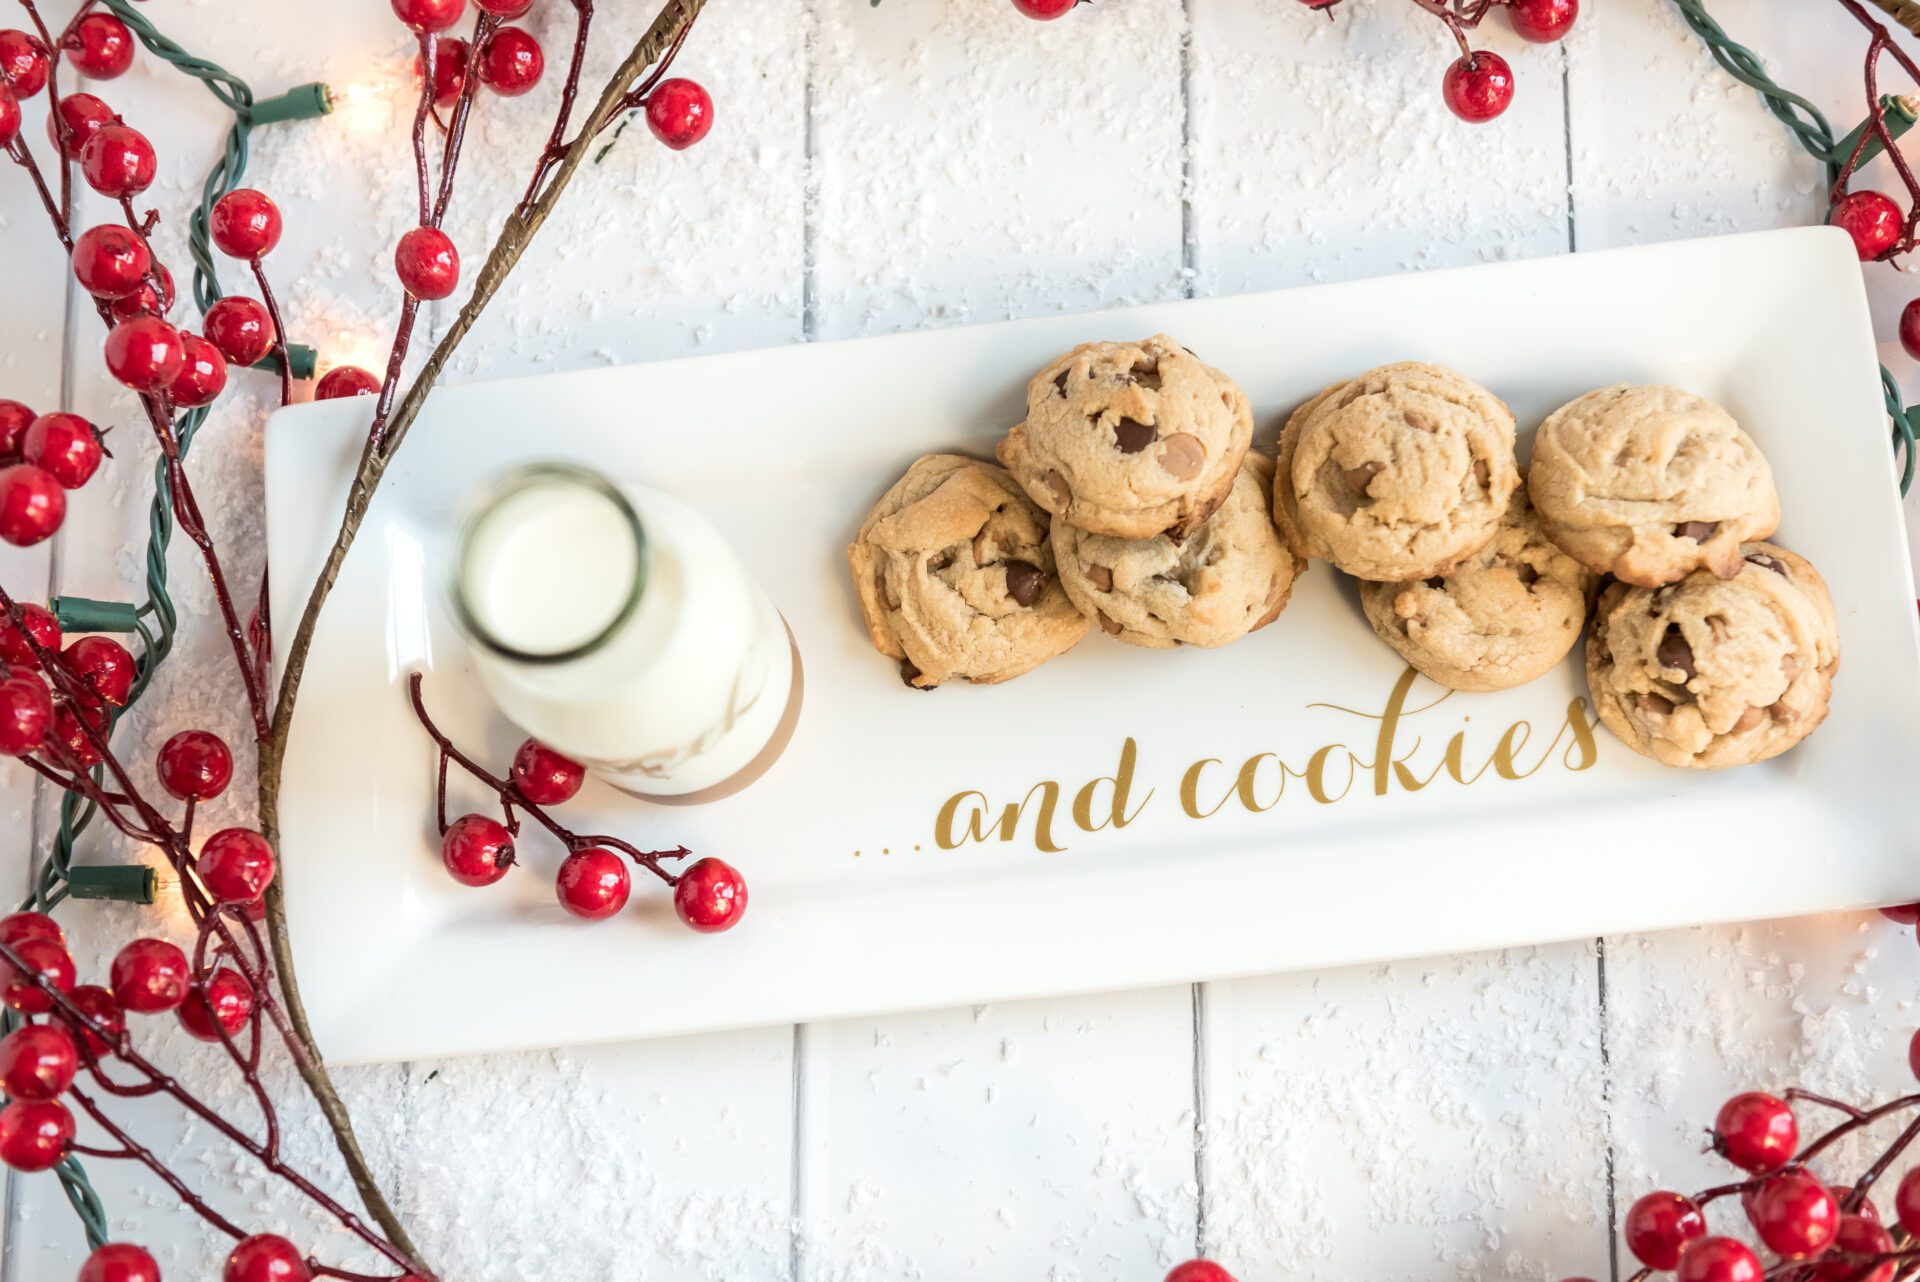
Are you looking for the perfect DIY Milk and Cookies for Santa Plate Set? Well, you definitely need to check out this Cricut craft project tutorial for this beautiful plate and milk bottle set!
Cookies and Milk for Santa Set DIY
I love Christmas time and all the fun traditions that go along with it. My kids’ most favorite tradition is leaving homemade eggnog and homemade eggnog cookies for Santa on Christmas Eve.
I have seen all kinds of fun milk and cookies sets everywhere, but I wanted to make my own with some special touches to make Santa feel very special this year, but I also didn’t want to spend a fortune!
So I went and pulled my Cricut Machine out and started trying to figure out a fun, classic design my family would love. I adore the gold with the white. Don’t you?
If I do say so myself, I believe this Cricut design is super cute and of course so easy to make, especially with the FREE SVG file (download below)!
I absolutely love how it turned out, so of course, I had to share it with you so you can make your own!
So, gather some girlfriends together, share some hilarious Santa Jokes or Santa Trivia while you’re crafting, and make this adorable Cricut Craft project, DIY Milk and Cookies Set for Santa!
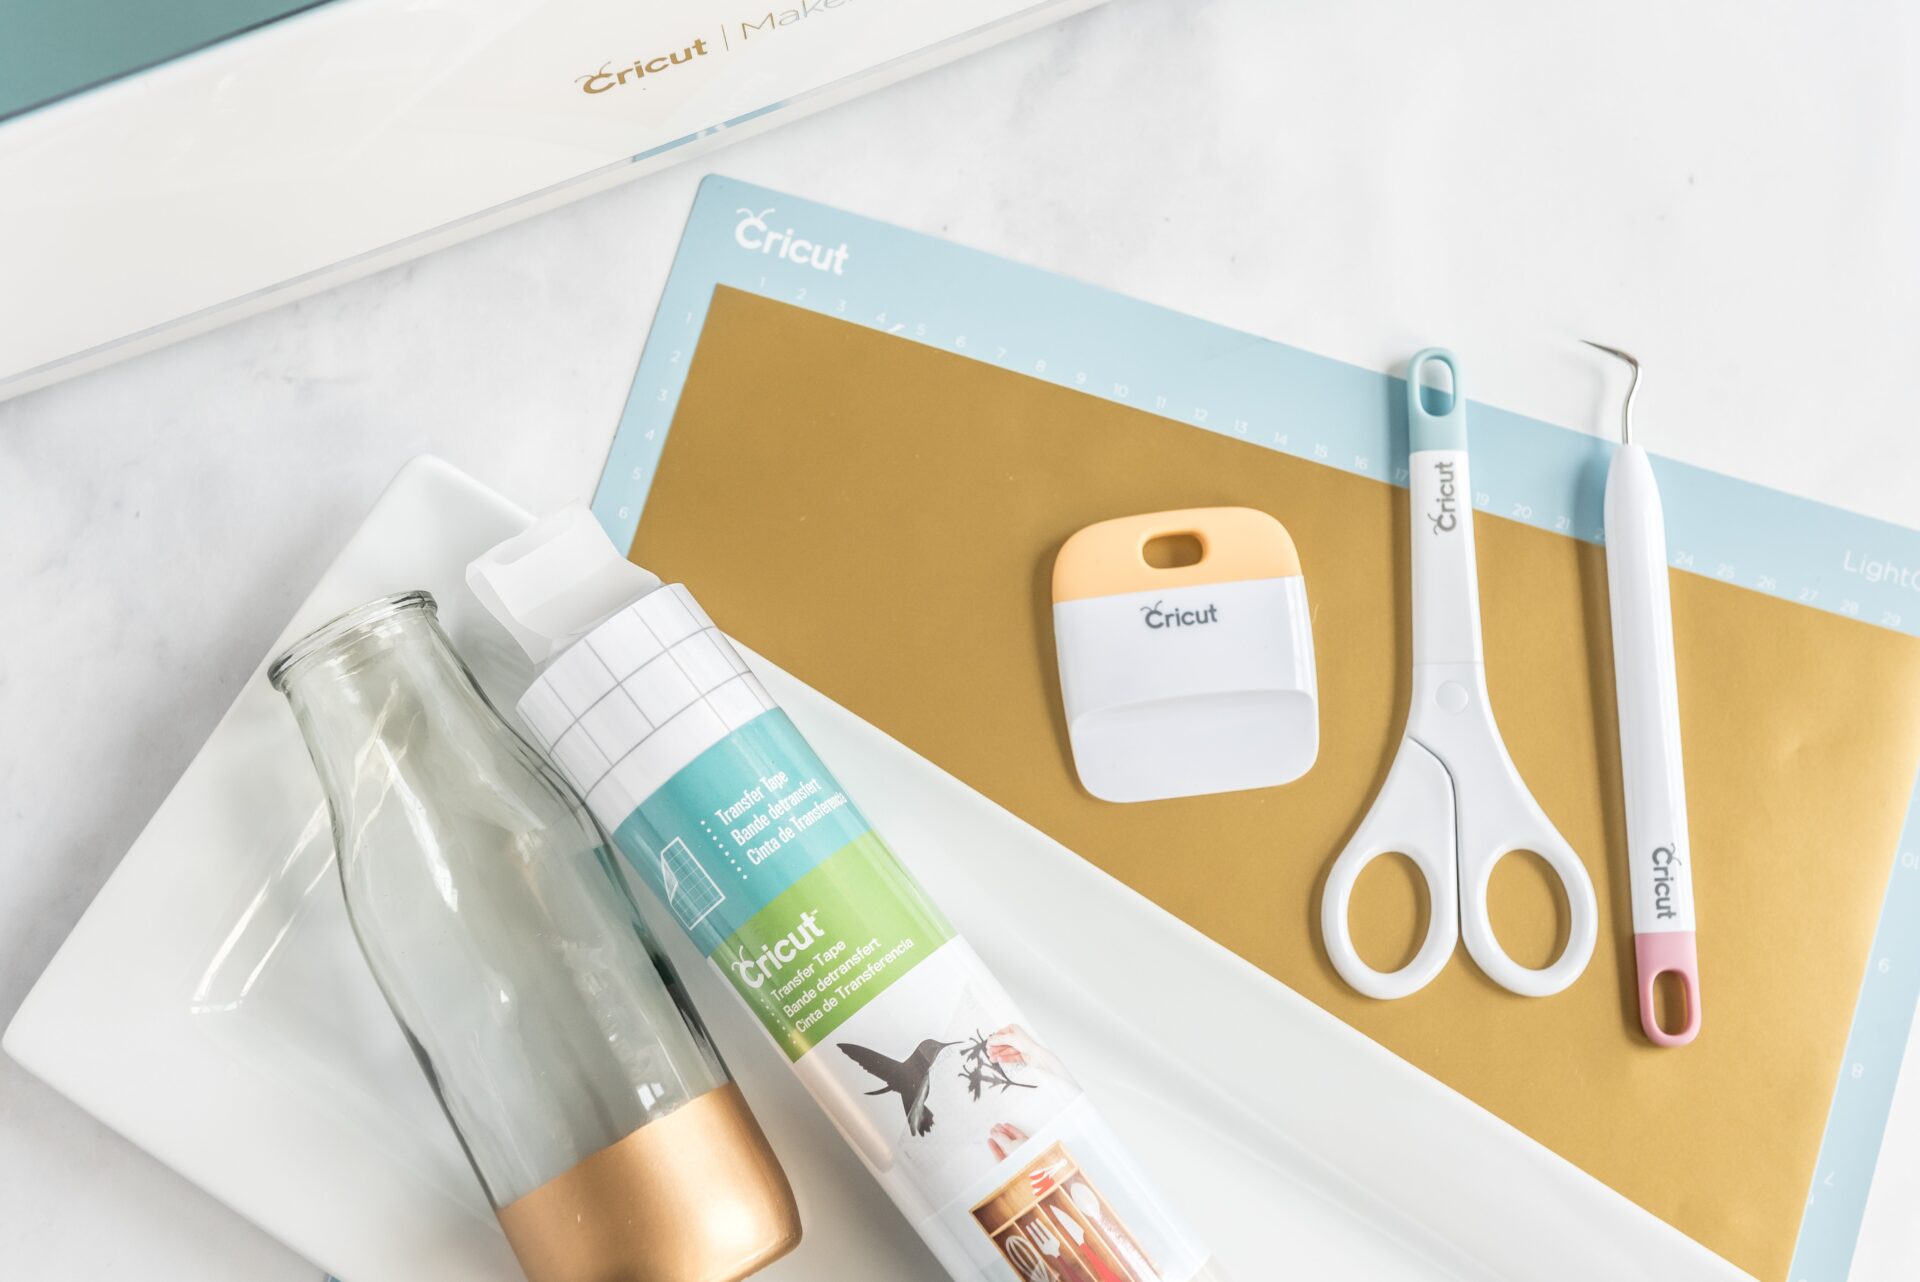
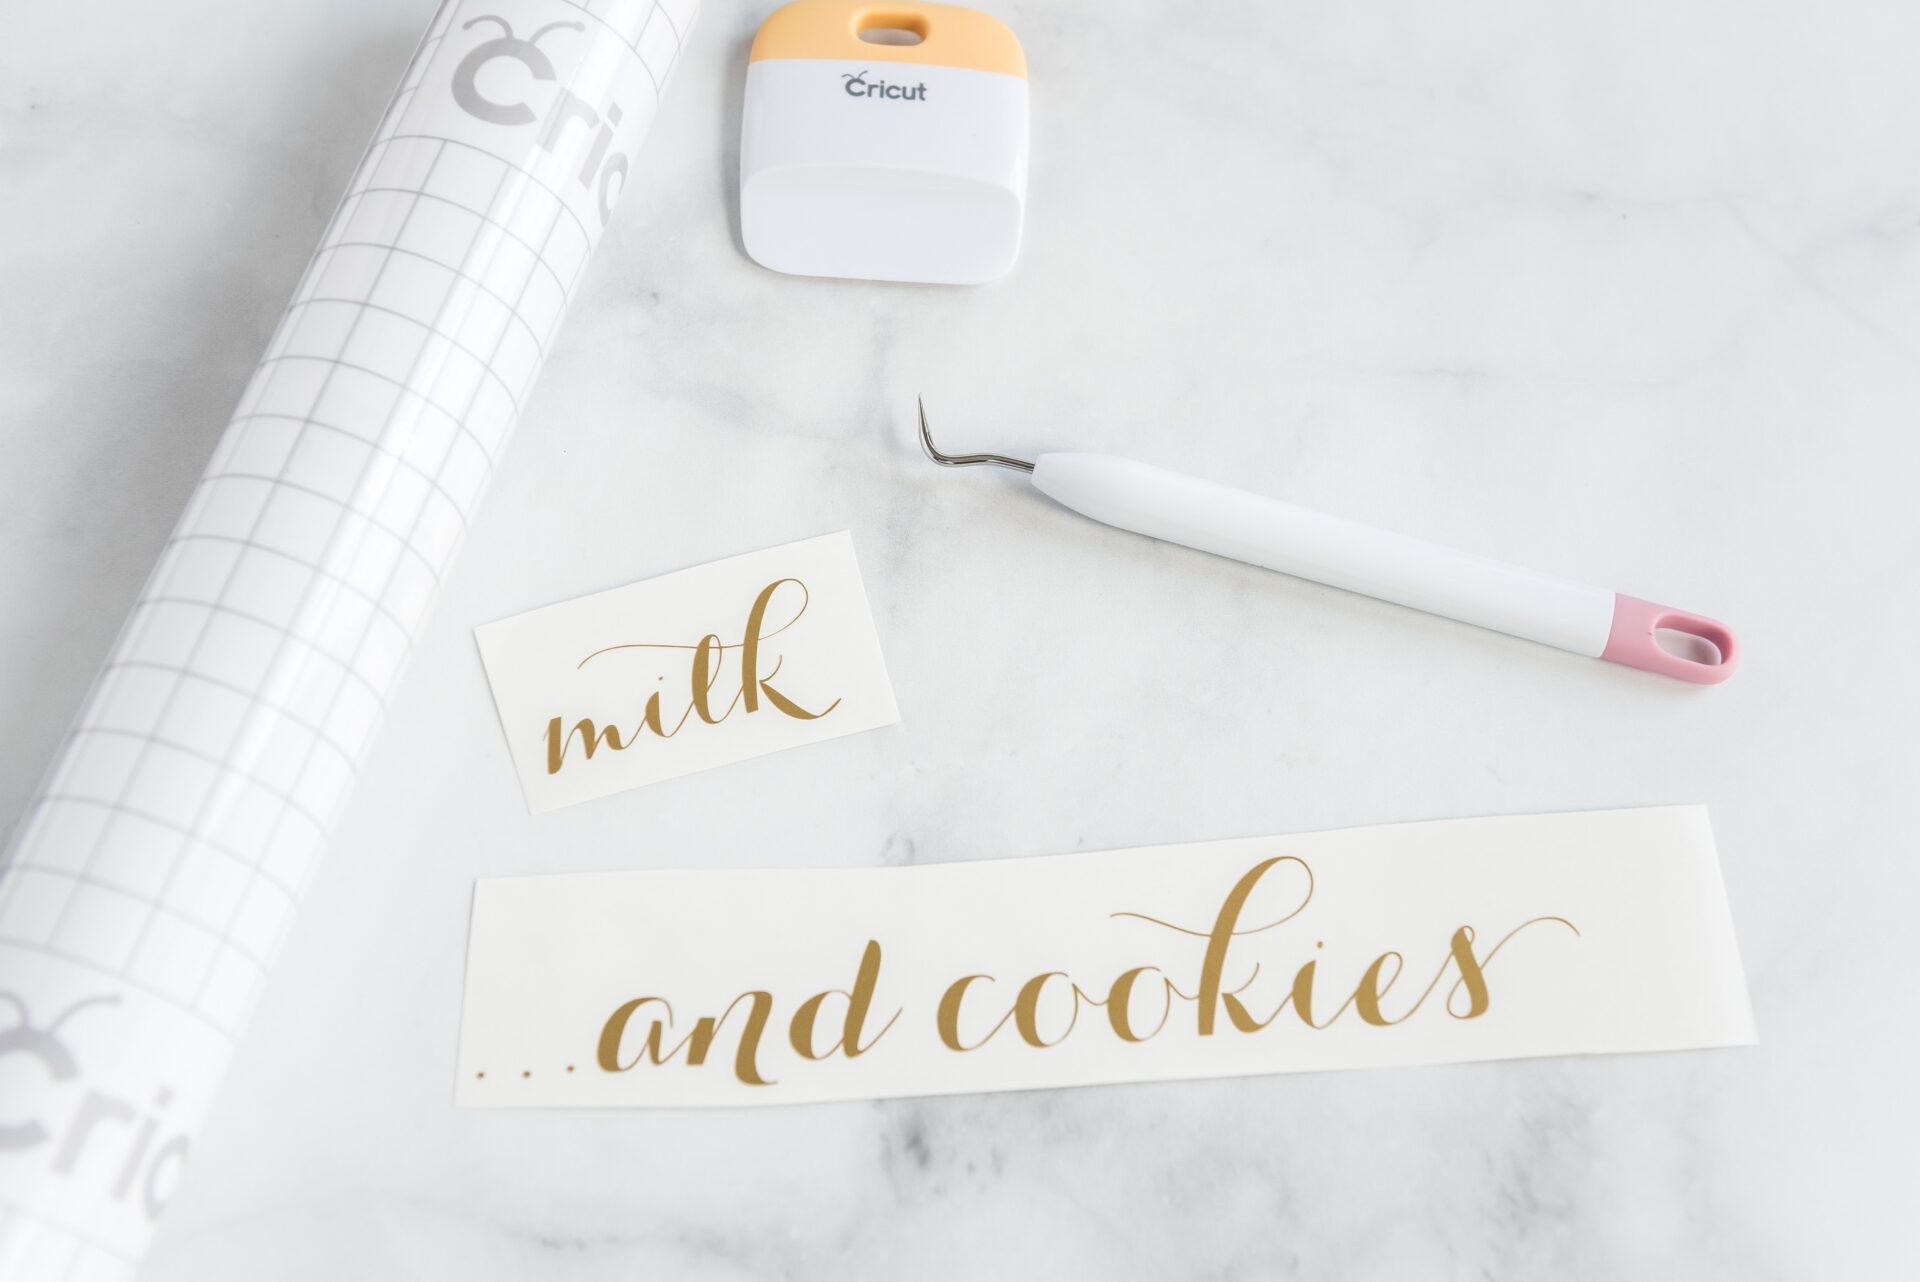
Supplies Needed for Milk and Cookies for Santa DIY Plate Set
~We are a participant in the Amazon Services LLC Associates Program. As an Amazon Associate, I earn from qualifying purchases.
- Cricut Maker Machine (Any Cricut Machine may be used for this project)
- Cricut LightGrip Cutting Mat
- Weeding Tools and Scissors
- Cricut Vinyl Transfer Tape
- Permanent Vinyl Sheet in the color Gold
- Glass Bottle
- White Porcelain Tray
How to Make Milk and Cookies for Santa DIY Plate Set
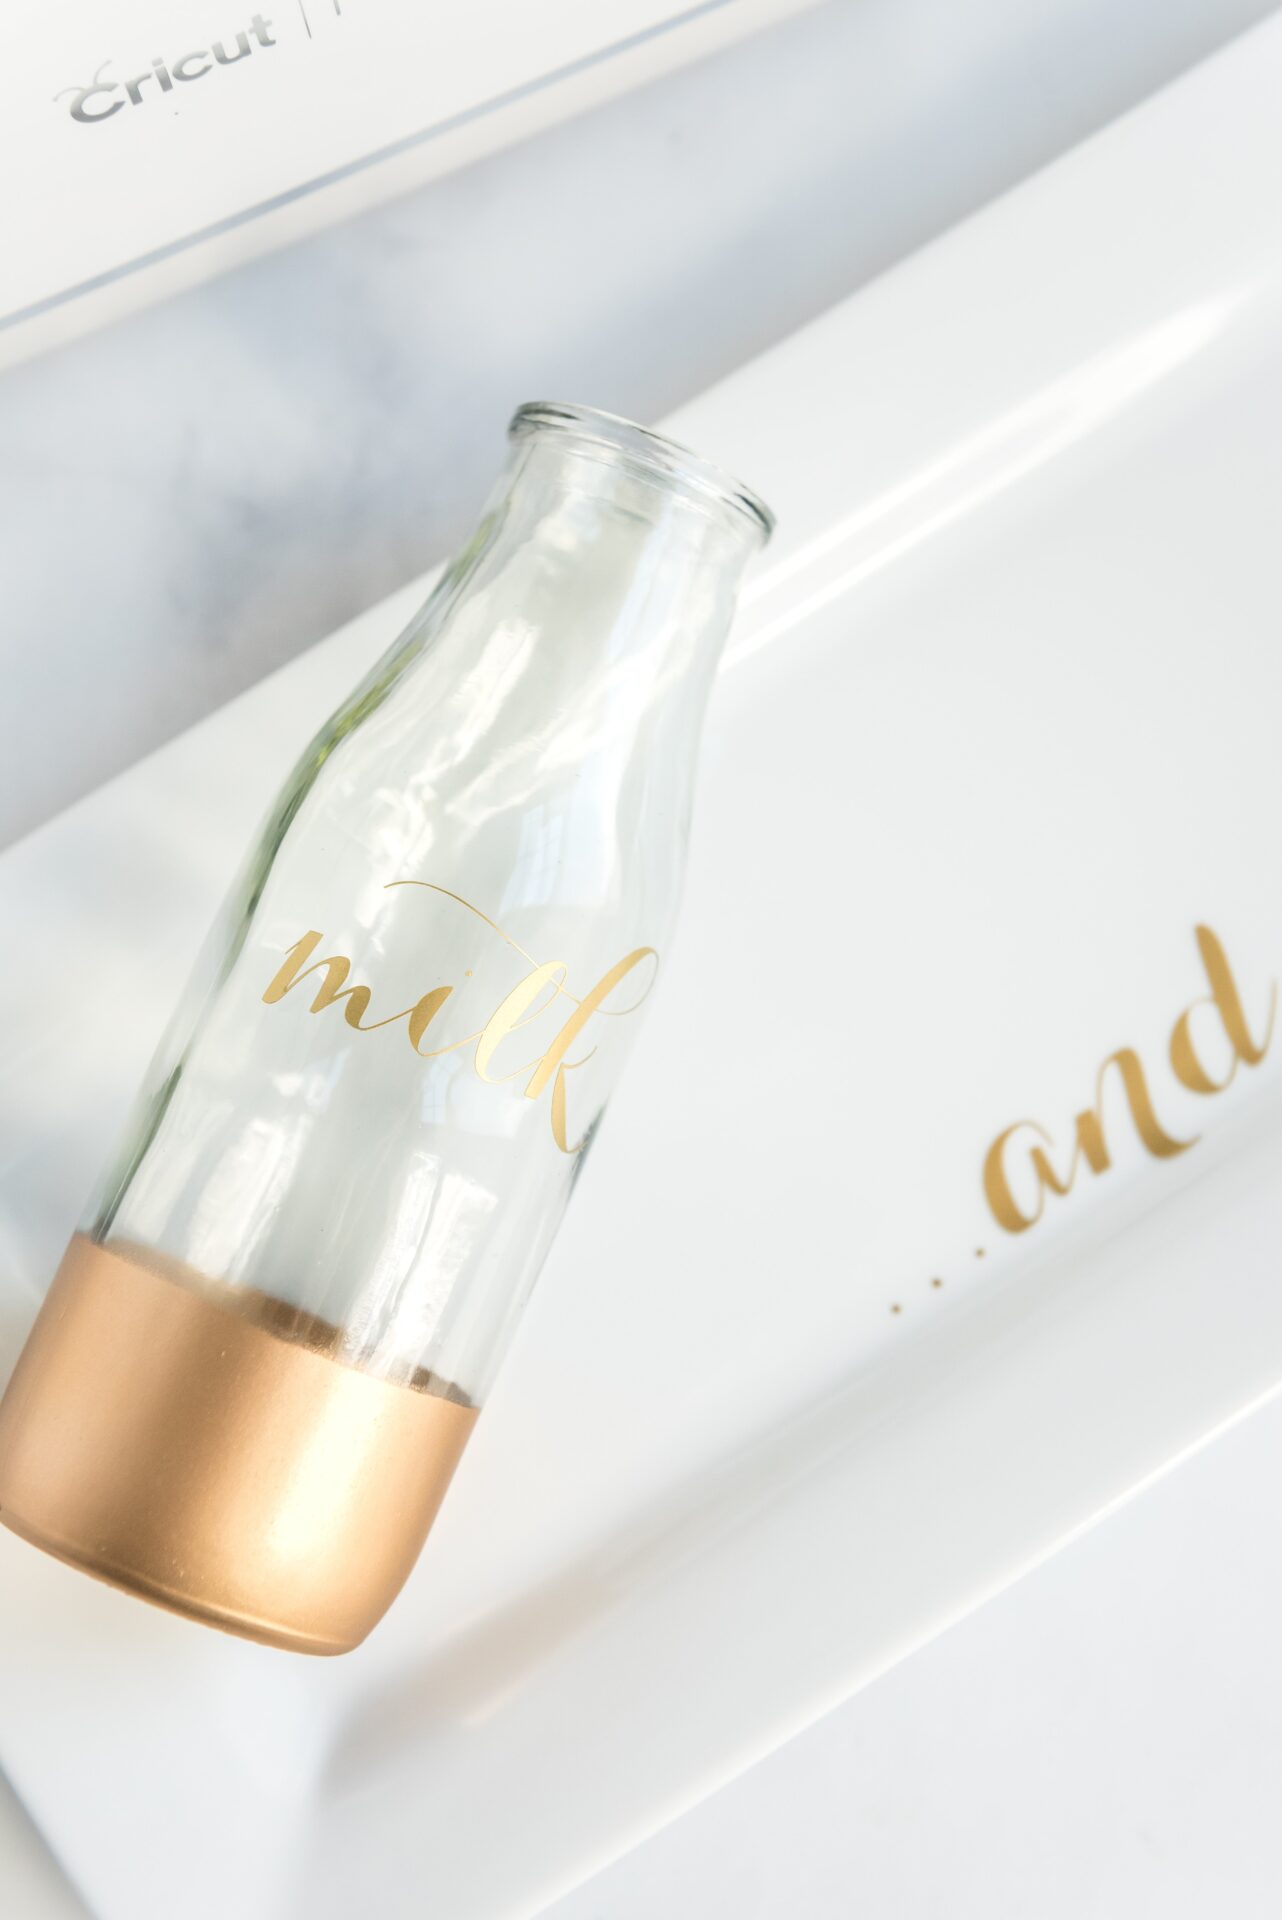
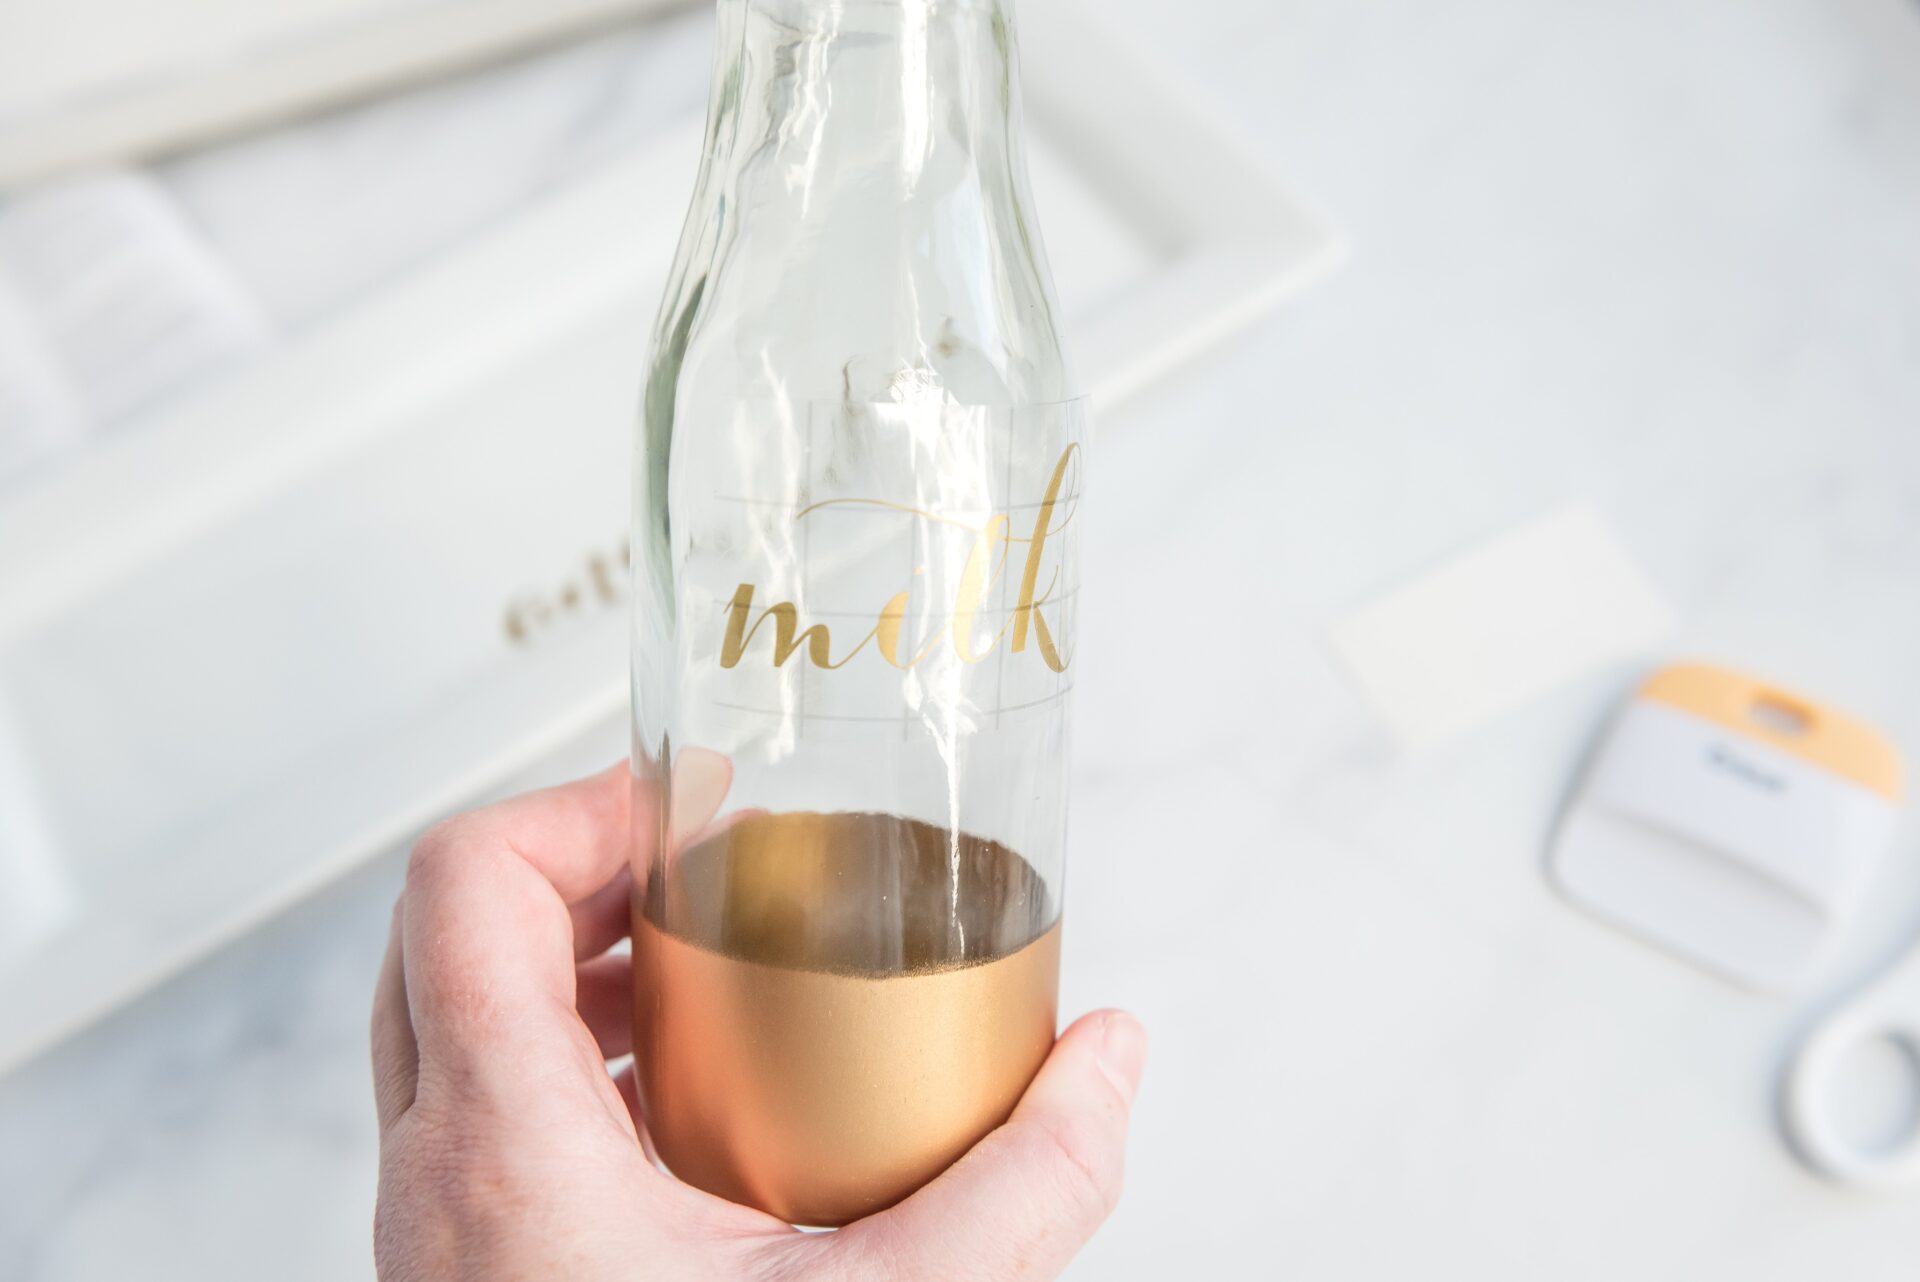
*Please note that I did paint the bottom of the bottle with gold craft paint and a foam brush. I did not give directions for it, and it is not necessary, but if you want to paint the bottle, use a brush to paint it on and make sure it is fully dry.
To start, you want to gather all your supplies together and turn your Cricut machine on.
You will also want to download the Free Cricut SVG File at the bottom of this post and save it to your computer.
Cricut Maker Instructions for Milk and Cookies for Santa DIY Plate Set
Next, open Cricut Design Space and click on “New Project.”
Then select the “Upload” button from the left-hand panel (on a desktop Mac).
You will then, click on the “Upload Image” button.
Press the “Browse” button and navigate to the Milk and Cookies SVG file for this project. Add tags for your project, and hit “Save” at the bottom right corner.
On the next screen, select the image you just uploaded, and then press the “insert images” button in the lower right-hand corner.
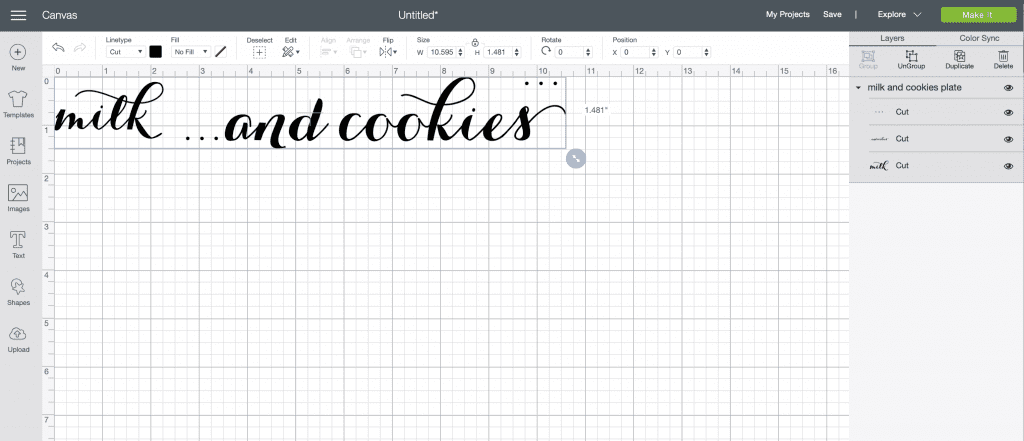
Before doing anything else, you will want to make sure your size is set to the correct measurements: (W 10.595, H 1.481).
Also set the position of your project to X 0, Y 0. 5.
If you would like to cut all of the words exactly as they are displayed in the file, select all and click on the “Attach” button in the lower right-hand corner and proceed to the next step.–However, the words are going to be cut apart after they are removed from the machine, so it is not necessary to attach.
Next, select the green “Make It” button in the top right-hand corner(on a desktop Mac).
Then you will want to select your material size. I chose the 12”x12” since I used a full-width piece of vinyl.
Press the green “Continue” button in the lower right-hand corner.
You are now ready to make your project.
Setting up Your Cricut Machine for DIY Milk and Cookies Project
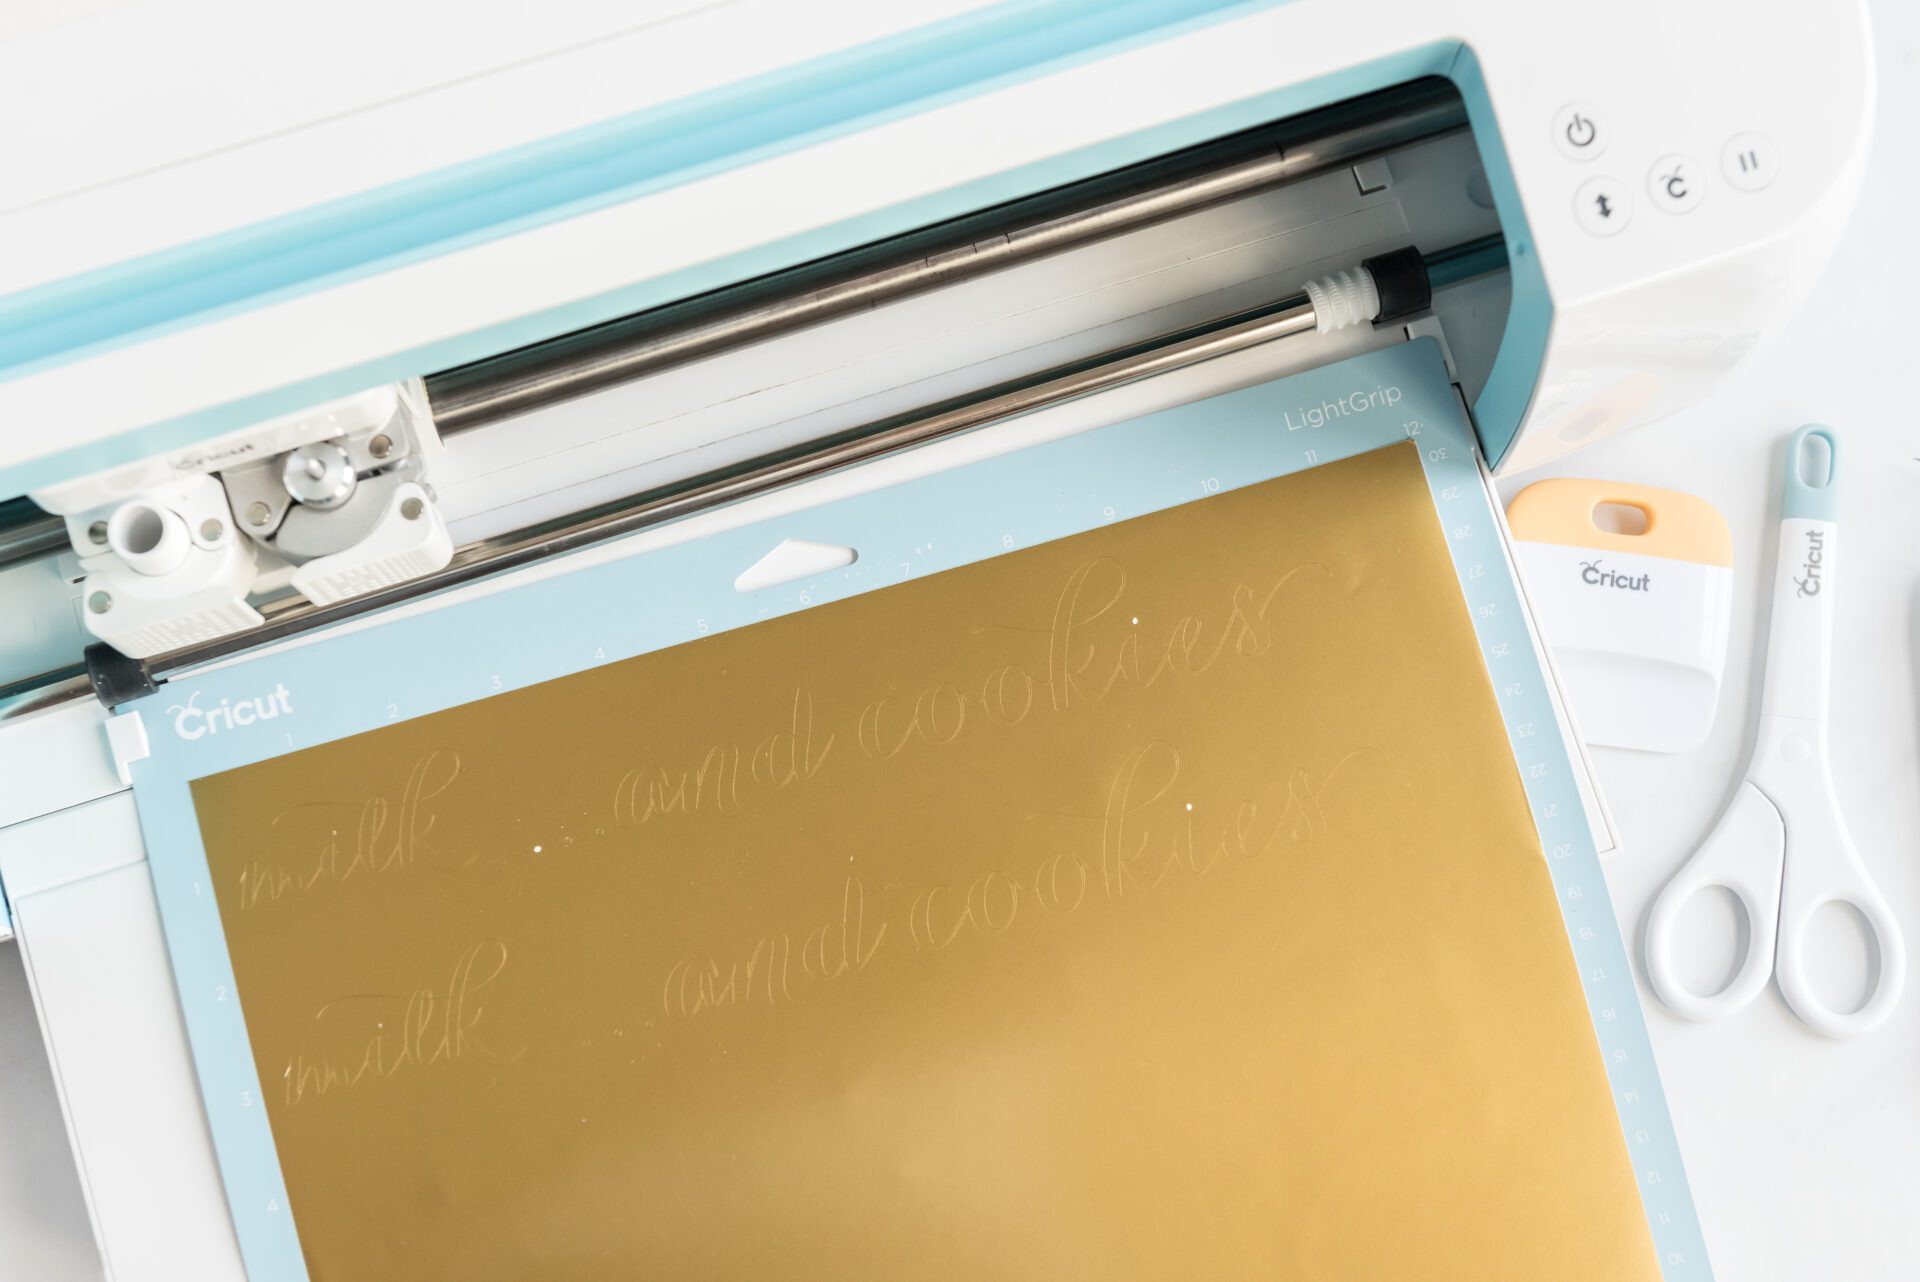
You will have 1 LightGrip mat to prepare.
Place one sheet of gold vinyl in the upper left-hand corner of the mat.
Proceed to Design Space and select Vinyl Material (On older Cricut Machines, you will select Vinyl on the dial on the machine).
Next, follow the instructions within the program when to load the machine, and then proceed to cut.
When your cut is complete, unload the mat from the machine and remove your project.
Assembling Your DIY Milk and Cookies Plate Set for Santa
Cut the vinyl so that you have “milk” separated from the words “…and cookies.”
***Please note: You will see 3 dots above the word cookies. These are extra dots in case you need them for the dotted letter“i’s”. This is a very delicate font and sometimes the machine seems to lose the little dots, so there are extras for your convenience.***
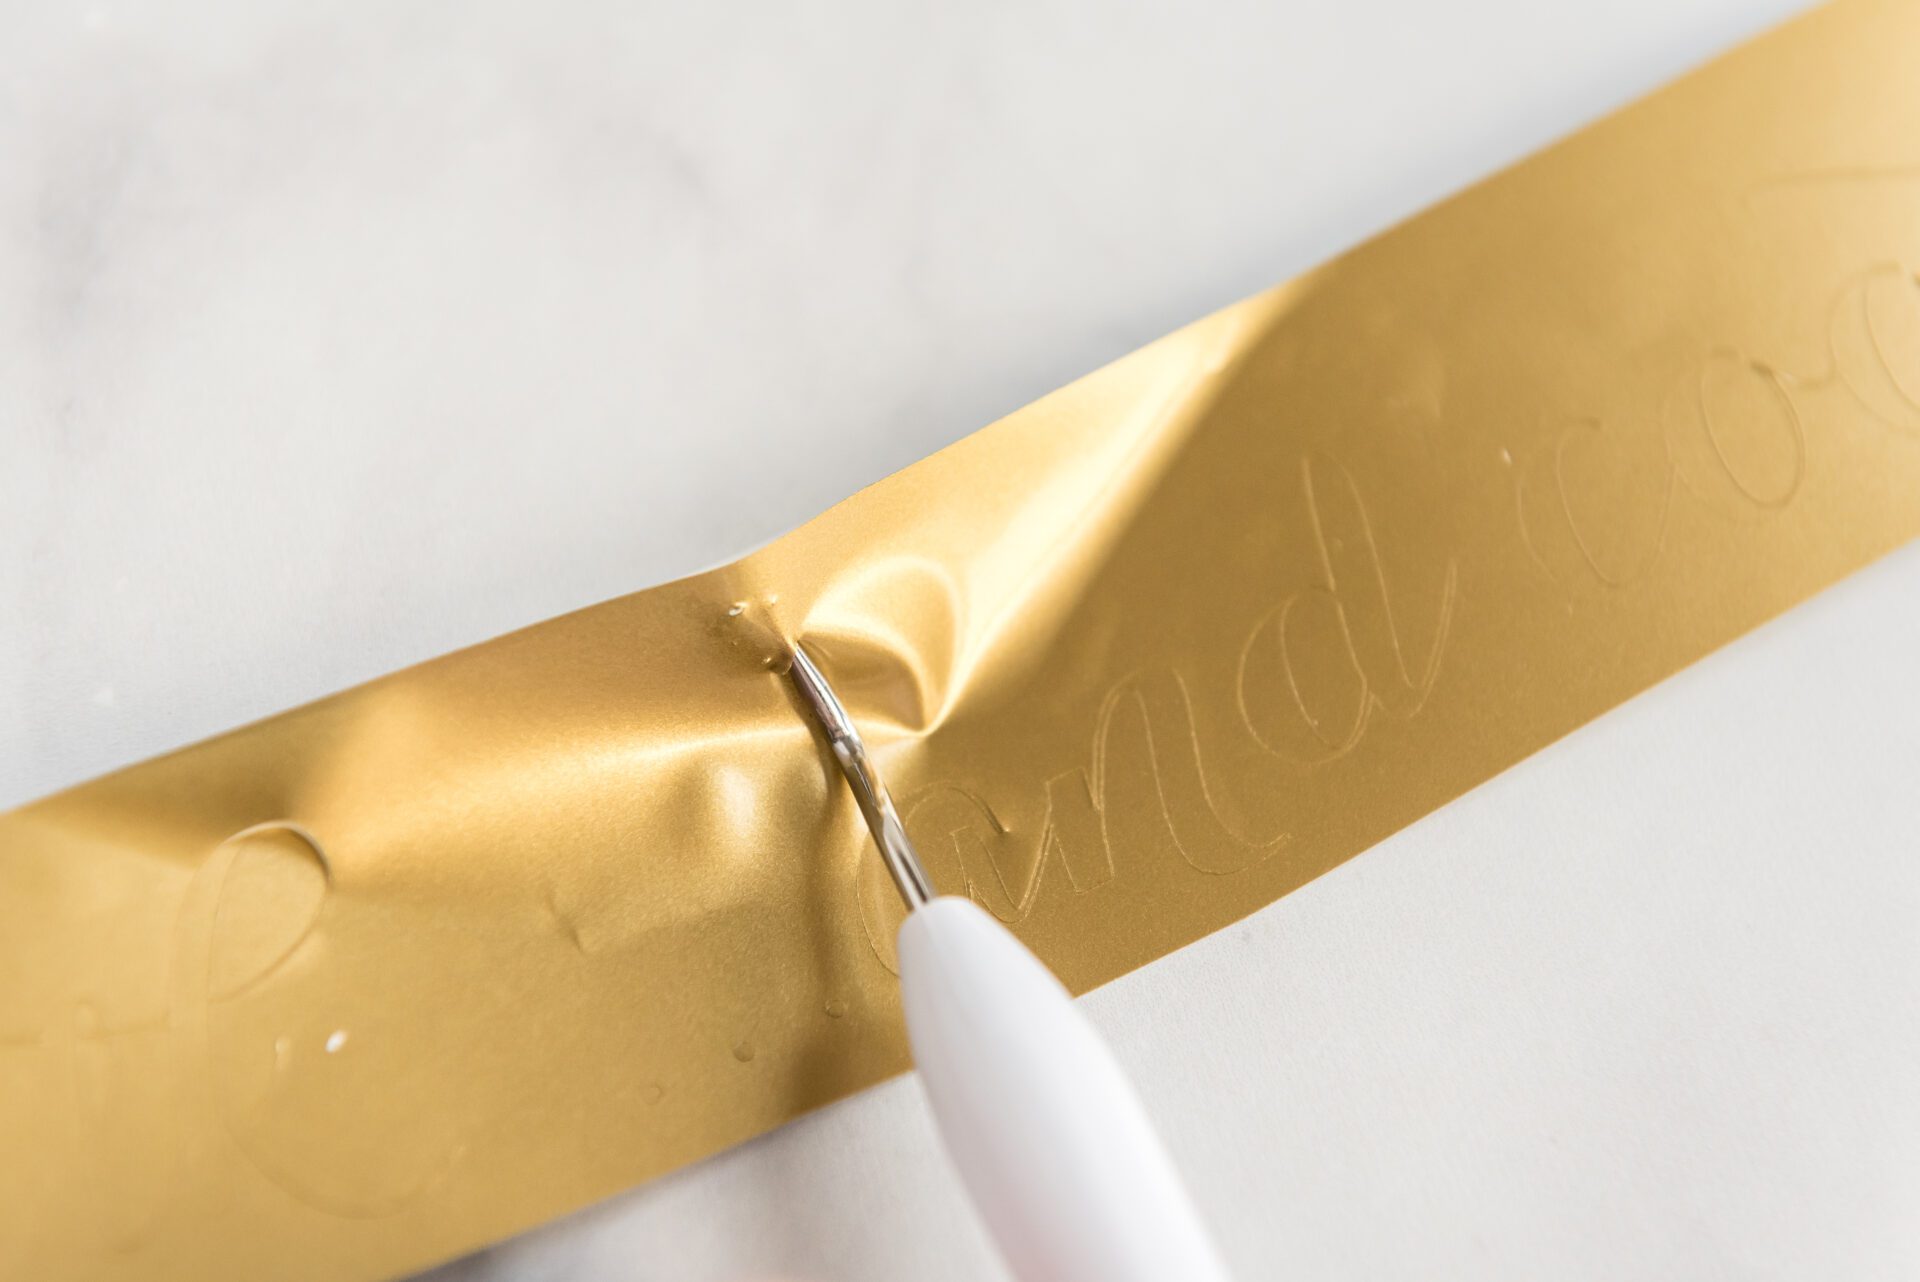
Use your weeding tools to remove vinyl around the words.
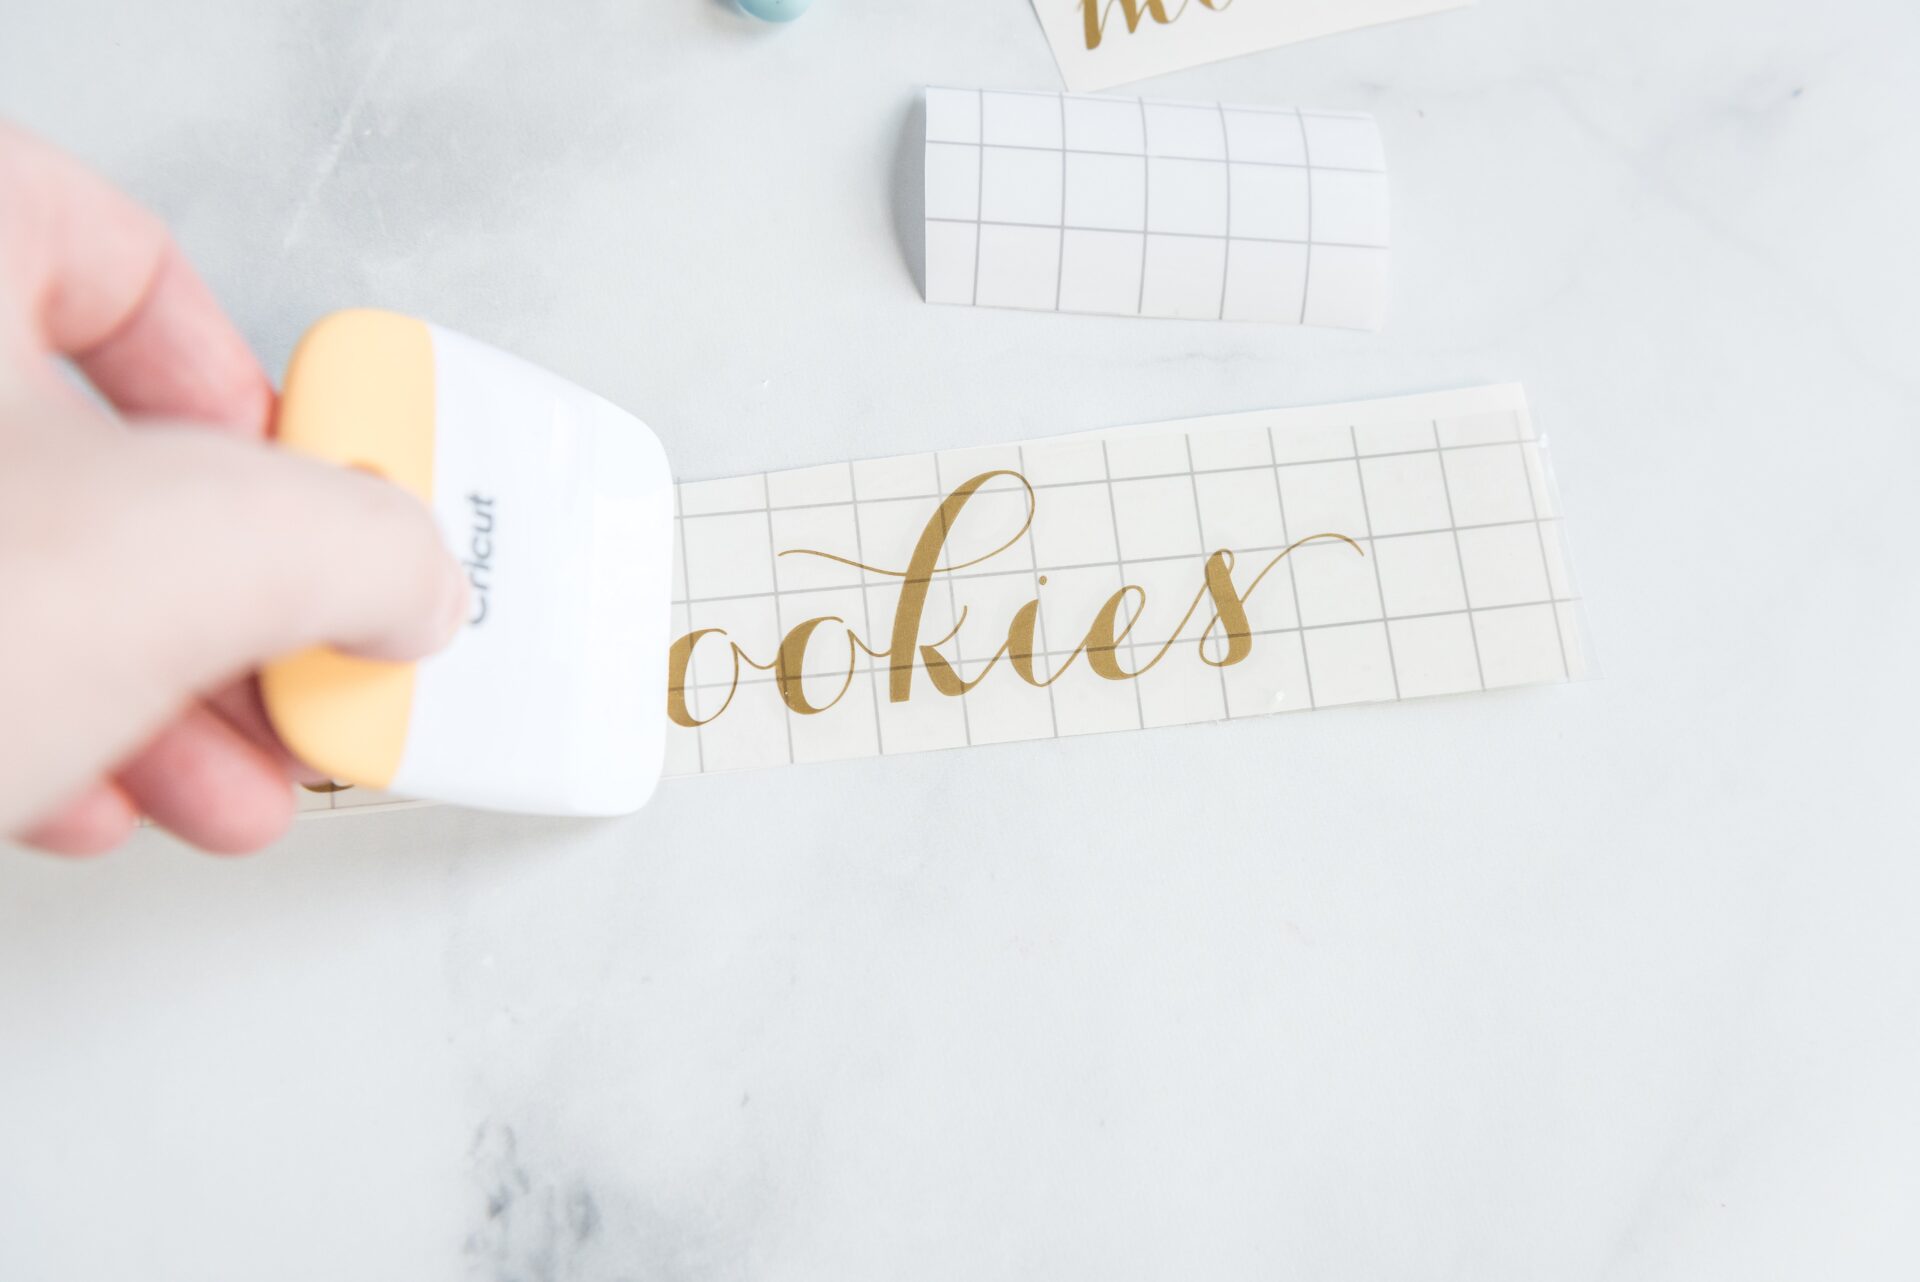
Then, cut a piece of transfer tape the same size as your vinyl pieces.
Next, remove the backing paper from the transfer tape and apply it on top of the gold vinyl words.
Use your Cricut tools to press the transfer tape down.
Now remove the backing from the vinyl.
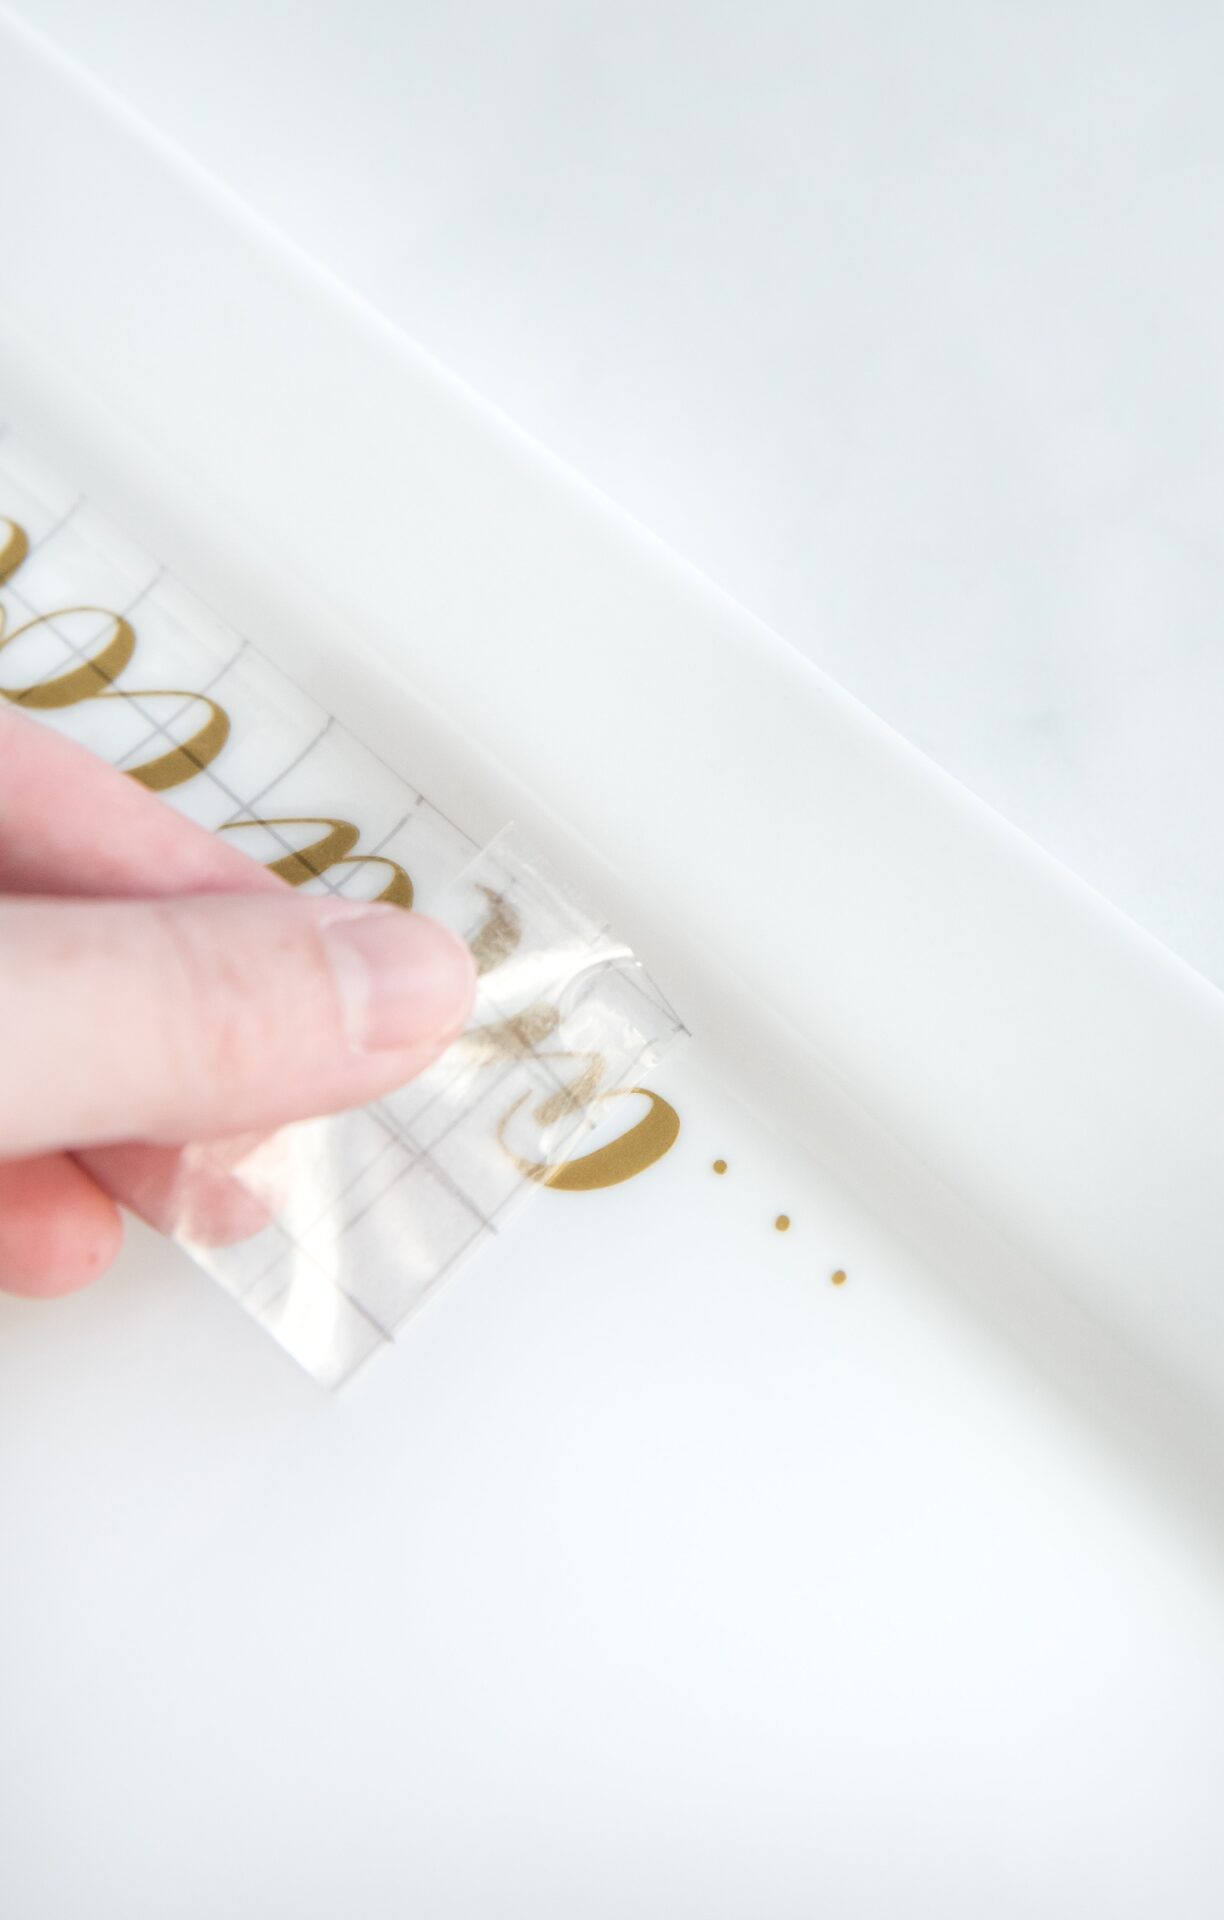
Using the guides on the transfer tape, place your vinyl words: “…and cookies” on your clean, dry tray.
Starting in the middle and working outwards, press the vinyl so it adheres to the tray really well.
Then peel off the transfer tape slowly.
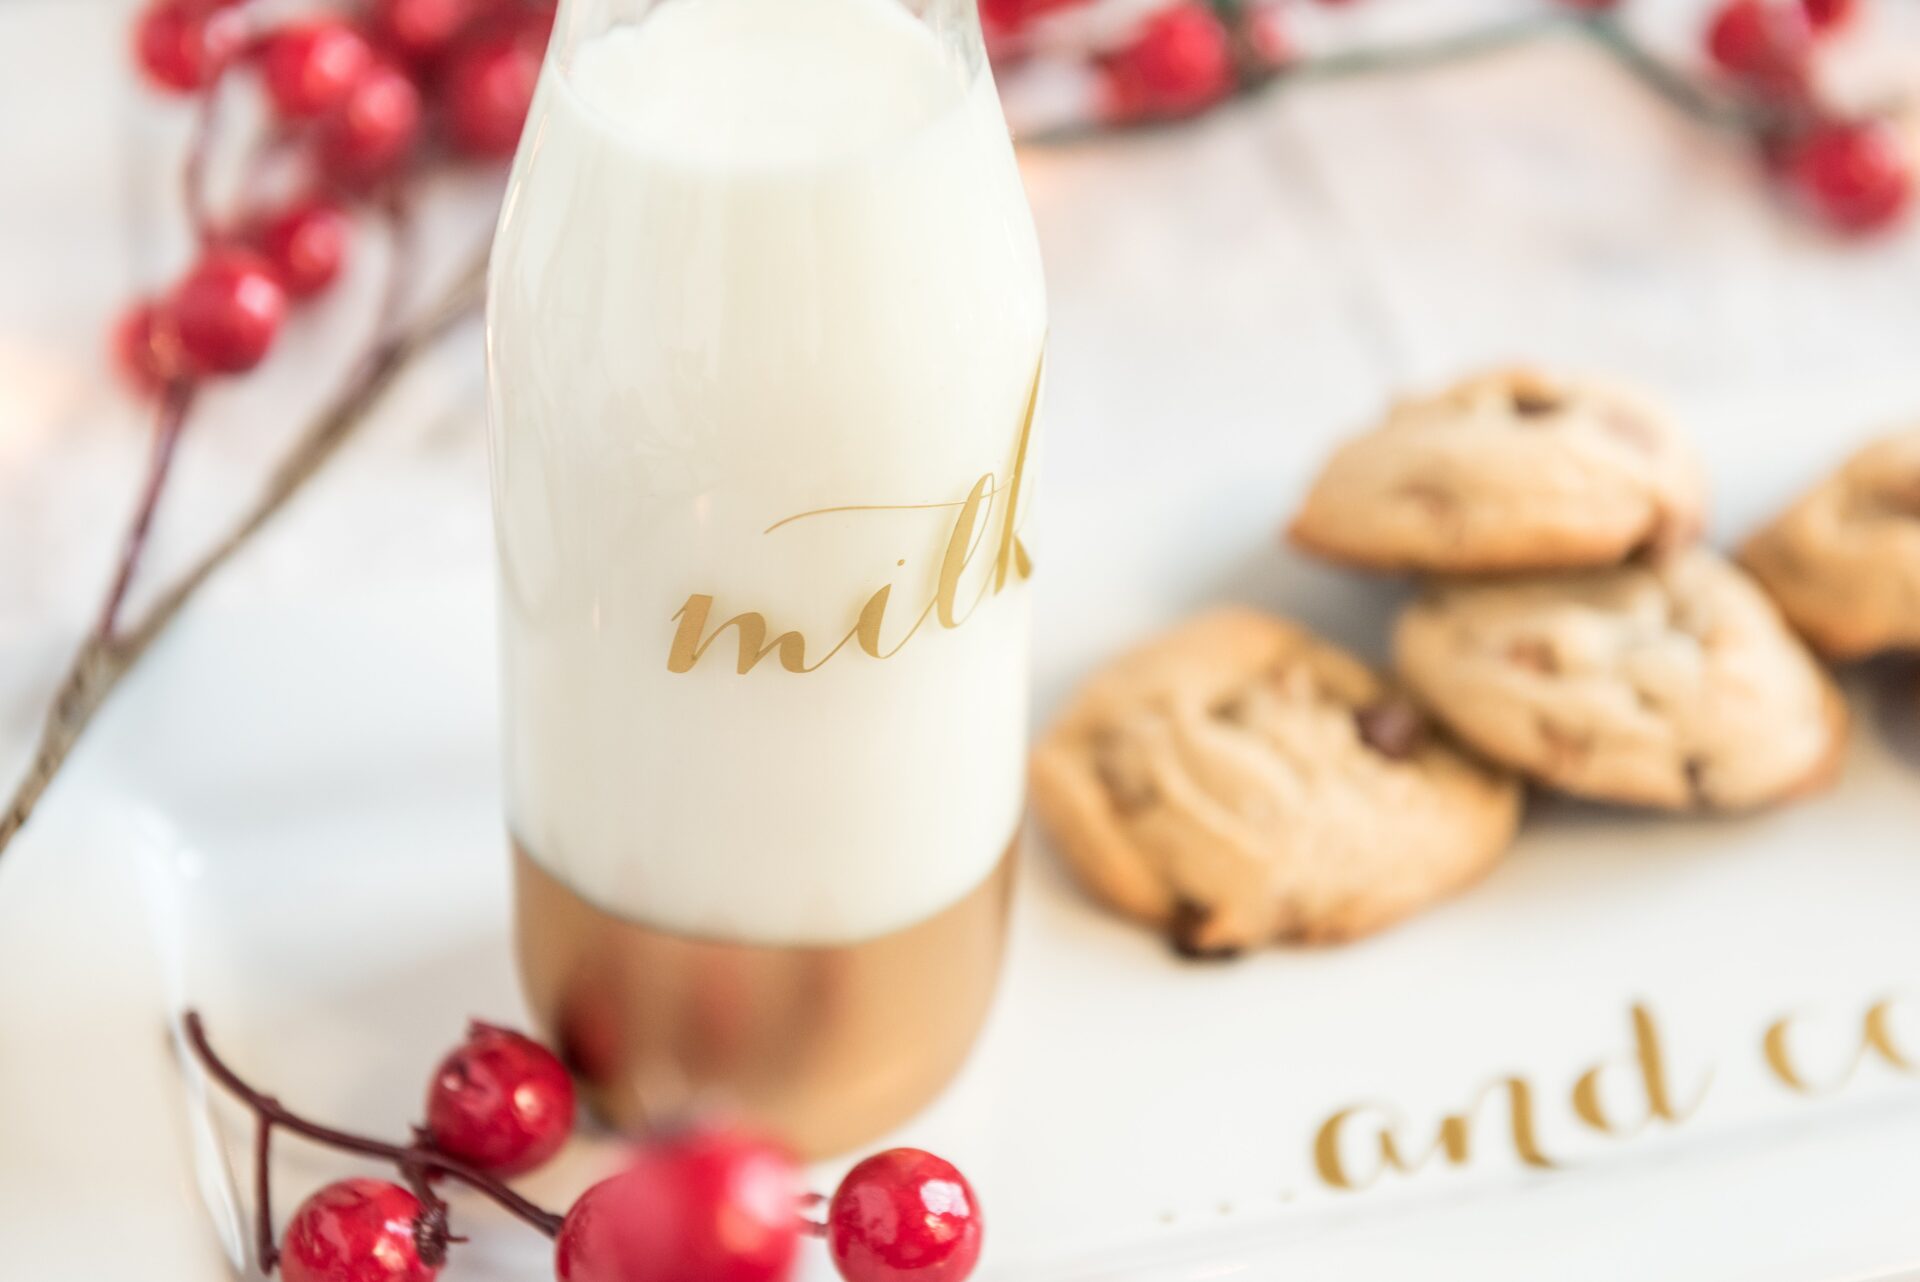
Repeat for the word “milk” on the bottle.
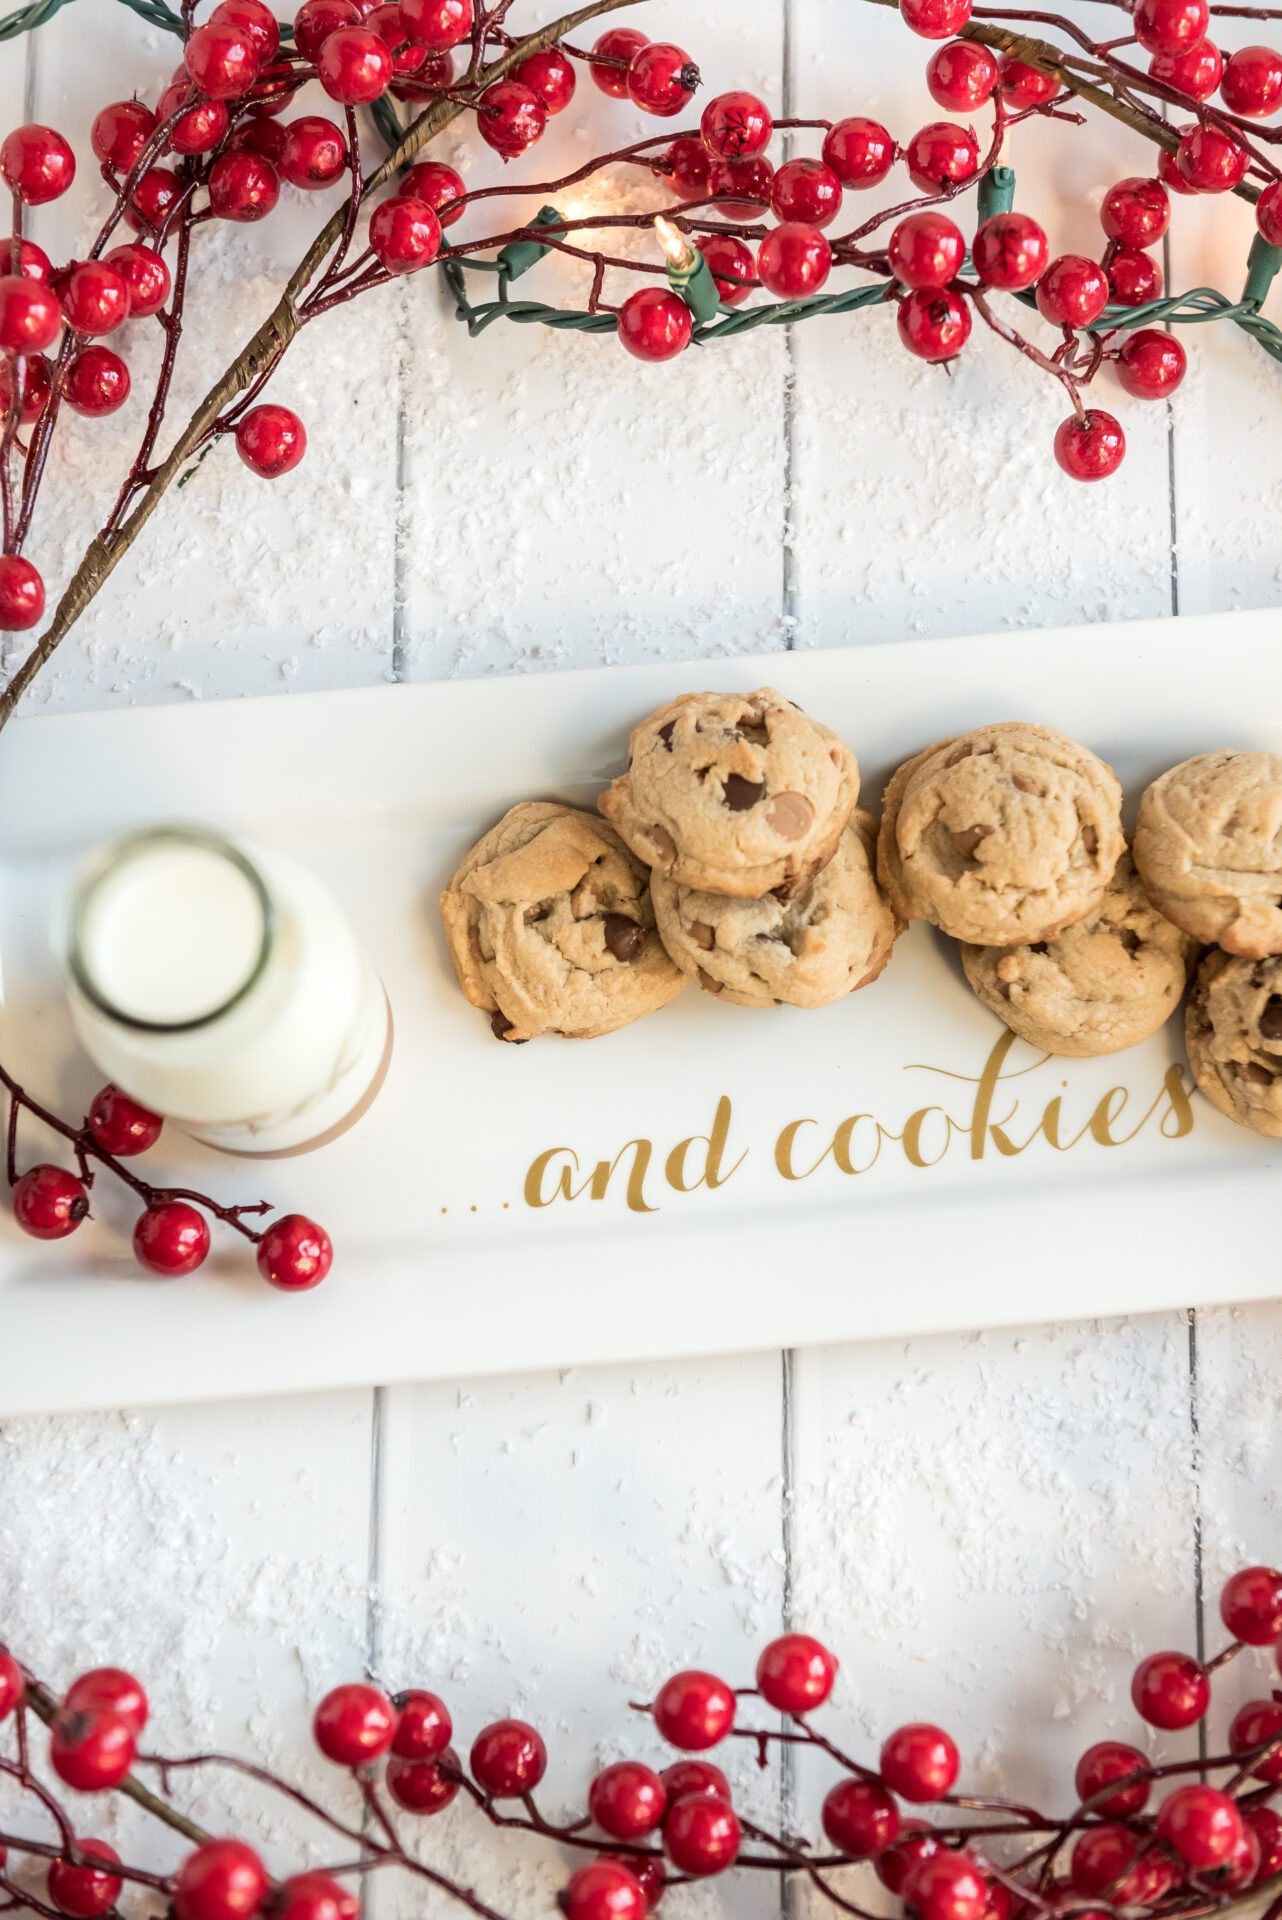
Add milk and homemade cookies and enjoy!
Tips and Tricks for Your Milk and Cookies DIY Santa Plate / Cricut Christmas Craft
- Make sure your surface is clean and dry before applying the vinyl. You can use rubbing alcohol and a cotton ball.
- Handwashing is recommended for the longevity of the vinyl. Putting it in the dishwasher would make it peel. And we don’t want that!
Is the Cricut hard to use?
I feel like one of the main things people are concerned about is the difficulty of using a Cricut machine. Trust me, you are capable of doing it. It just takes a bit of time to learn how to.
That’s why I enjoy making tutorials to help make it easier! Truly, the hardest part is the actual design. But that part is already done for you! The provided SVG file is just a click away.
You can simply follow the instructions and you will have the perfect vinyl cut for this beautiful milk and cookies DIY Santa plate set.
Download the FREE SVG Design template Santa Milk and Cookie SVG.svg
Looking for More Christmas Cricut Craft Projects?
How did your DIY Milk and Cookies for Santa Plate Set? Share in the comments!

Michele Tripple is a renowned author and expert in the fields of parenting, relationships, and personal development. With her degree in marriage and family studies, her experience as a Family Life Educator, and over a decade of experience as a professional writer, Michele has authored books that provide practical advice and insights into improving family dynamics and personal growth. Her work is celebrated for its blend of research-driven information and relatable, real-world applications. Michele has been a keynote speaker at conferences and has contributed to numerous publications and media outlets, solidifying her reputation as an authoritative voice in her field and helping families build relationships.

