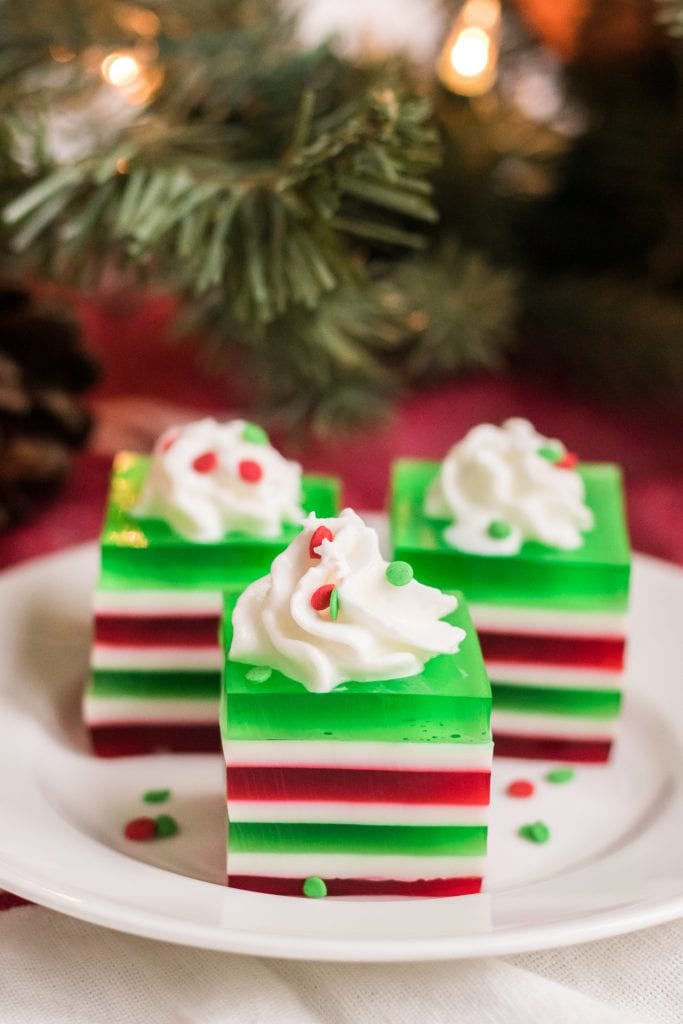
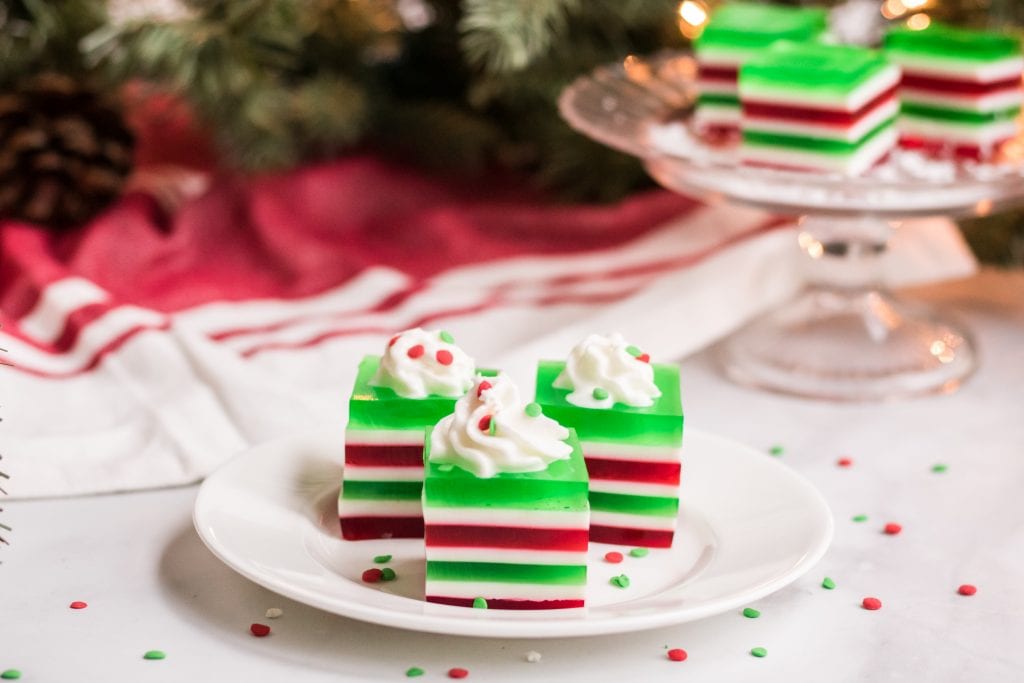
This festive red and green Christmas layered jello is the perfect Christmas finger jello for your next holiday gathering. Kids and adults love eating jello fingers!
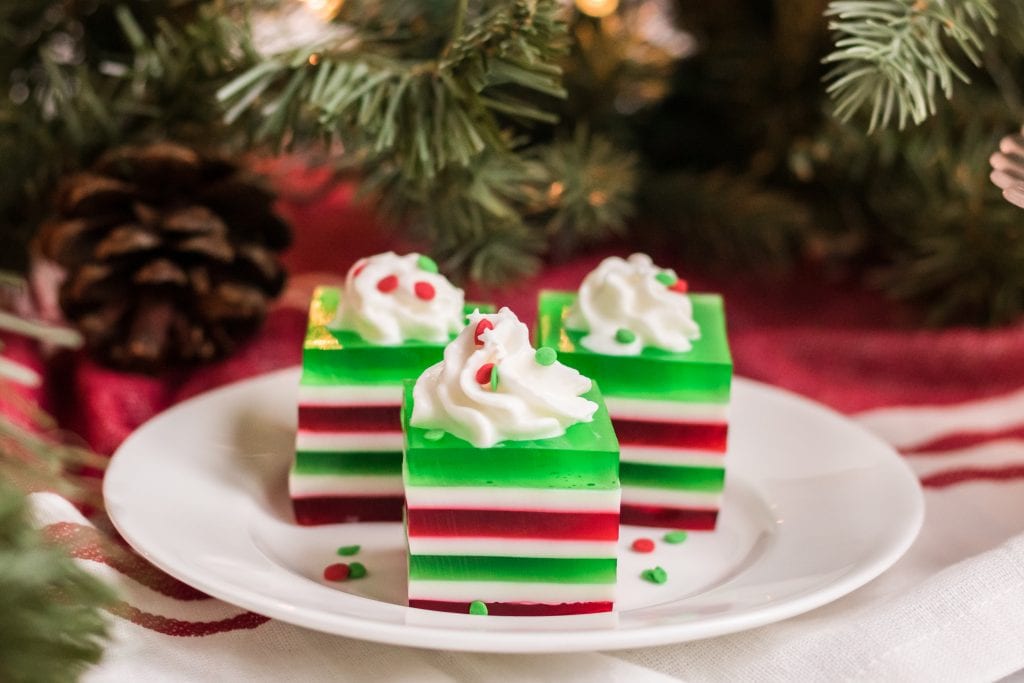
Christmas Layered Jello
This Christmas layered jello is such a tasty treat to indulge in around the holidays.
This Christmas finger jello recipe brings back all my childhood memories of eating jello as a kid when it was totally acceptable to eat jello with your fingers!
With this Christmas layered jello, I show you how to make finger jello the traditional way (in squares), but don’t feel like that is the only way to make finger jello, you can put in parfait glasses or cut shapes out of it (more on that later!)
If you are looking for some other fun Christmas ideas, be sure to check out our fun list of Christmas Minute to Win It Games, Elf on the Shelf Names, Christmas Scavenger Hunt, Christmas Song Charades or Christmas Bingo.
Layered Jello with Sweetened Condensed Milk
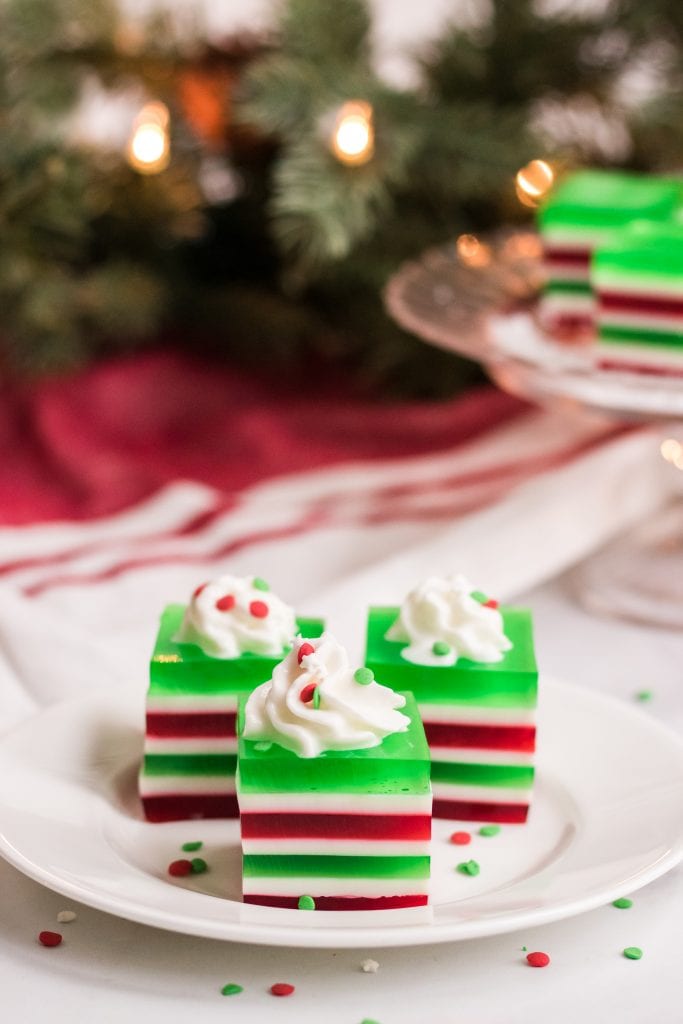
This recipe for Christmas jello calls for sweetened condensed milk. I know it sounds weird.
When grandma finally showed me how to make finger jello I was shocked because I had no idea I was eating jello with sweetened condensed milk for all these years.
So, I promise you, yes, I know it sounds crazy, but it tastes sooooo good! Trust me!
If you are used to making traditional Christmas jello and trying out this layered jello for this first time I want to just give you a heads up that this finger jello recipe is much firmer than normal jello.
It is this meant to be firm so that you can pick it up and hold it, hence the name finger jello or jello fingers whichever you prefer!
Finger Jello
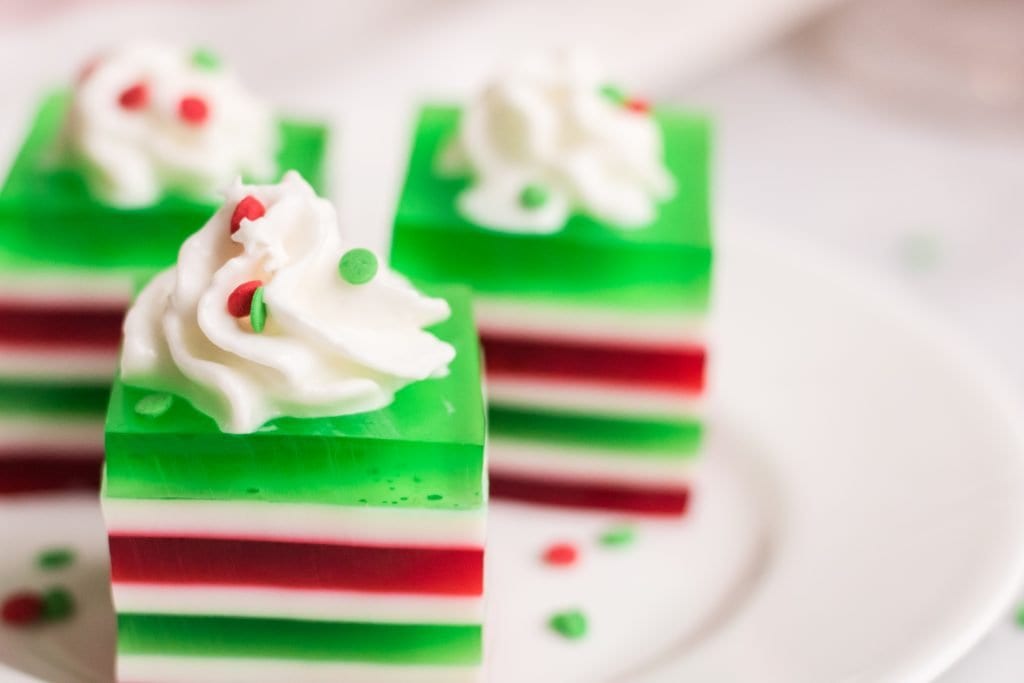
Yield: About 24 jello squares
Total Time: About 1 hour
Ingredients Needed
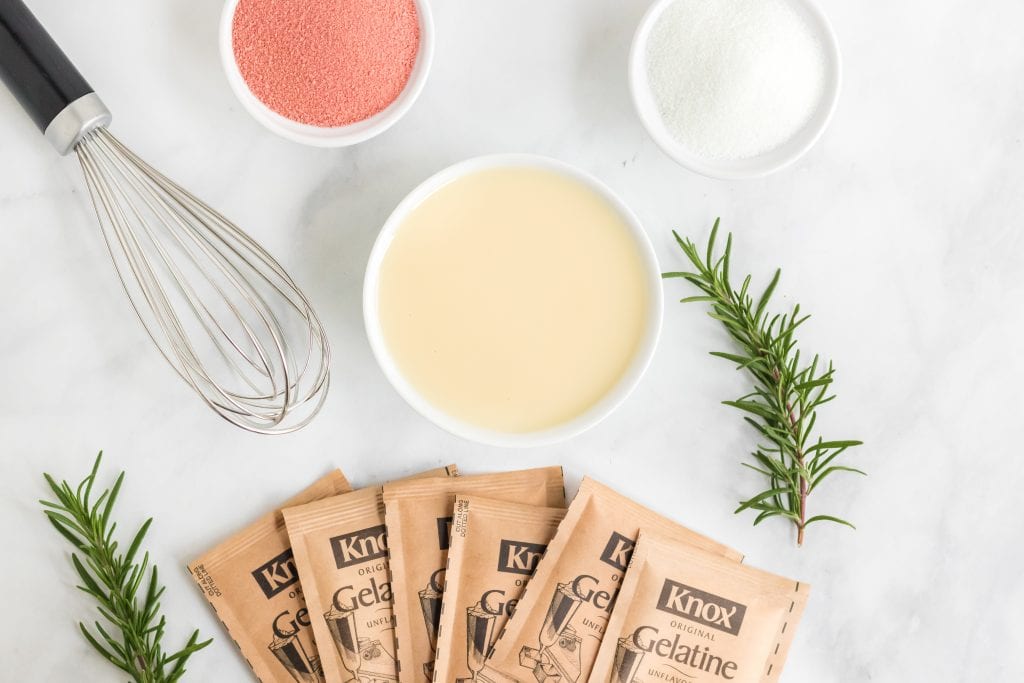
- 2 3 oz boxes cherry jello
- 2 3 oz boxes lime jello
- 6 packages Knox unflavored gelatin
- 1 14 oz can sweetened condensed milk
- 6 cups boiling water
- ¼ cup of cold water
How to Make Finger Jello
Making finger jello is easy with these basic steps.
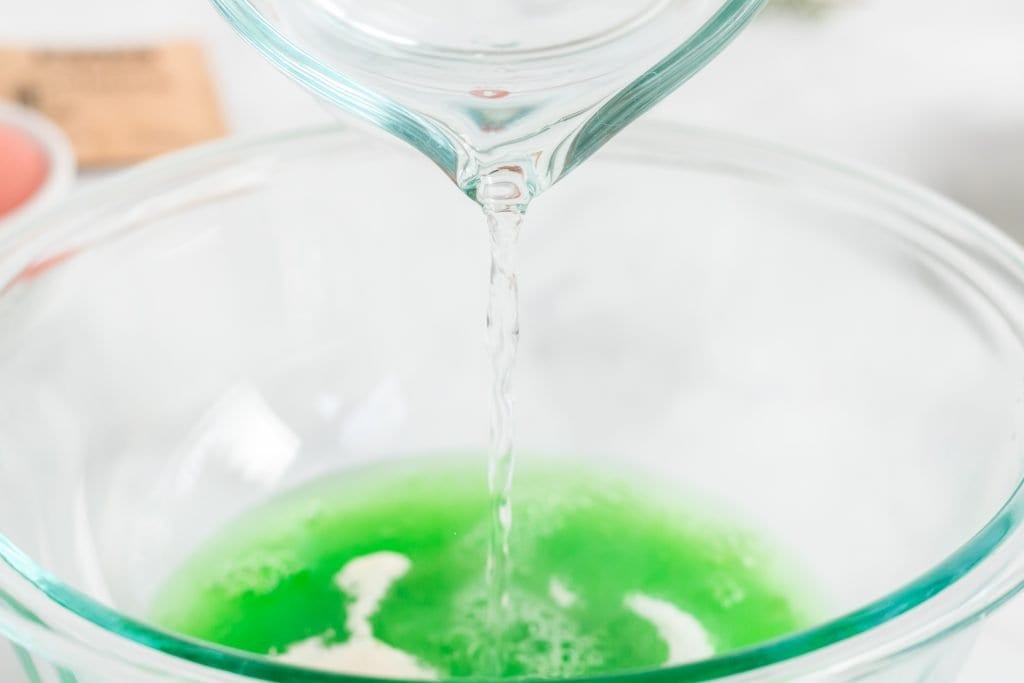
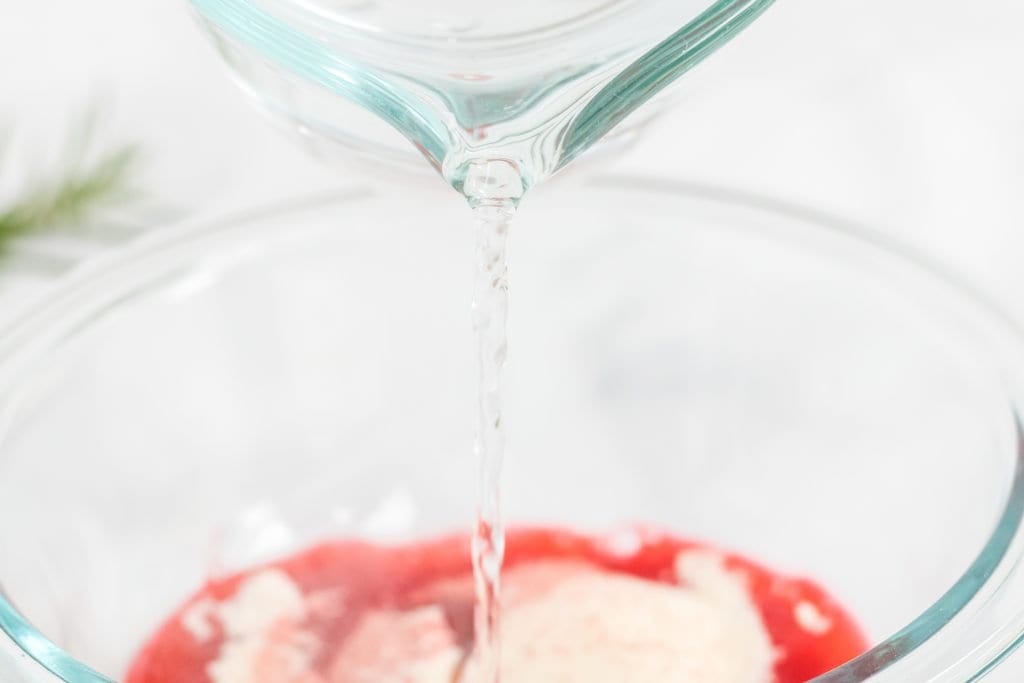
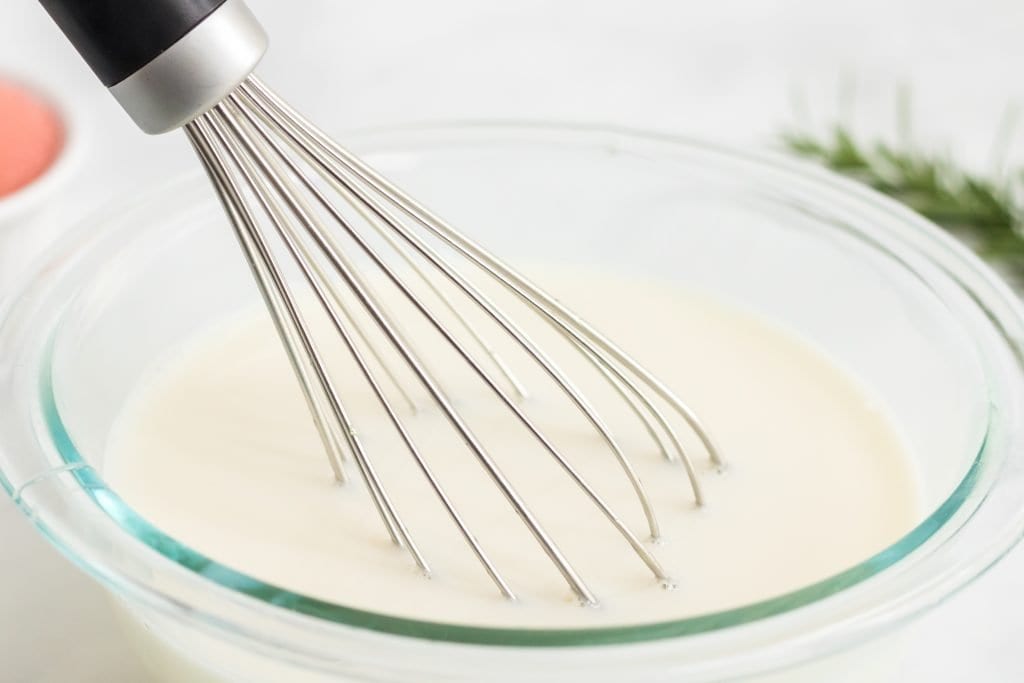
To begin you will want to gently spray your 13x 9 pan with cooking spray. Be sure to blot away any excess oil that is sitting in the pan.
Next, you will want to line up 5 small bowls. These will soon become your jello layers.
In the first bowl, you will want to combine 1 box of your cherry jello, 1 box of unflavored gelatin (this is what will help firm up the layer) + 1 cup of boiling water.
Stir this until the gelatin dissolves.
Once it has dissolved, set aside to cool.
In the second bowl, you will repeat this process with the other box of cherry jello, 1 box of unflavored gelatin + 1 cup of boiling water. Stir to dissolve and set aside to cool.
In the third and fourth bowl, you will repeat this same process, but use 1 box of lime jello, 1 box of unflavored gelatin + 1 cup of boiling water. Stir until gelatin is dissolved and then set aside.
In the fifth small bowl, combine the sweetened condensed milk + 1 cup of boiling water.
You will then mix 2 packages of unflavored gelatin into the ¼ cup cold water. Once mixed, add this to your sweetened condensed milk mixture.
Once all these “layers” are mixed let them sit and cool off before doing anything else. If you try to make your layered jello without letting your jello cool you will melt the layers and it won’t look very pretty. So let them sit for a minute.
Begin Layering your Finger Jello
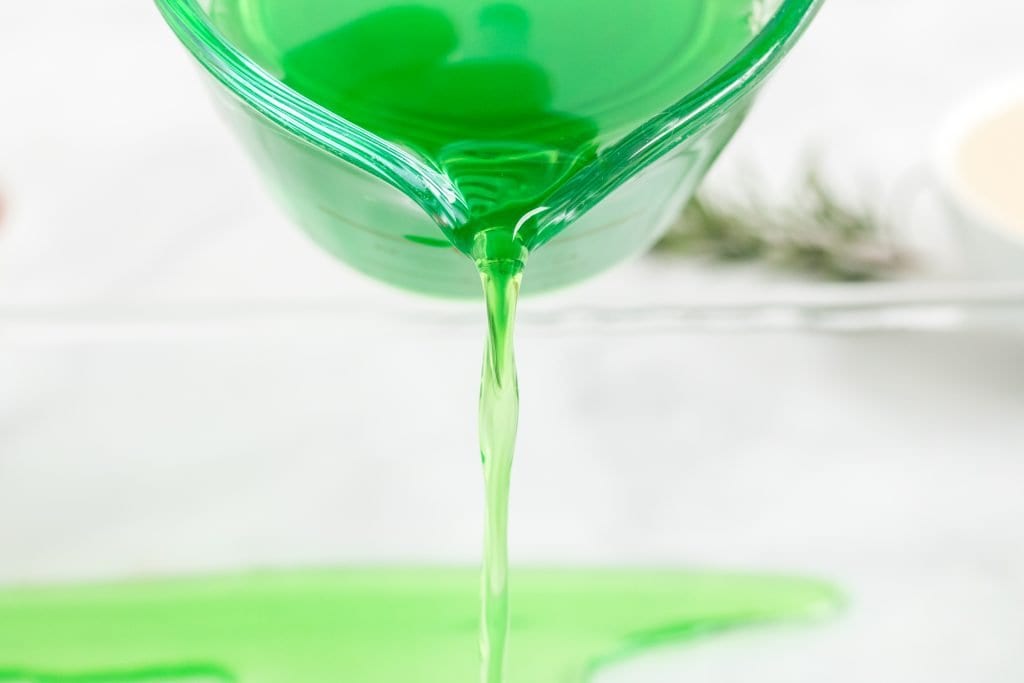
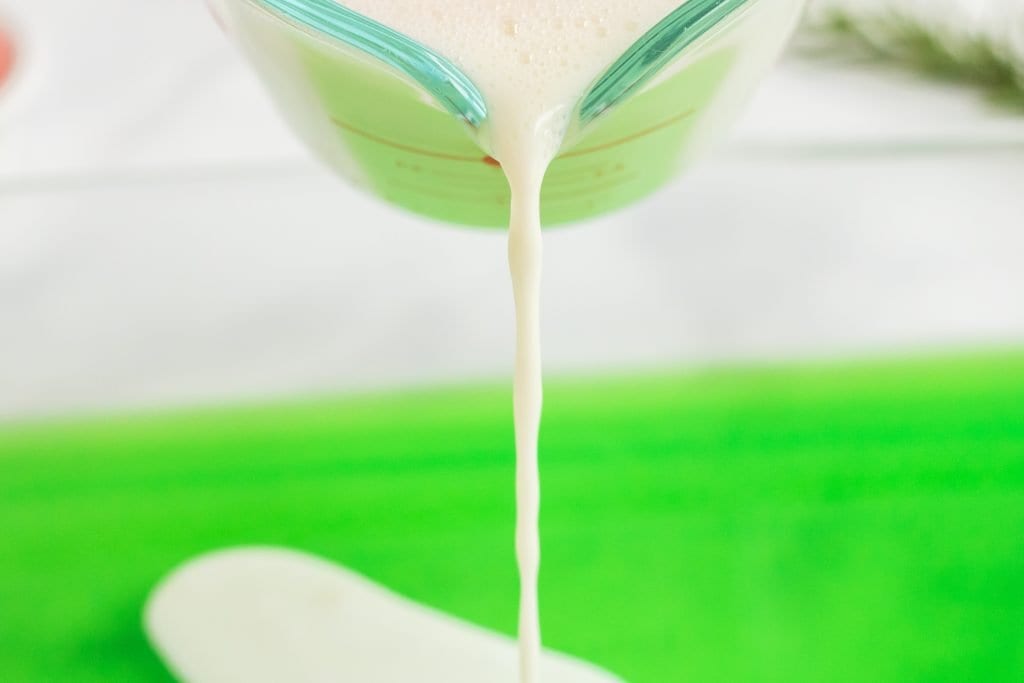
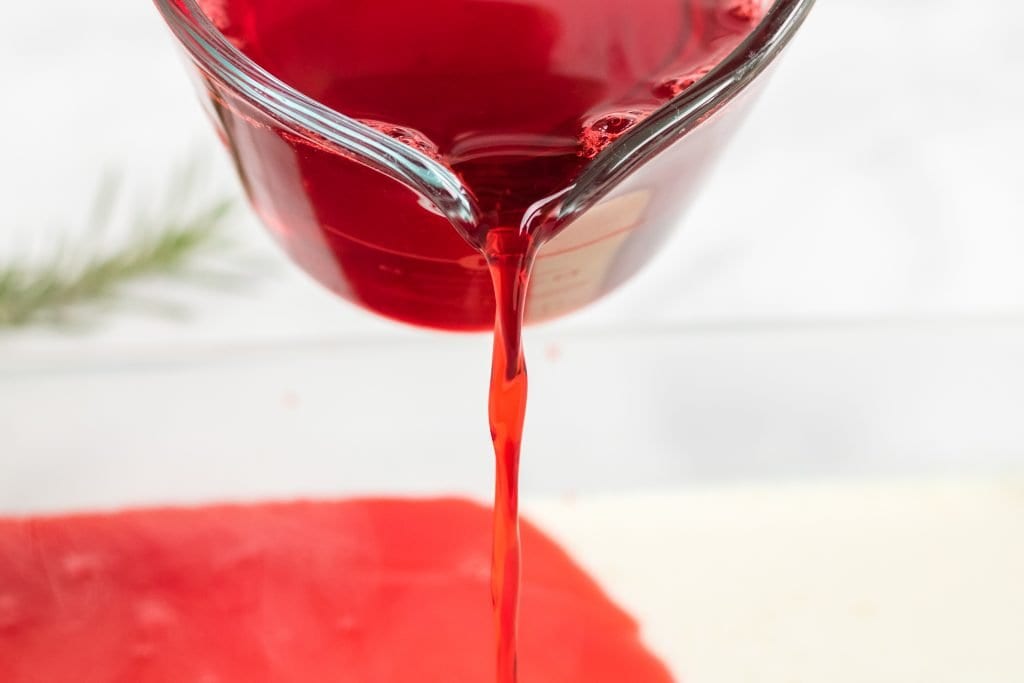
After all the layers have slightly cooled begin layering your jello.
First, pour one layer of the lime jello into your 13 x 9 pan. Once you have poured it in, place it in the freezer for about 5-7 minutes or until the gel is set.
Once set, pull your Christmas jello out of the freezer and then slowly pour a thin layer of sweetened condensed milk over the green layer.
Do not pour all the condensed milk bowl onto this layer. You will have a thin layer of sweetened condensed milk in between all the layers.
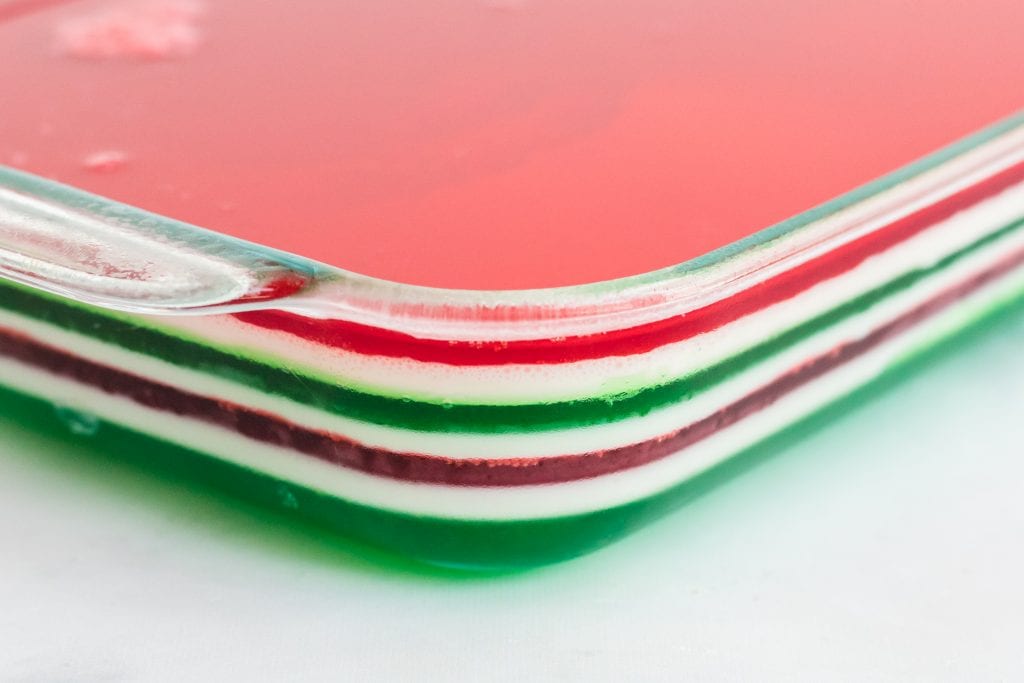
Return your layered jello to the freezer and wait for this layer to set. This layer will take a little bit longer to set (about 10 minutes or so)
Once it is set, bring your pan back out of the freezer and gently pour a layer of the red. Return this to the freezer to firm up.
Repeat this process with the other lime jello layer, condensed milk layer, and then the cherry jello layer. Be sure to return the pan to the freezer in between each layer.
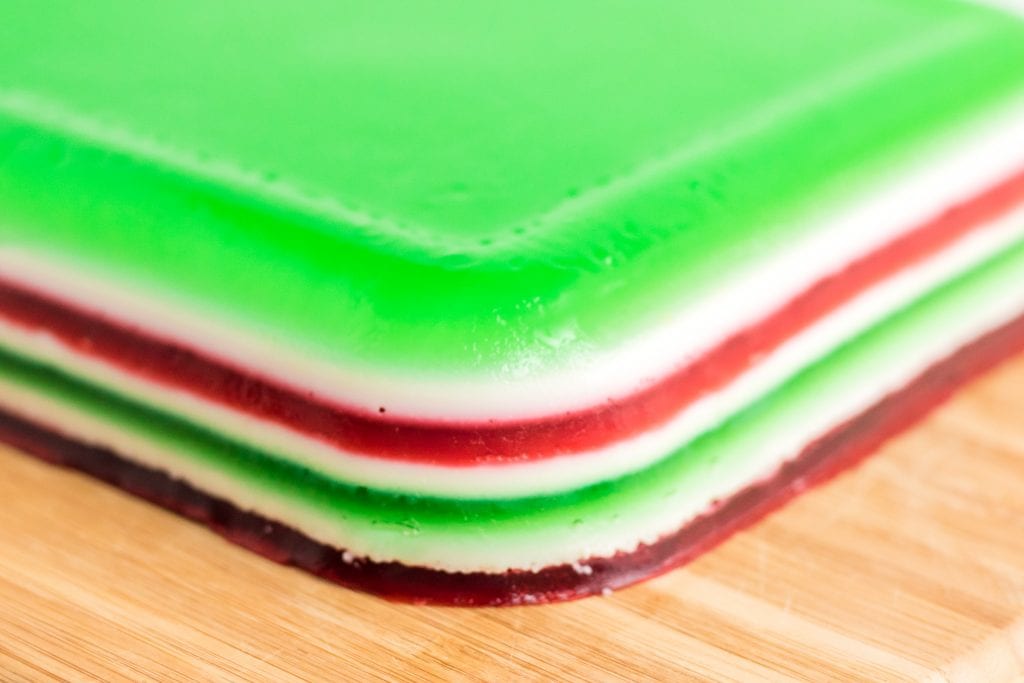
Once all the layers are good and set, like really good and set, you can gently separate the jello from the pan and then you will want to flip the pan upside down to remove the jello.
Then cut the layered jello into small squares making jello finger and top with whipped cream and sprinkles if you would like.
Tips and Tricks for Making Layered Jello
- You want to make sure that you have the jello layers cool down before adding them to the layers. If you add them and they are too hot, they will melt the already firm layers. This is why I suggest making all the layers and letting them sit.
- If bubbles form on the layers be sure you pop them before moving on.
- The Christmas layered jello is perfect this time of year, but why only serve finger jello once a year? Experiment with different colors of layers (red, white, and blue for Fourth of July, pink, red, and white for Valentine’s Day, greens for St. Patrick’s Day).
How long does each layer of jello need to set up?
Each jello layer sets up in about 5-7 minutes in the freezer. The sweetened condensed milk layer will take a little bit longer to set up (about 10 minutes)
If you prefer to let your jello set up in the fridge instead, it will take about 20-30 minutes for the flavored jello and a little bit longer than that for the other layers.
If you use a smaller dish (like an 8×8 pan) or make smaller layers it can take longer for each layered jello level.
Can I make Layered Jello Parfaits with this recipe?
Yes! You can absolutely make layered parfaits with this recipe. Just add the desired amount of jello for the layer and have it set in between adding the other ones.
Get creative with Finger Jello!
Get creative with this finger jello recipe!
In this recipe, I use a 13x 9 pan and cut it into squares, but there are so many other things that you can do with it!
You can use cookie cutters to cut shapes (spray them with cooking spray), make parfaits, really the sky’s the limit with this finger jello! So get creative!
If you are going to use cookie cutters, you will want to make the jello in a 13x 9 pan and then cut the shapes after it is set.
How do you store jello fingers?
Jello fingers can be stored for about a week. This is a recipe that you can easily make ahead of time. In fact, I usually make it the day before and cover it with plastic after it is set.
Then I usually cut it right before eating.
Should I spray my pan for finger jello?
Yes, I recommend lightly spraying your pan as well as your cookie cutters if you are going to cut shapes.
Looking for More Holiday Recipes?
Love what you see? Leave a comment and don’t forget to rate it below! We always love knowing how your recipe turns out! Don’t forget to tag me on Instagram @micheletripple to show me your finished product!
Christmas Finger Jello

This Christmas finger jello is perfectly tasty and festive for your next holiday gathering. Kids and adults all love eating layered jello with their fingers!
Ingredients
- 2 3 oz boxes cherry jello
- 2 3 oz boxes lime jello
- 6 packages Knox unflavored gelatin
- 1 14 oz can sweetened condensed milk
- 6 cups boiling water
- ¼ cup cold water
Instructions
- Gently spray your 13x 9 pan with cooking spray. Blot away any excess oil that is sitting in the pan.
- Line up 5 small bowls. These will soon become your Christmas jello layers.
- In the first bowl, you will want to combine 1 box of your cherry jello, 1 box of unflavored gelatin (this is what will help firm up the layer) + 1 cup of boiling water.
- Stir this until the gelatin dissolves.
- Once it has dissolved, set aside to cool.
- In the second bowl, you will repeat this process with the other box of cherry jello, 1 box of unflavored gelatin + 1 cup of boiling water. Stir to dissolve and set aside to cool.
- In the third and fourth bowl, you will repeat this same process, but use 1 box of lime jello, 1 box of unflavored gelatin + 1 cup of boiling water. Stir until gelatin is dissolved and then set aside.
- In the fifth small bowl, combine the sweetened condensed milk + 1 cup of boiling water.
- You will then mix 2 packages of unflavored gelatin into the ¼ cup cold water. Once mixed, add this to your sweetened condensed milk mixture.
- Once all these “layers” are mixed let them sit and cool off before doing anything else. If you try to make your layered Christmas jello without letting your jello cool you will melt the layers and it won’t look very pretty. So let them sit for a minute.
- After all the layers have slightly cooled begin layering your jello.
- First, pour one layer of the lime jello into your 13 x 9 pan. Once you have poured it in, place it in the freezer for about 5-7 minutes or until the gel is set.
- Once set, pull the layered jello out of the freezer and then slowly pour a thin layer of sweetened condensed milk over the green layer. Do not pour all the condensed milk bowl onto this layer. You will have a thin layer of sweetened condensed milk in between all the layers.
- Return your Layered Christmas jello to the freezer and wait for this layer to set. This layer will take a little bit longer to set (about 10 minutes or so)
- Once it is set, bring your pan back out of the freezer and gently pour a layer of the red. Return this to the freezer to firm up.
- Repeat this process with the other lime jello layer, condensed milk layer, and then the cherry jello layer. Be sure to return the pan to the freezer in between each layer.
- Once all the layers are good and set, like really good and set, you can gently separate the jello from the pan and then you will want to flip the pan upside down to remove the jello.
- Then cut the layered jello into small squares and top with whipped cream and sprinkles if you would like.
Notes
- You want to make sure that you have the jello layers cool down before adding them to the layers. If you add them and they are too hot, they will melt the already firm layers. This is why I suggest making all the layers and letting them sit.
- If bubbles form on the layers be sure you pop them before moving on.
- The Christmas layered jello is perfect this time of year, but why only serve finger jello once a year? Experiment with different colors of layers (red, white, and blue for Fourth of July, pink, red, and white for Valentine’s Day, greens for St. Patrick’s Day).

Michele Tripple is a renowned author and expert in the fields of parenting, relationships, and personal development. With her degree in marriage and family studies, her experience as a Family Life Educator, and over a decade of experience as a professional writer, Michele has authored books that provide practical advice and insights into improving family dynamics and personal growth. Her work is celebrated for its blend of research-driven information and relatable, real-world applications. Michele has been a keynote speaker at conferences and has contributed to numerous publications and media outlets, solidifying her reputation as an authoritative voice in her field and helping families build relationships.

1 box of gelatin (4 packets) with 1 box of jello makes for an extremely firm texture on the jello. Almost like a lifesaver gummy. Is it meant to be 1 packet?
Yes, 1 packet. Sorry about that