
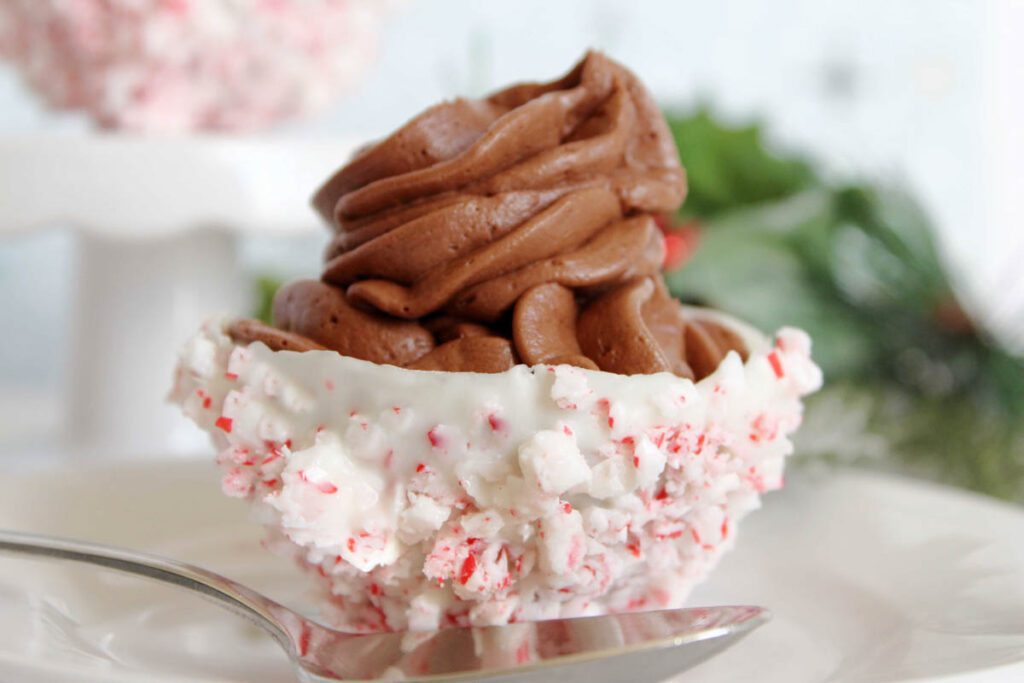
The sky’s the limit with this yummy peppermint bark dessert bowl. Swapping your bowl out for a homemade peppermint bowl will make any holiday dessert stand out!
White Chocolate Peppermint Dessert Bowl
Want to know my secret for making any holiday dessert fancy? Use a white chocolate peppermint dessert bowl!
Having a dessert bowl filled with my brownies, chocolate truffles, or pound cake is next-level amazing. I think my favorite dessert in the world is a white chocolate dessert bowl filled with a scoop of peppermint pie! Yum.
No matter what you put in them, these bowls are the way to go this holiday season. And trust me, even without any chocolate experience they are so easy (and quick) to make!
Just be sure you make plenty because everyone will be reaching for seconds!
More holiday recipes you’ll love
- 4-Ingredient Christmas Tree Brownie Bites
- 3-Ingredient Peppermint Hot Chocolate
- Easy Christmas Tree Cupcakes
Keyword Variation Header
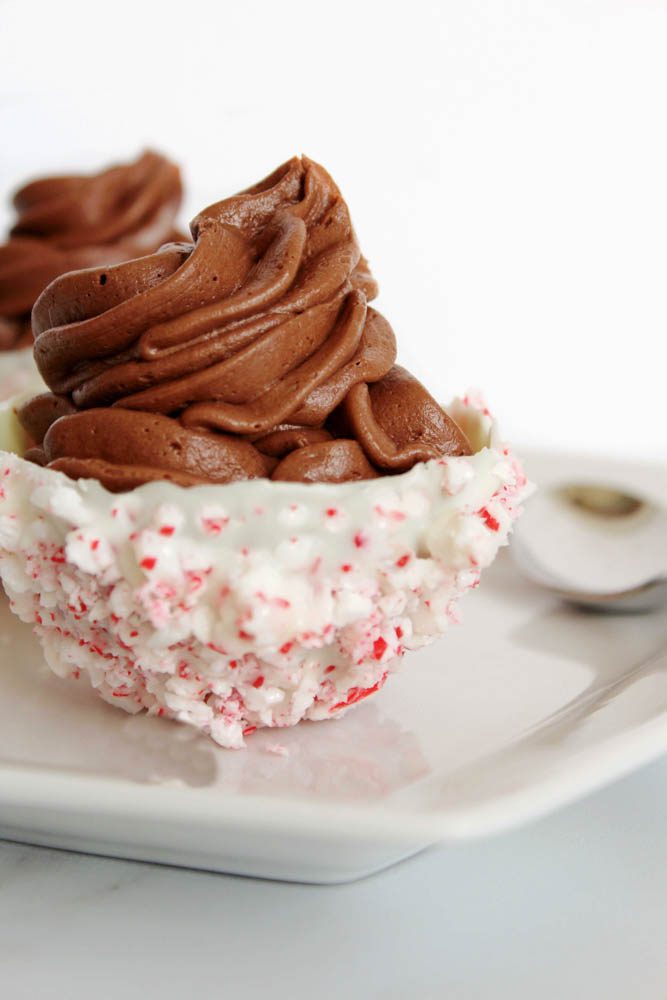
These peppermint bark dessert bowls will change your holiday dessert world! Whether it’s a family night or a large event, these bowls are sure to make a scene.
Ingredients
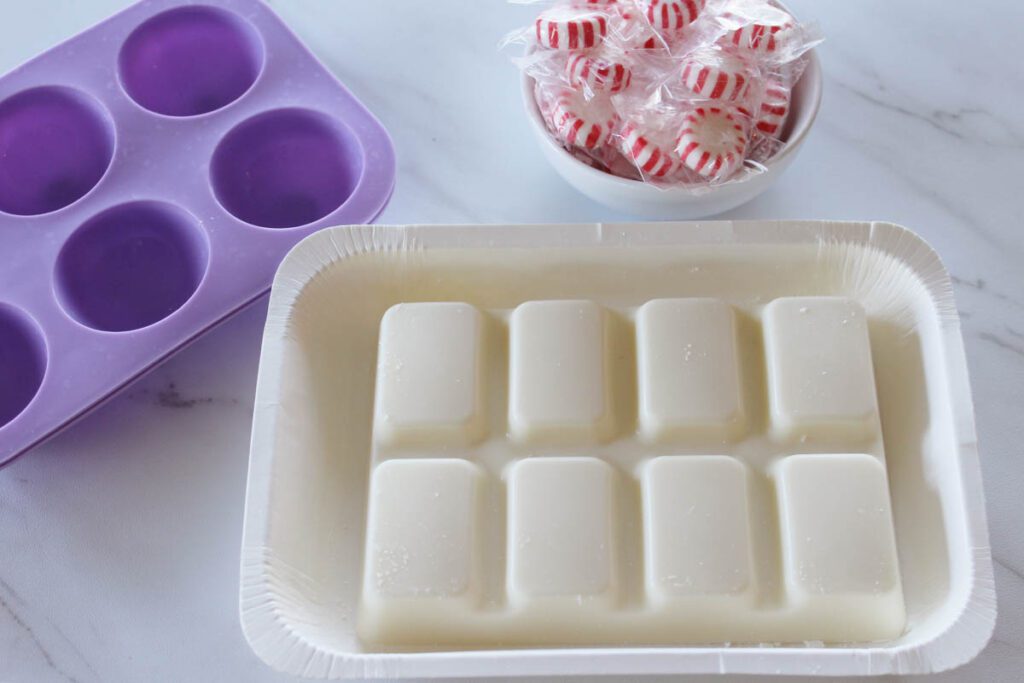
- 8 oz white chocolate candy coating
- 4 oz crushed candy canes
The Following Tools Will Be Helpful When Making These!
How to Make a Peppermint Bark Dessert Bowl
Don’t forget to download the full printable recipe below so you can print it out and use it whenever you feel like making this delicious recipe!

- To make your dessert bowls, you first need to melt your chocolate. Place the chocolate in a microwave-safe bowl and heat for 1 minute.
- Remove the bowl and stir the coating.
- Return the bowl to the microwave for 30 seconds and stir again.
- Continue heating in 30-second increments until the chocolate is smooth and completely melted.
- Allow the chocolate to cool slightly for about 5 minutes.
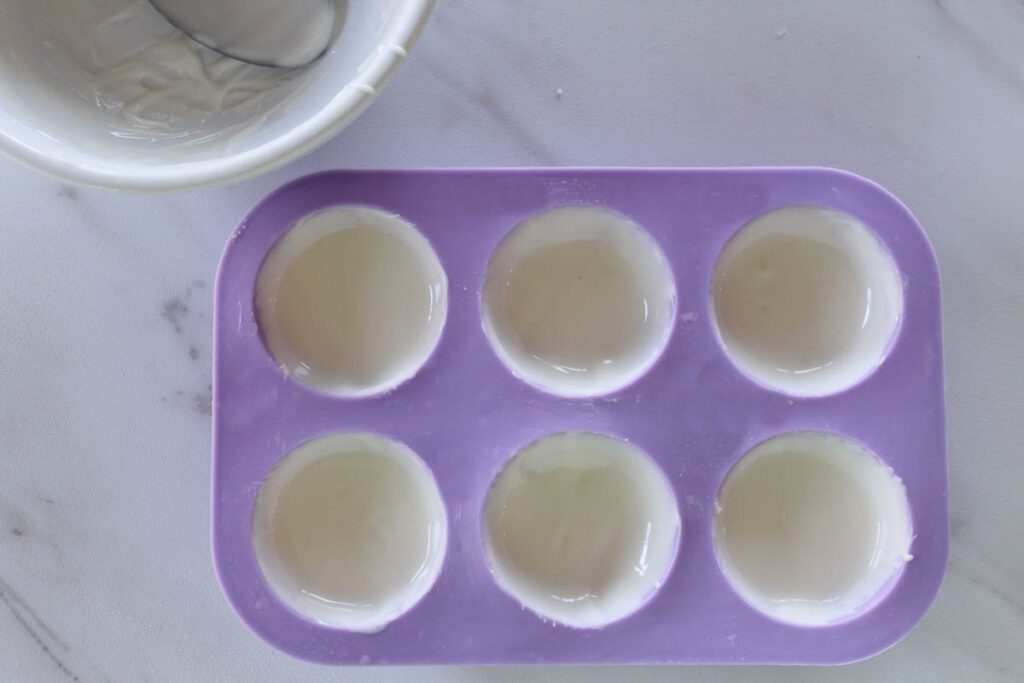
- Pour about 1 oz of melted chocolate into each cavity of the silicone mold and brush or turn the mold until the whole half-sphere is covered.
- Move the molds into the refrigerator to set for about 10 minutes.
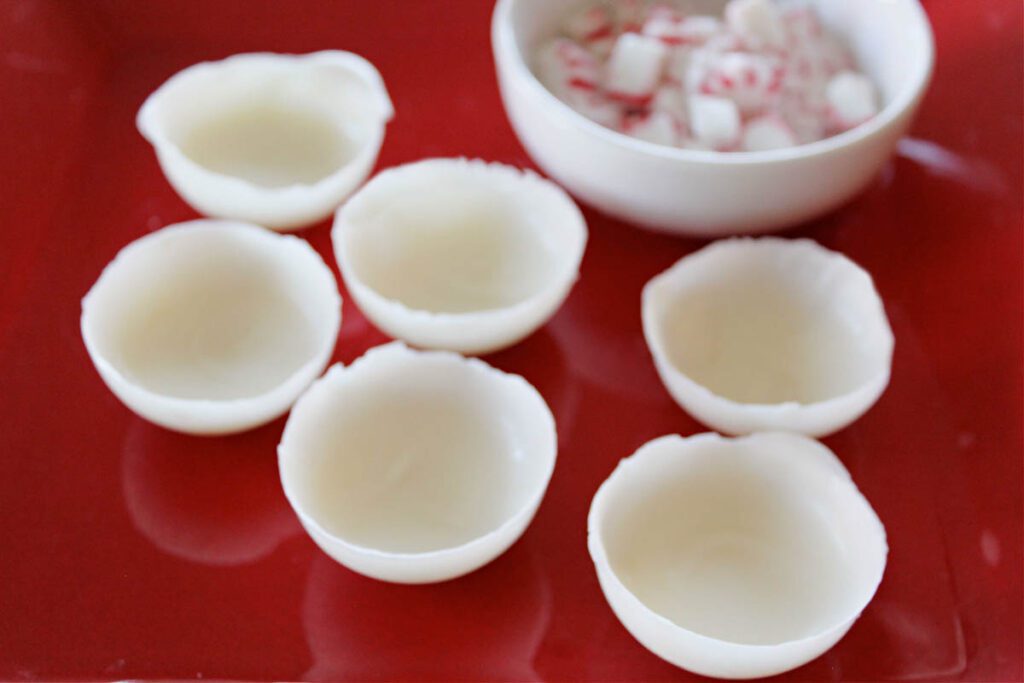
- If you haven’t already crushed your candy canes, you should do this while your chocolate sets and pour it into a container so it’s ready!
- When the chocolate is set, remove each dessert bowl from the mold and place them on a baking sheet lined with parchment paper.
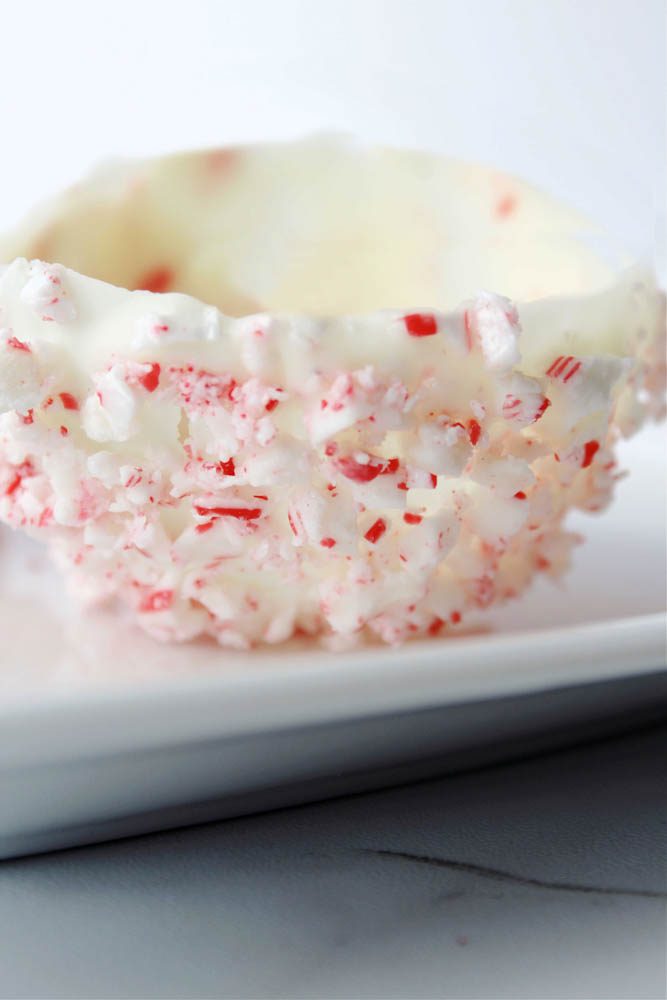
- Dip each of the bowls’ bottoms back into the melted chocolate and immediately into the crushed candy cane.
- Place the dessert bowls back on the baking sheet and back in the fridge to set again for 10 minutes.
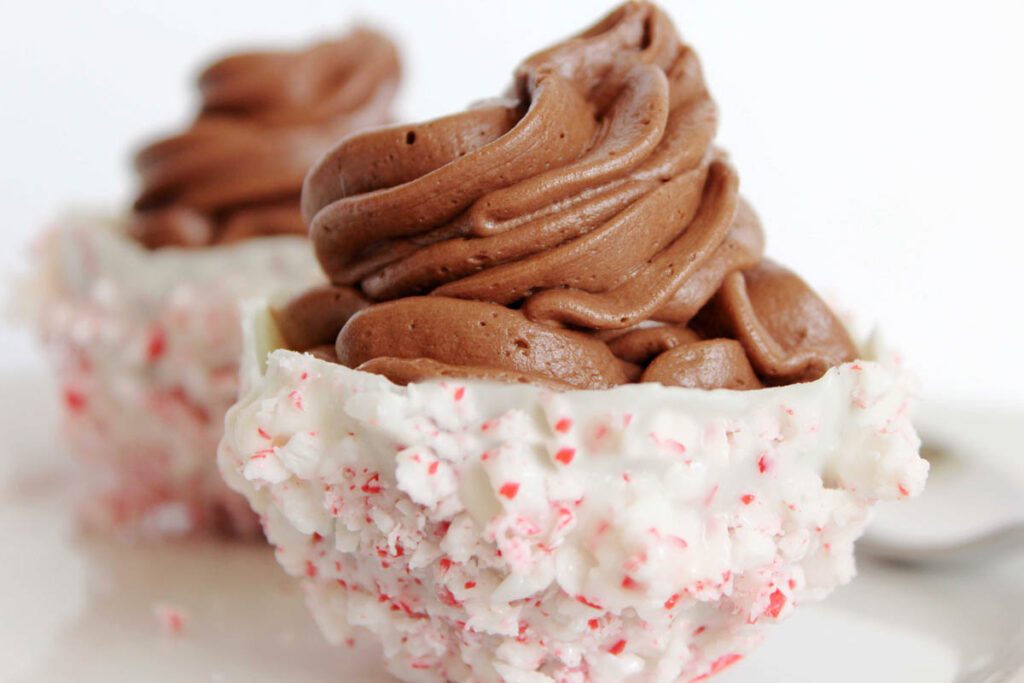
- When the bowls are finished, fill them with your favorite dessert and enjoy!
Tips Tricks and FAQs
- Here’s a trick for making your bowls without a silicone mold! Grab a few balloons and blow them up to about the size of an apple. Melt your chocolate and let it cool. Dip each of your balloons into the chocolate and place them on a lined baking sheet. Let them set in the fridge for 15 minutes. When they are set, carefully pop the balloon with a small hole and you can continue making your bowls!
- If you are coating your mold in chocolate and find that the chocolate is too thick, grab a wire cooling rack and place your mold upside down on the rack to let any excess chocolate drip off. When it’s done dripping, you can continue making your bowls by putting them in the fridge!
- White chocolate candy melts are usually pretty easy to melt, but if you do notice it’s not melting well or looks seized, try adding 1 tablespoon of oil at a time to the chocolate. Stir until smooth enough to coat your molds! You can use just about any oil to do this as long as it doesn’t have a strong flavor.
Can I substitute white chocolate chips for candy melts in my dessert bowl?
You can try to use white chocolate chips in this recipe, but they can be a little tricky when you are trying to melt them!
I recommend sticking to candy melts because they are meant for melting, but if you do want to use chocolate chips you may want to add about a tablespoon of coconut oil or vegetable oil to keep it from seizing.
Storage
Store your peppermint bark dessert bowls in the fridge for up to 1 week. You can freeze these bowls, but make sure that they are carefully in a container so they don’t break.
More Easy Chocolate Recipes
- Green Hot Chocolate Bombs
- Semi-Homemade Chocolate Trifle Recipe
- Oreo Hot Chocolate Bomb Recipe
- Fudgy Hot Chocolate Cookies
Did you make this?

White Chocolate Peppermint Dessert Bowl
The sky’s the limit with this yummy peppermint bark dessert bowl. Swapping your bowl out for a homemade peppermint bowl will make any holiday dessert stand out!
Ingredients
- 8 oz white chocolate candy coating
- 4 oz crushed candy canes
Instructions
- To make your dessert bowls, you first need to melt your chocolate. Place the chocolate in a microwave-safe bowl and heat for 1 minute.
- Remove the bowl and stir the coating.
- Return the bowl to the microwave for 30 seconds and stir again.
- Continue heating in 30-second increments until the chocolate is smooth and completely melted.
- Allow the chocolate to cool slightly for about 5 minutes.
- Pour about 1 oz of melted chocolate into each cavity of the silicone mold and brush or turn the mold until the whole half-sphere is covered.
- Move the molds into the refrigerator to set for about 10 minutes.
- If you haven’t already crushed your candy canes, you should do this while your chocolate sets and pour it into a container so it’s ready!
- When the chocolate is set, remove each dessert bowl from the mold and place them on a baking sheet lined with parchment paper.
- Dip each of the bowls’ bottoms back into the melted chocolate and immediately into the crushed candy cane.
- Place the dessert bowls back on the baking sheet and back in the fridge to set again for 10 minutes.
- When the bowls are finished, fill them with your favorite dessert and enjoy!

Michele Tripple is a renowned author and expert in the fields of parenting, relationships, and personal development. With her degree in marriage and family studies, her experience as a Family Life Educator, and over a decade of experience as a professional writer, Michele has authored books that provide practical advice and insights into improving family dynamics and personal growth. Her work is celebrated for its blend of research-driven information and relatable, real-world applications. Michele has been a keynote speaker at conferences and has contributed to numerous publications and media outlets, solidifying her reputation as an authoritative voice in her field and helping families build relationships.