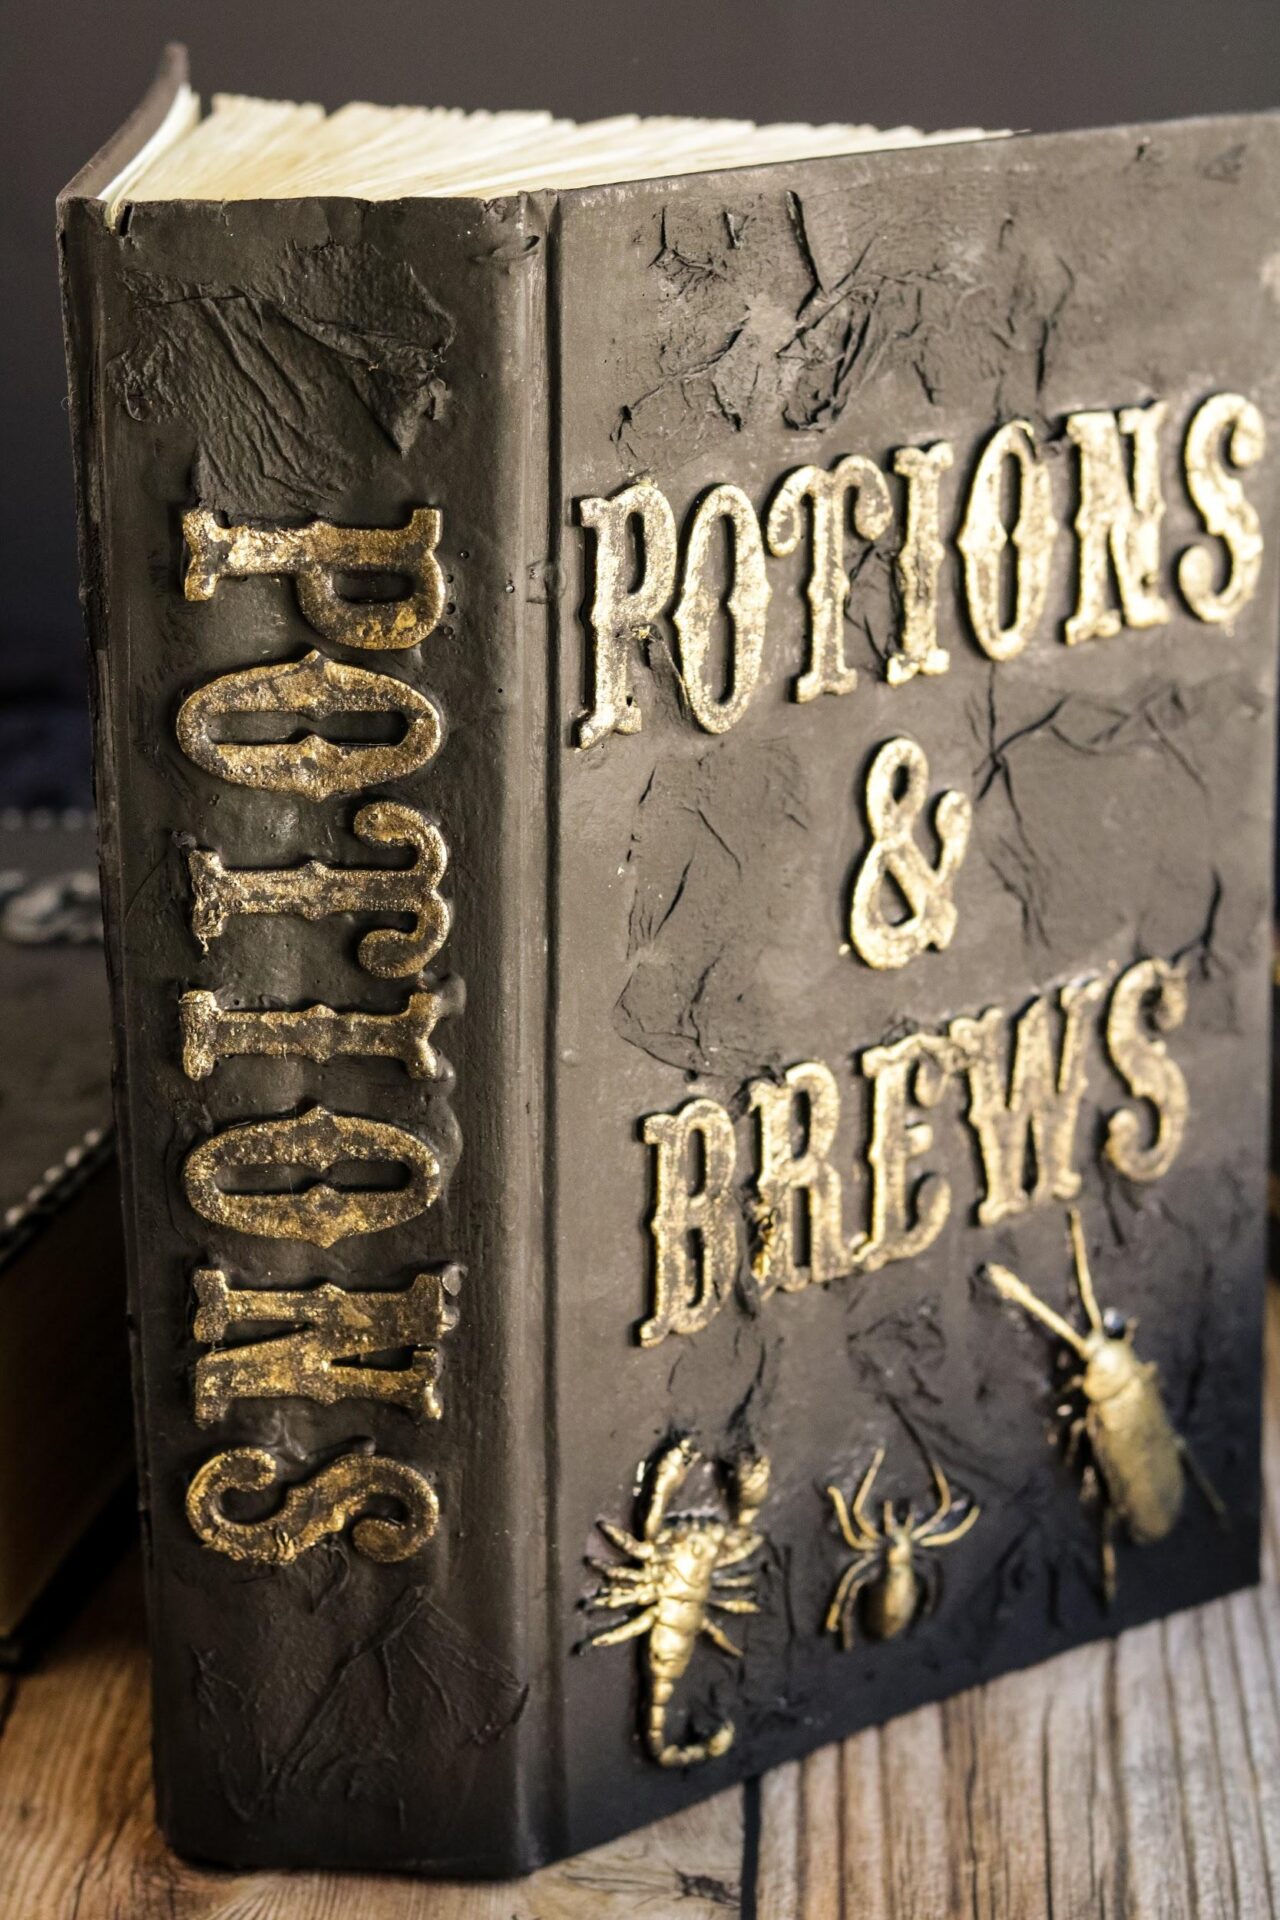
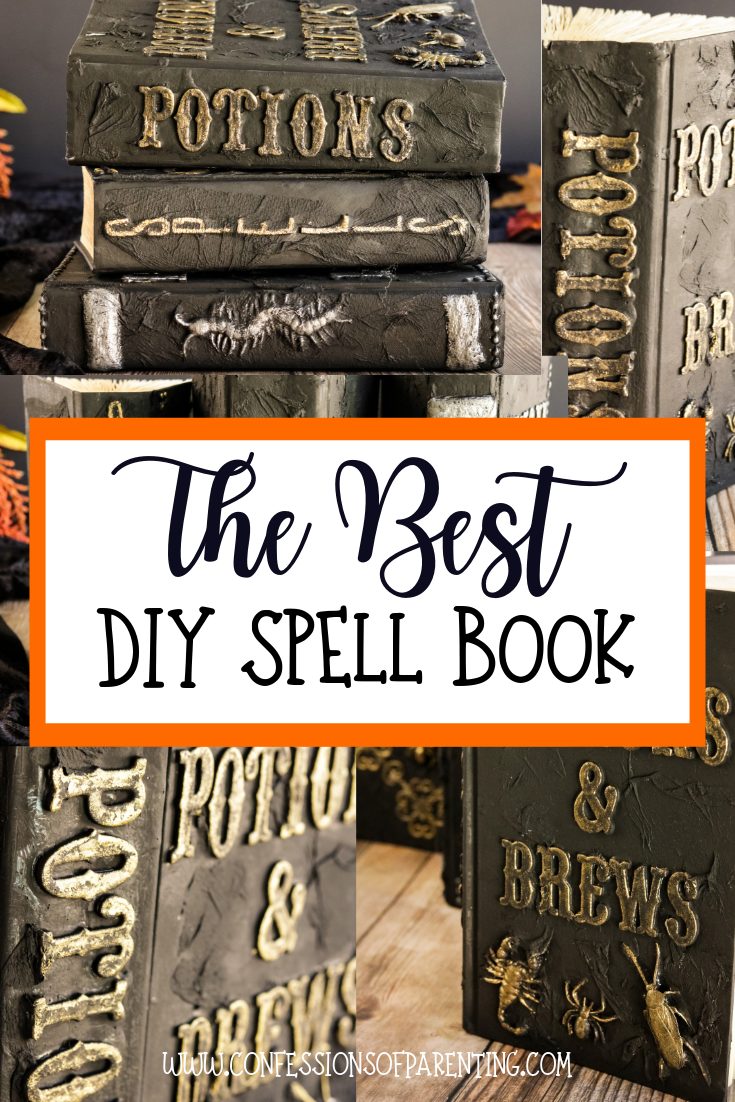
This DIY Spell Book is a must for all our Harry Potter lovers and our Halloween lovers. These are easy to make and a fun project for the whole family.
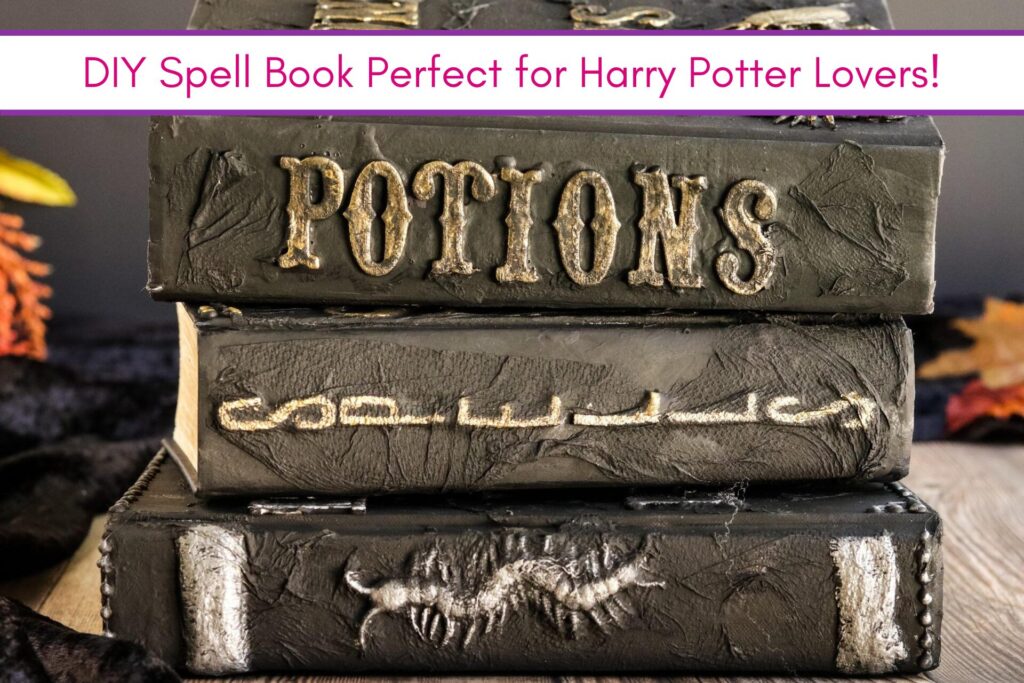
Halloween is just around the corner! Can you believe it? For the past few years, I have been seeing all kinds of cute DIY spell books on Pinterest, but the problem is they take days to make!
So I decided to simplify the DIY Harry Potter spell book to take just about an hour because this mama doesn’t have days for any DIY project!
How to make a DIY Spell Book
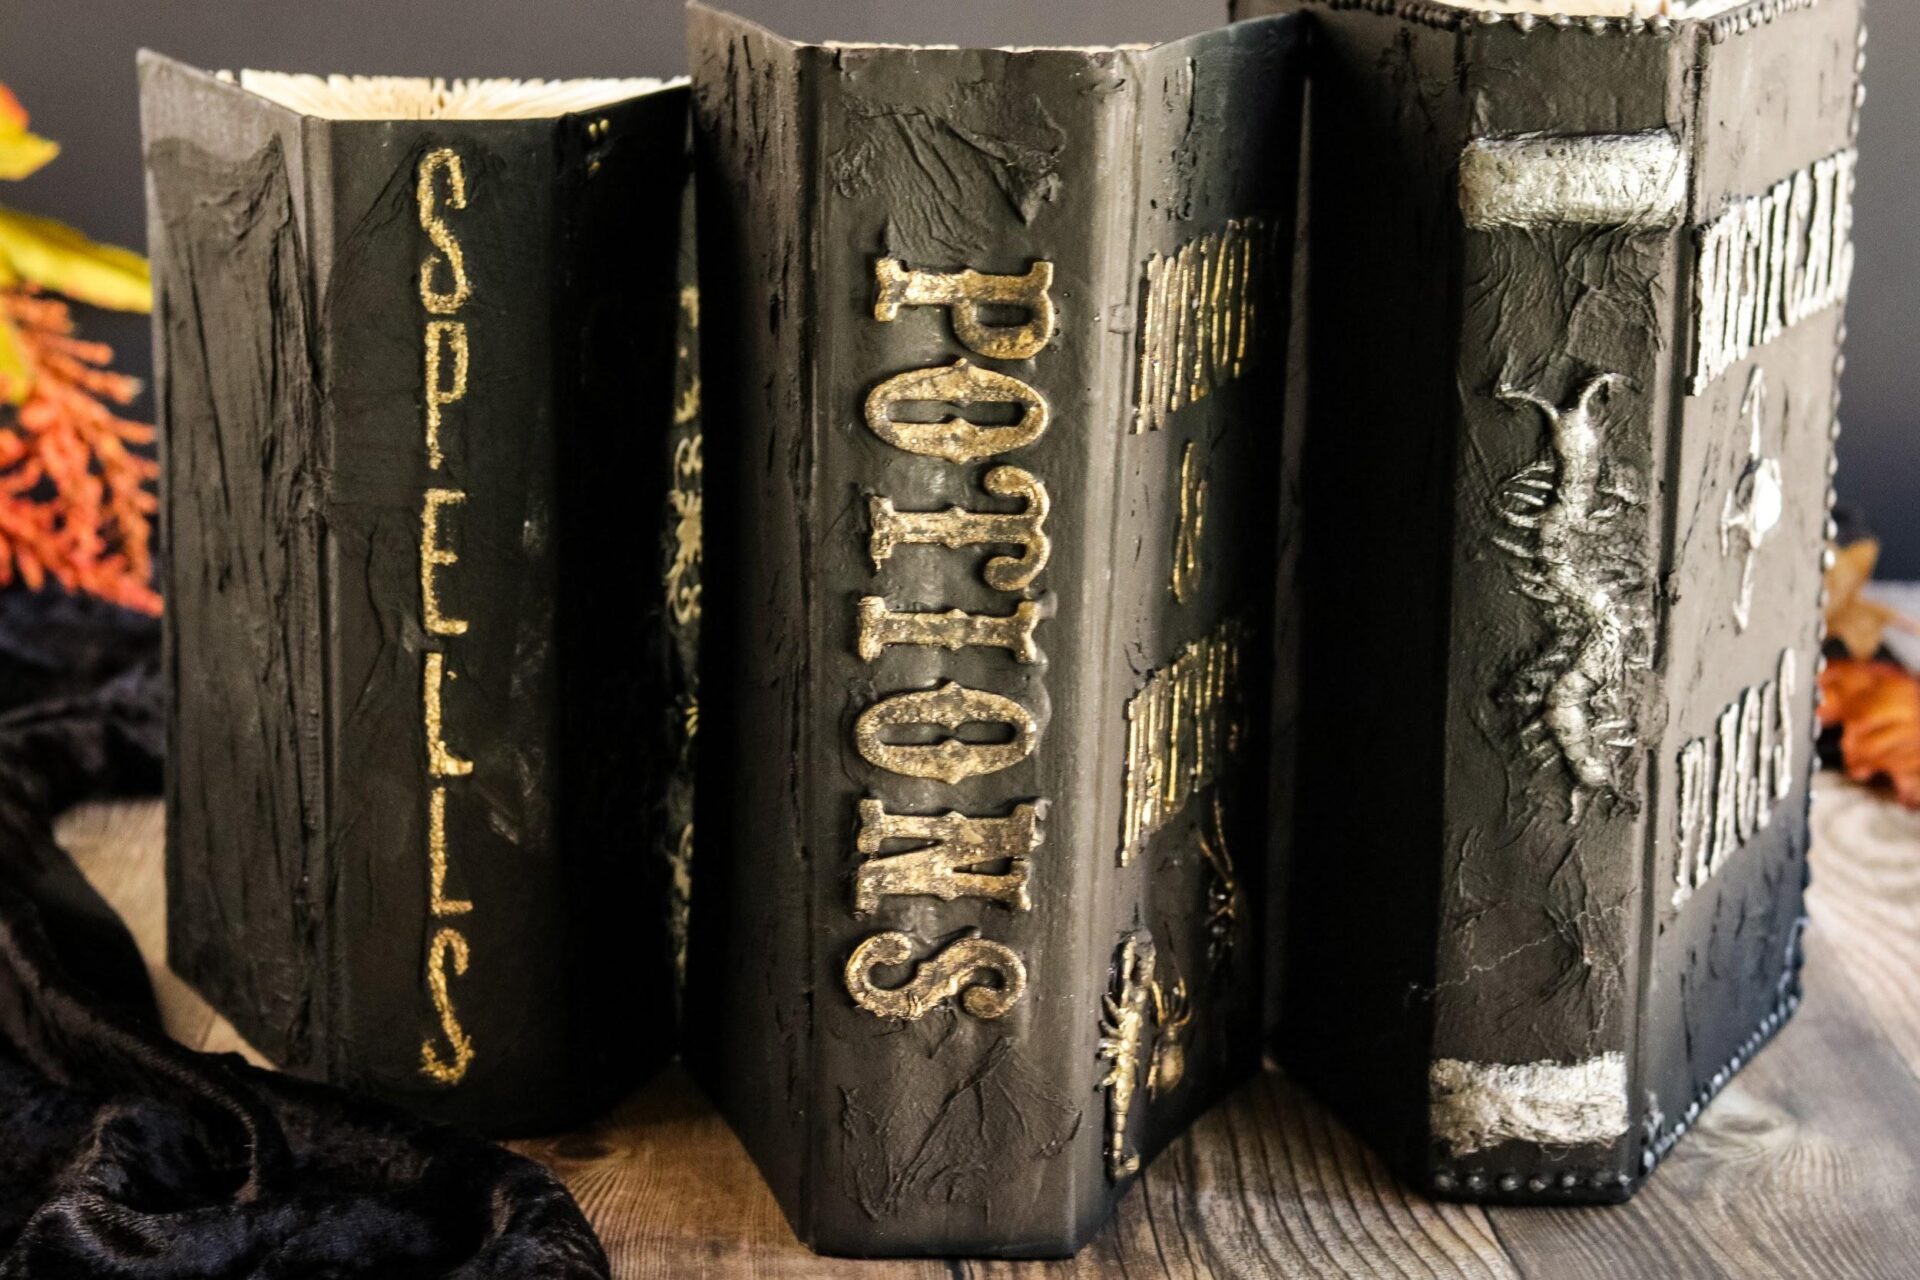
DIY Spell Books
- Makes 3 books
- Total Time: 1 hour
Supplies needed for DIY Spell Books:
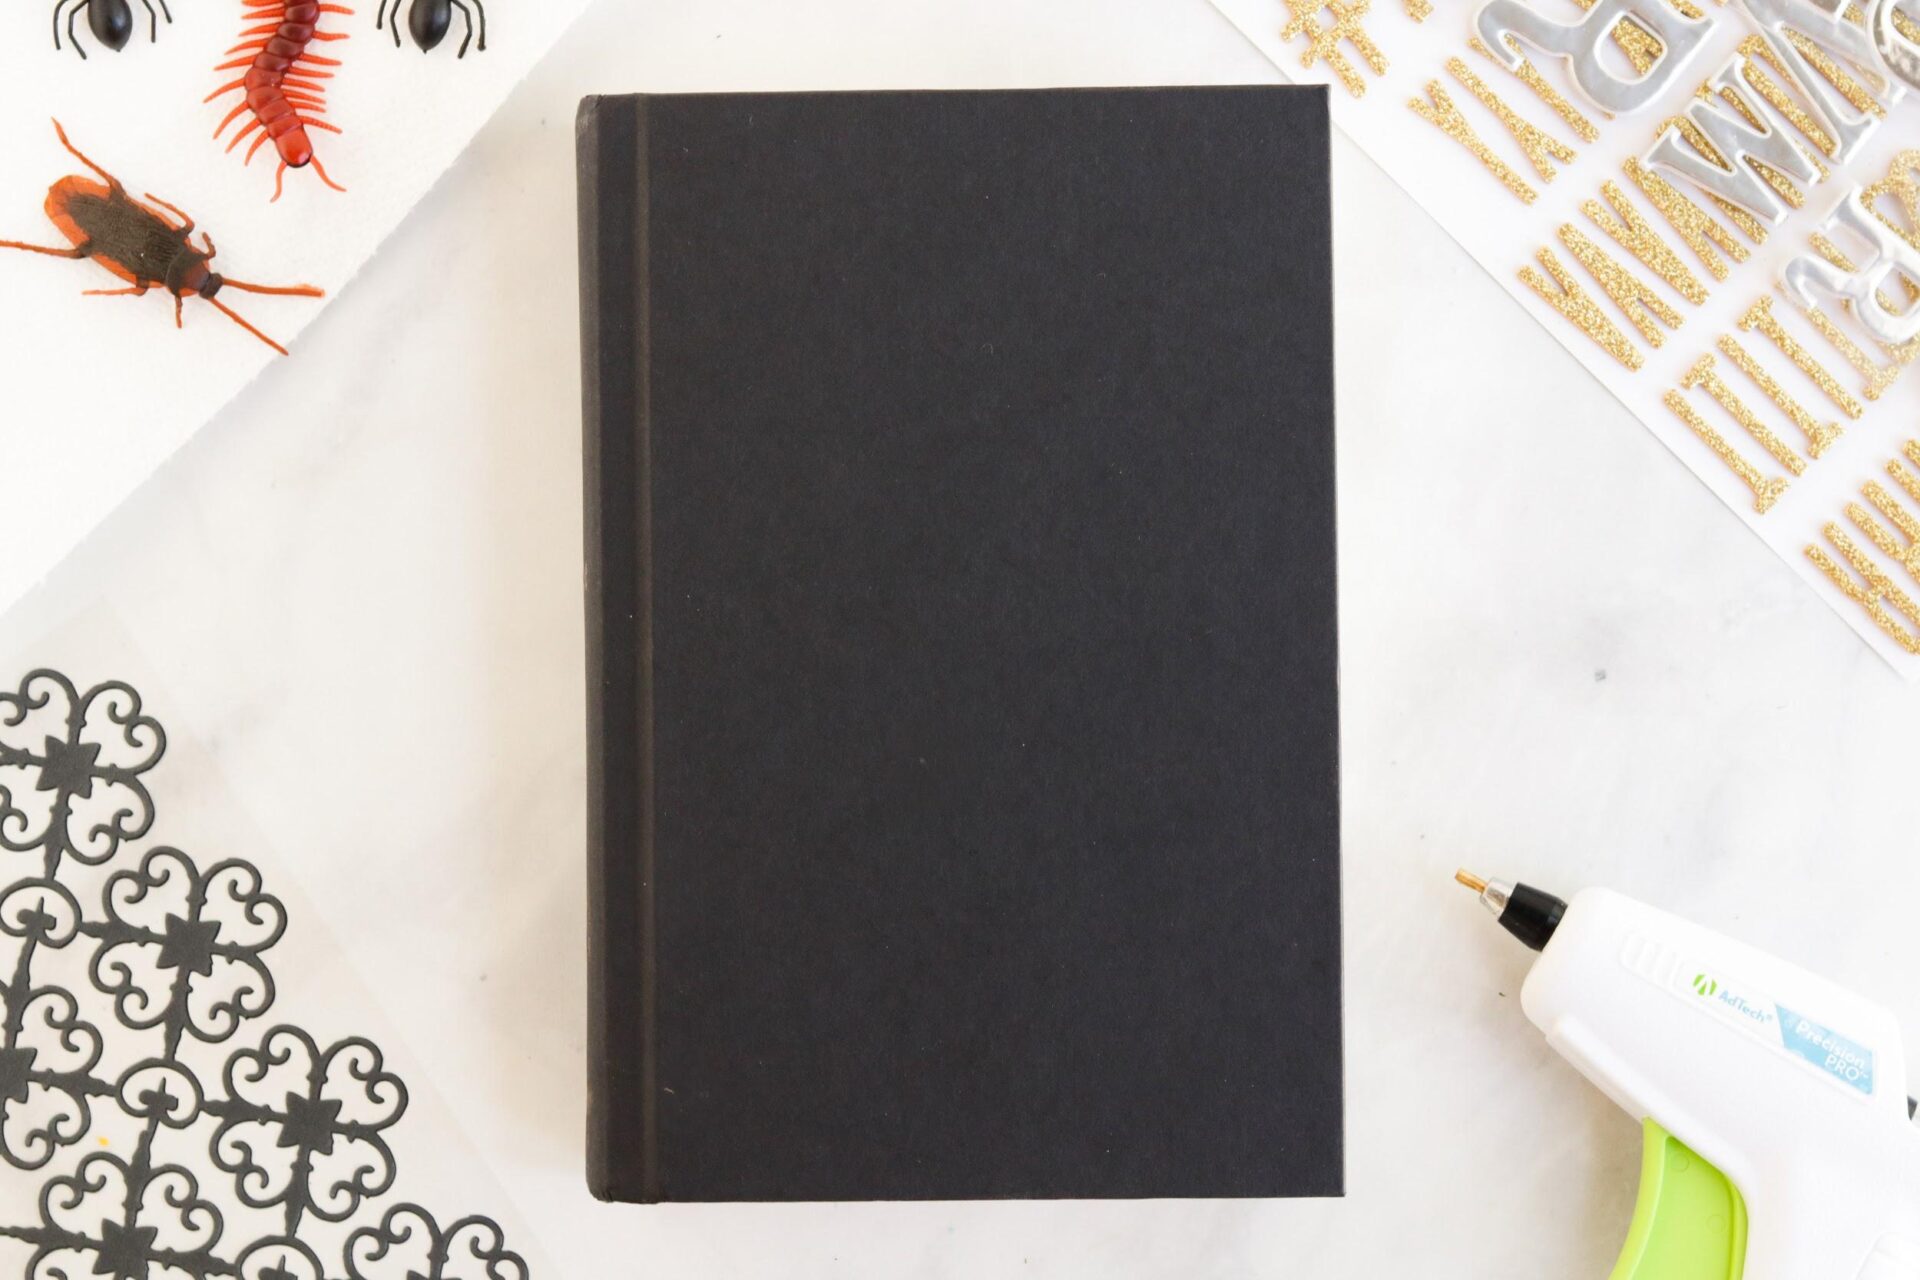
- 3 hardcover books (if you don’t have any around the house a thrift store is a great place to find some good ones)
- Foam, puffy or 3d letter stickers (Pick these up at your local craft store)
- Hot Glue Gun with extra glue sticks
- Embellishments of choice (plastic bugs, gems, stickers)
- Mod Podge
- Paper Towel – separated into 1 ply and ripped into sections
- Black Paint
- Metallic Paint
- Distressing Ink
- Ribbon or suede
Standard Supplies:
- Paint Brushes – small bristle brush and a sponge brush
- Hairdryer
Directions for DIY Spell Books:
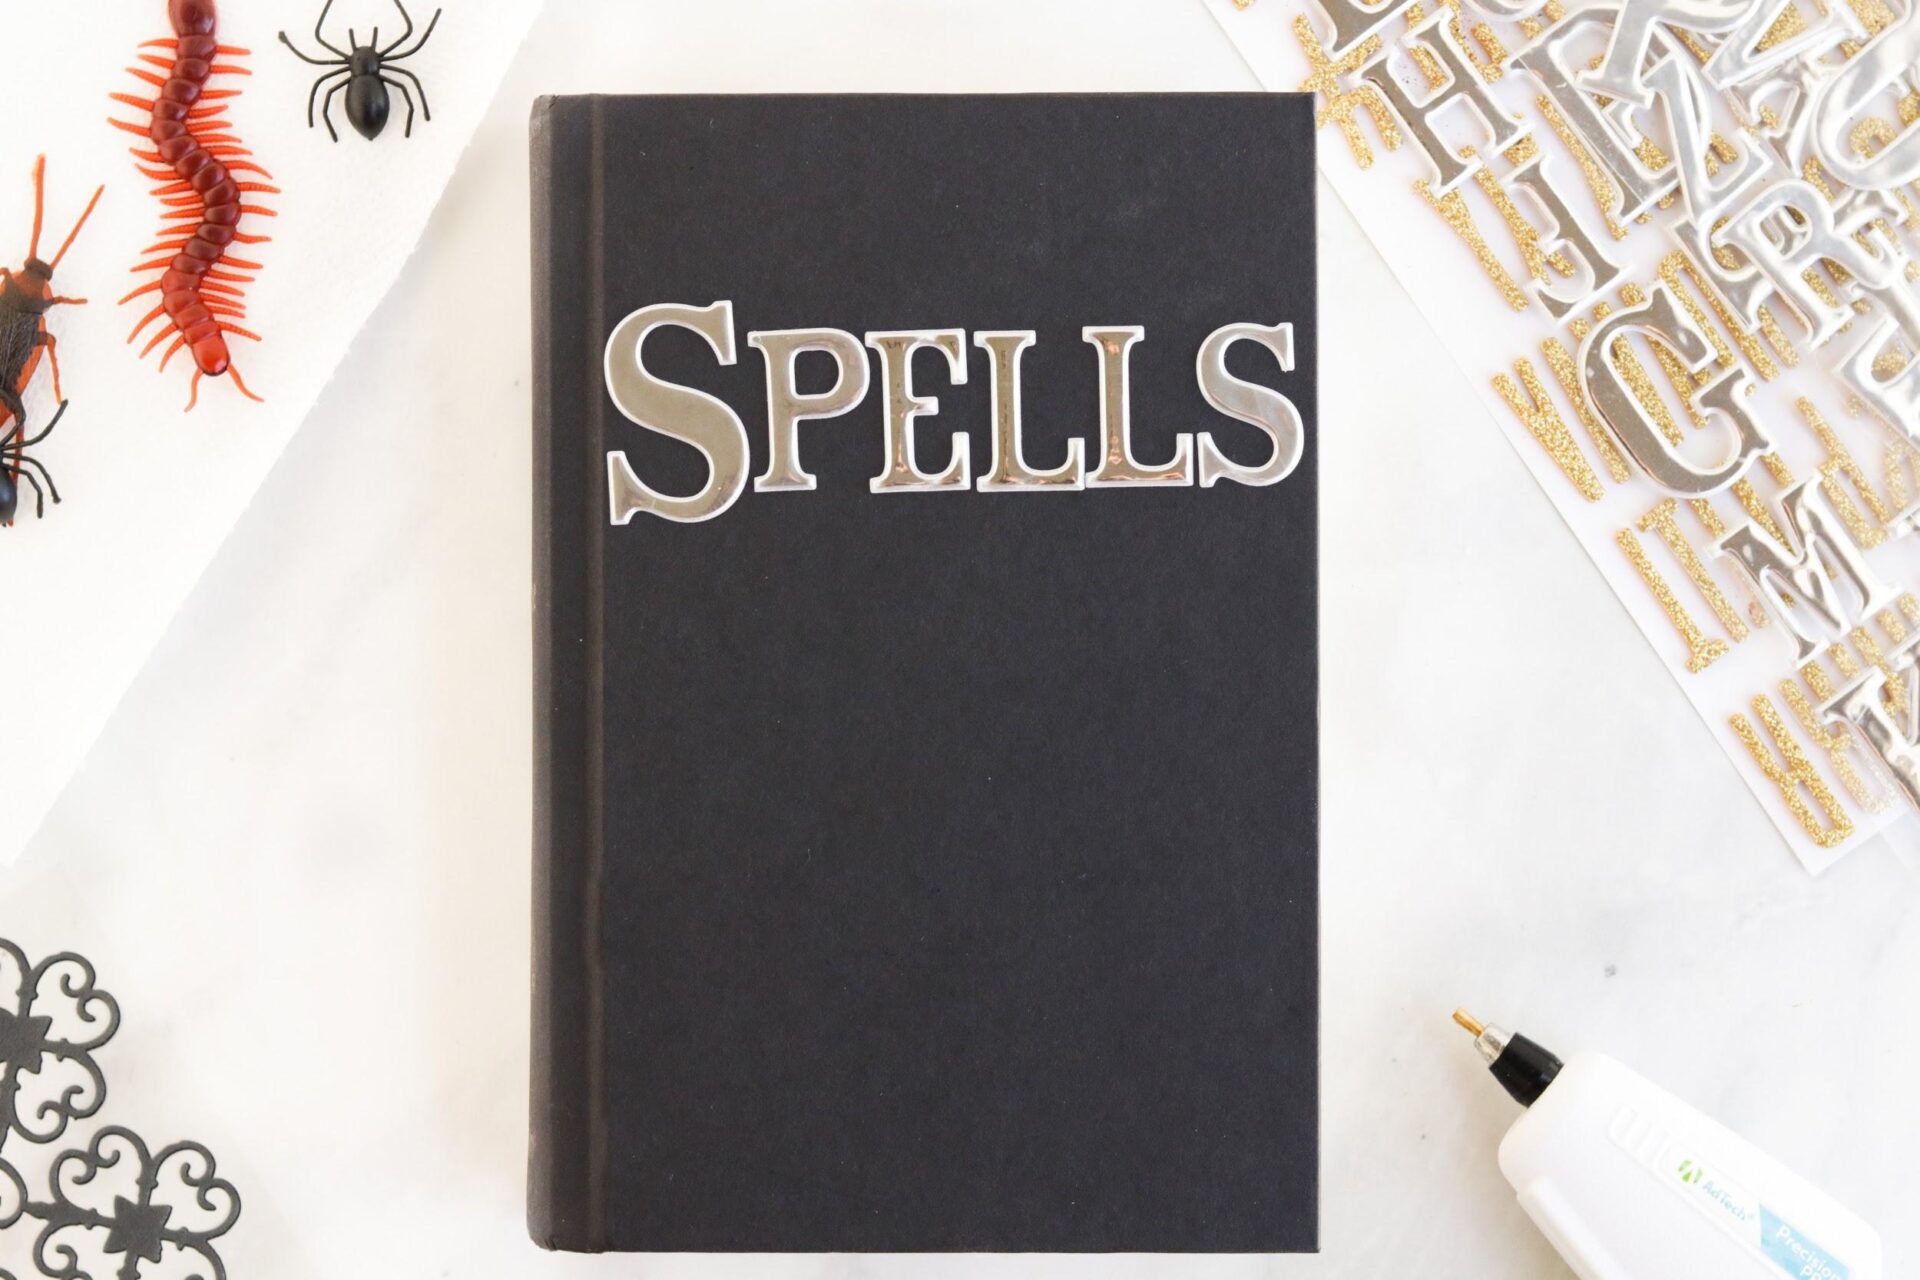
- To begin your DIY spell books you will want to attach your foam stickers to make the “titles” of the book.
- Place these sticks on the cover and the spine of the book.
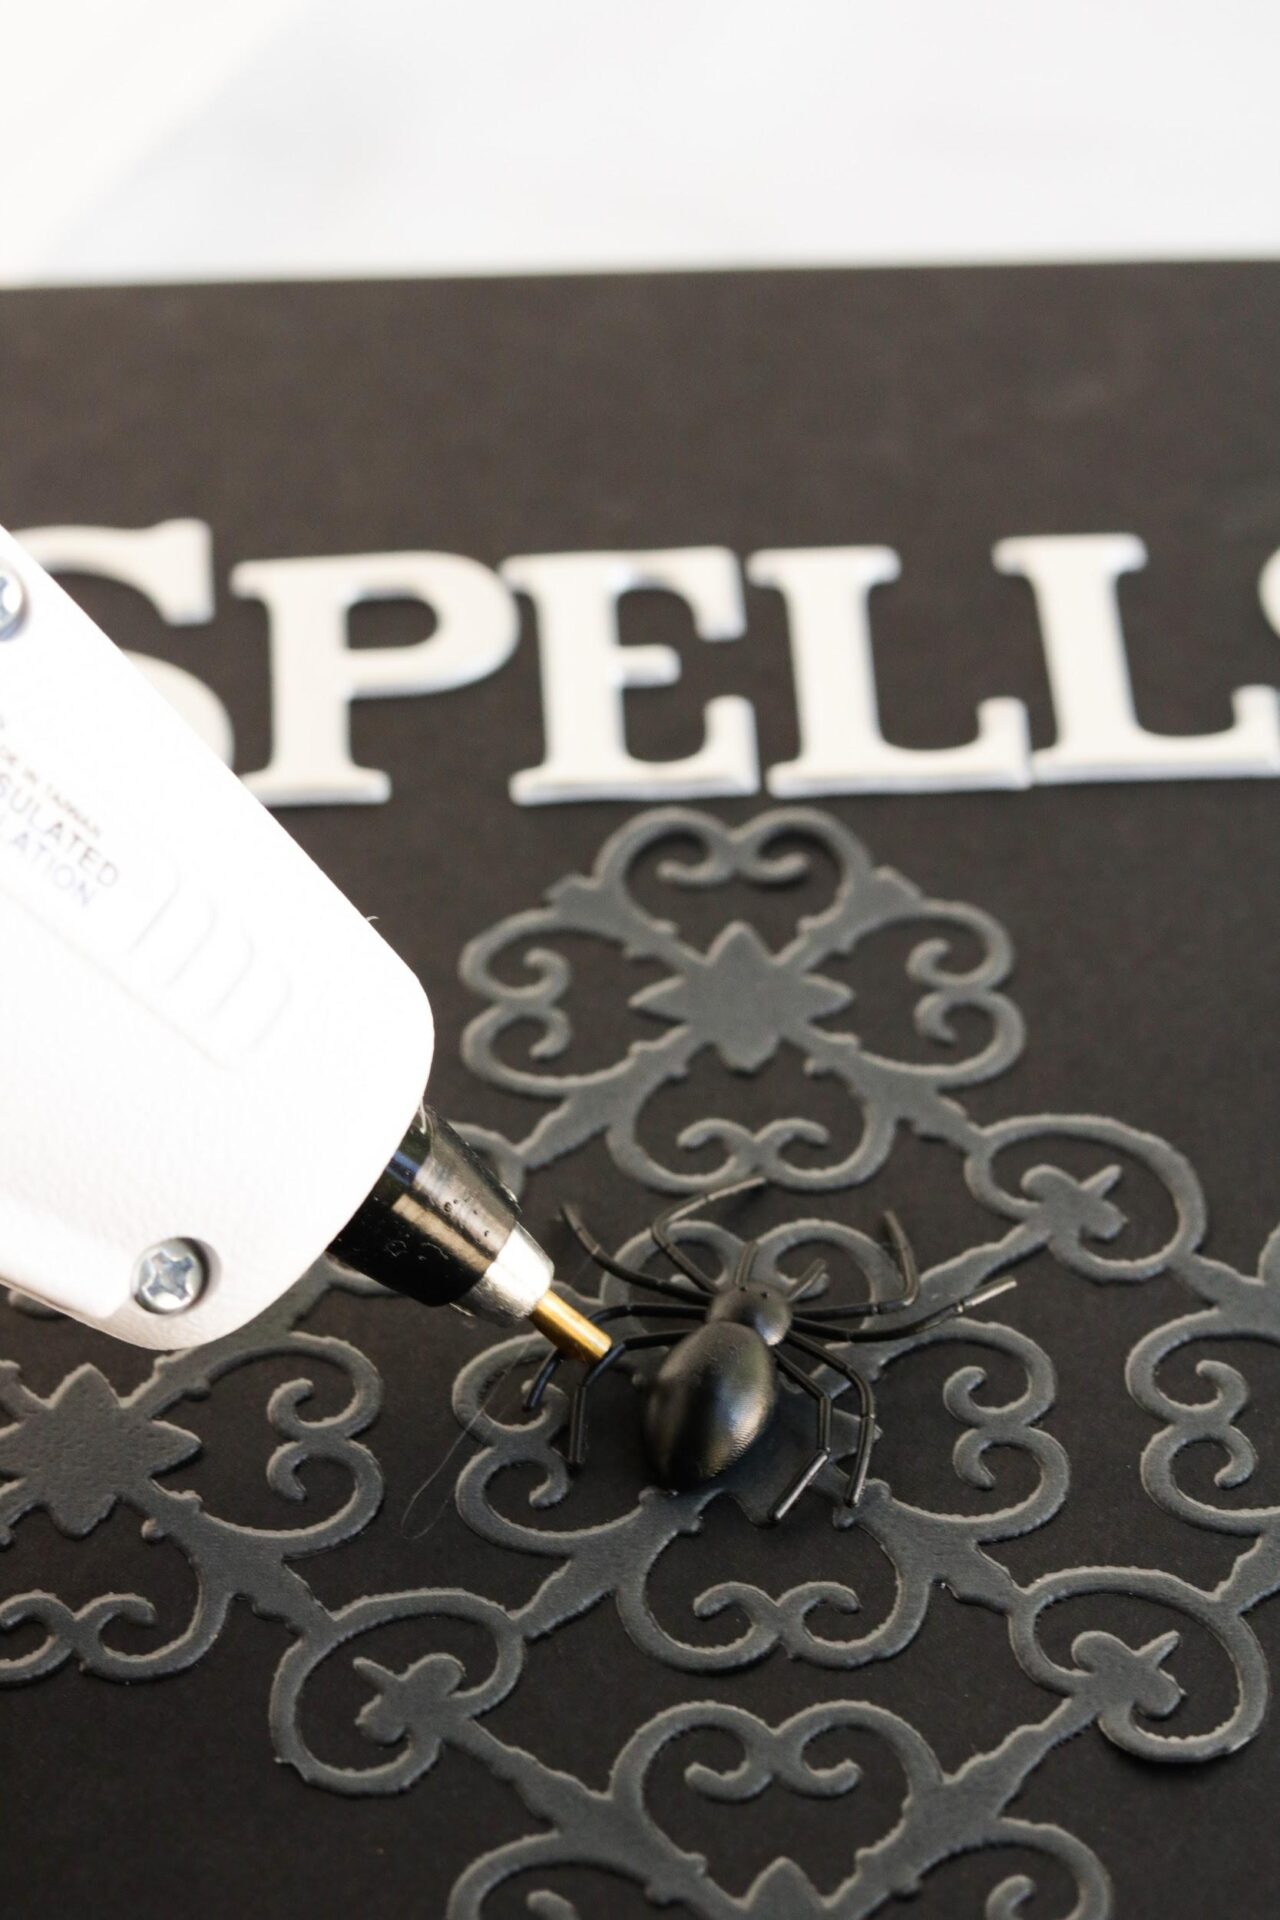
- Once this is done you will use your glue gun to make studs or patterns on the covers.
- You will also want to attach any embellishments that you want to the book that you will want black.
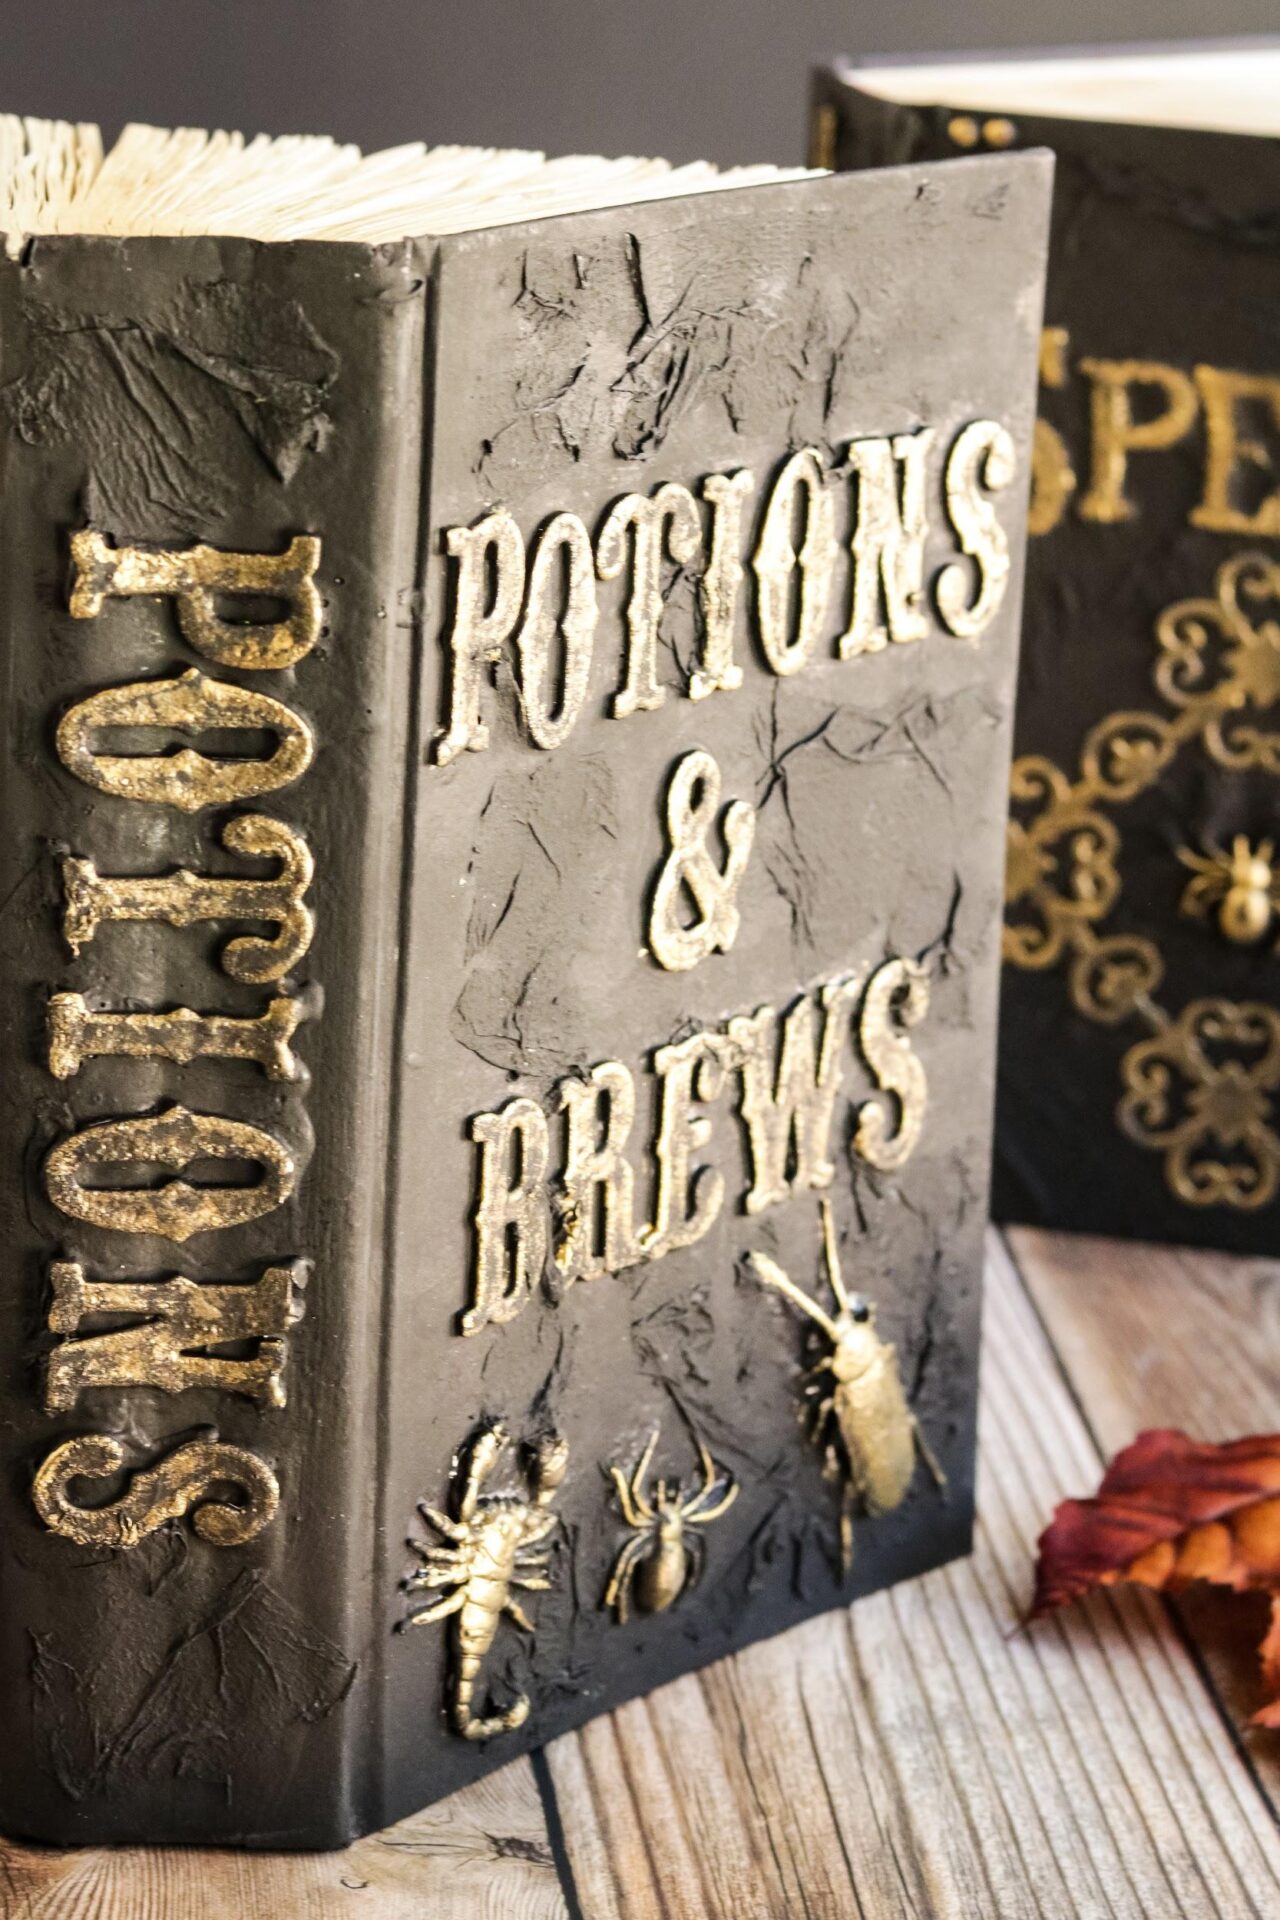
- The pattern on the front of the spellbook was created using 3 d stickers.
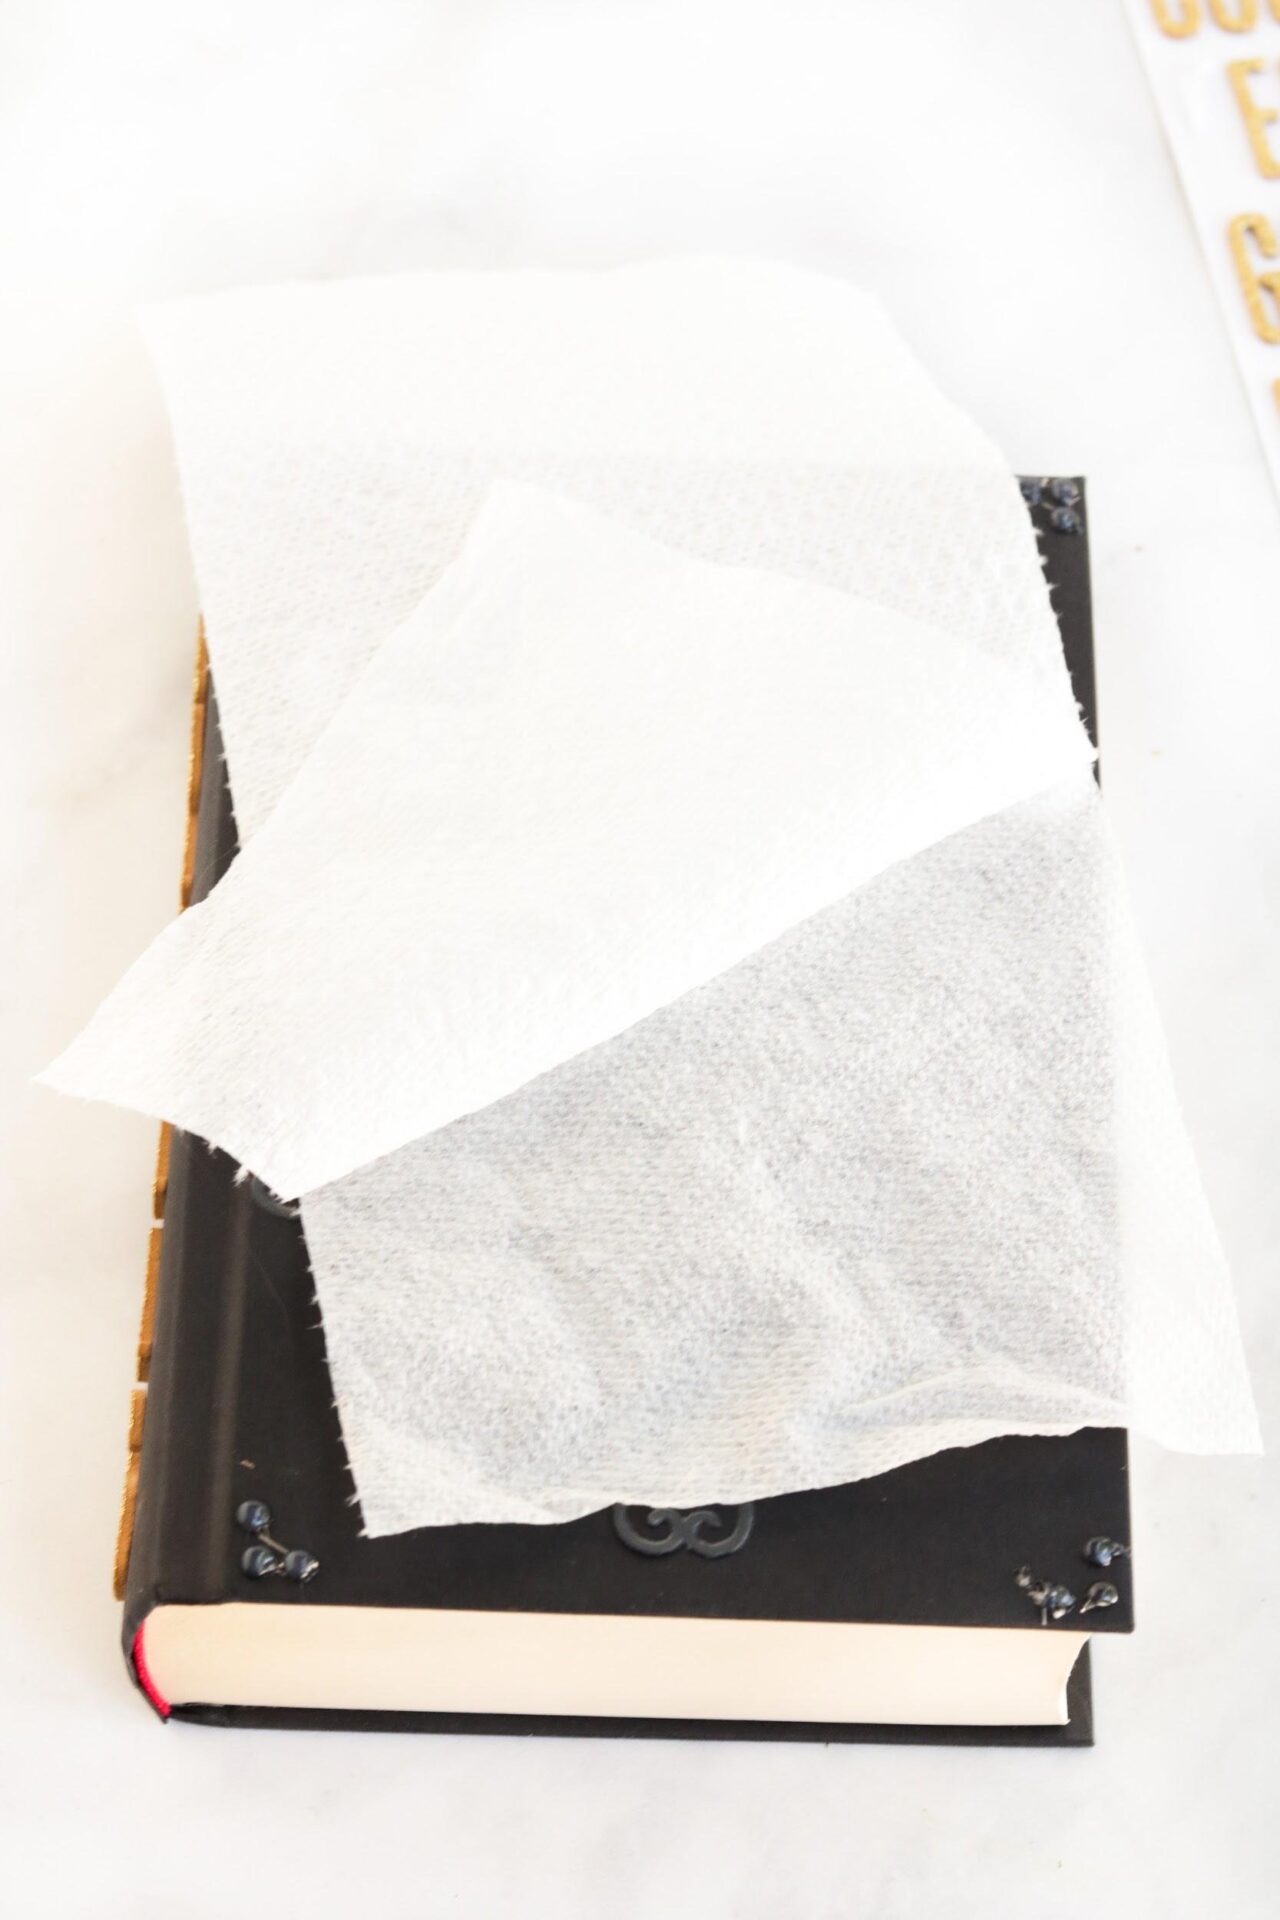
- Next, you will want to separate your paper towels into 1 ply.
- Once you do this you will want to moisten them with a couple of drops of water.
- Squeeze out any excess. You will want it to be barely damp.
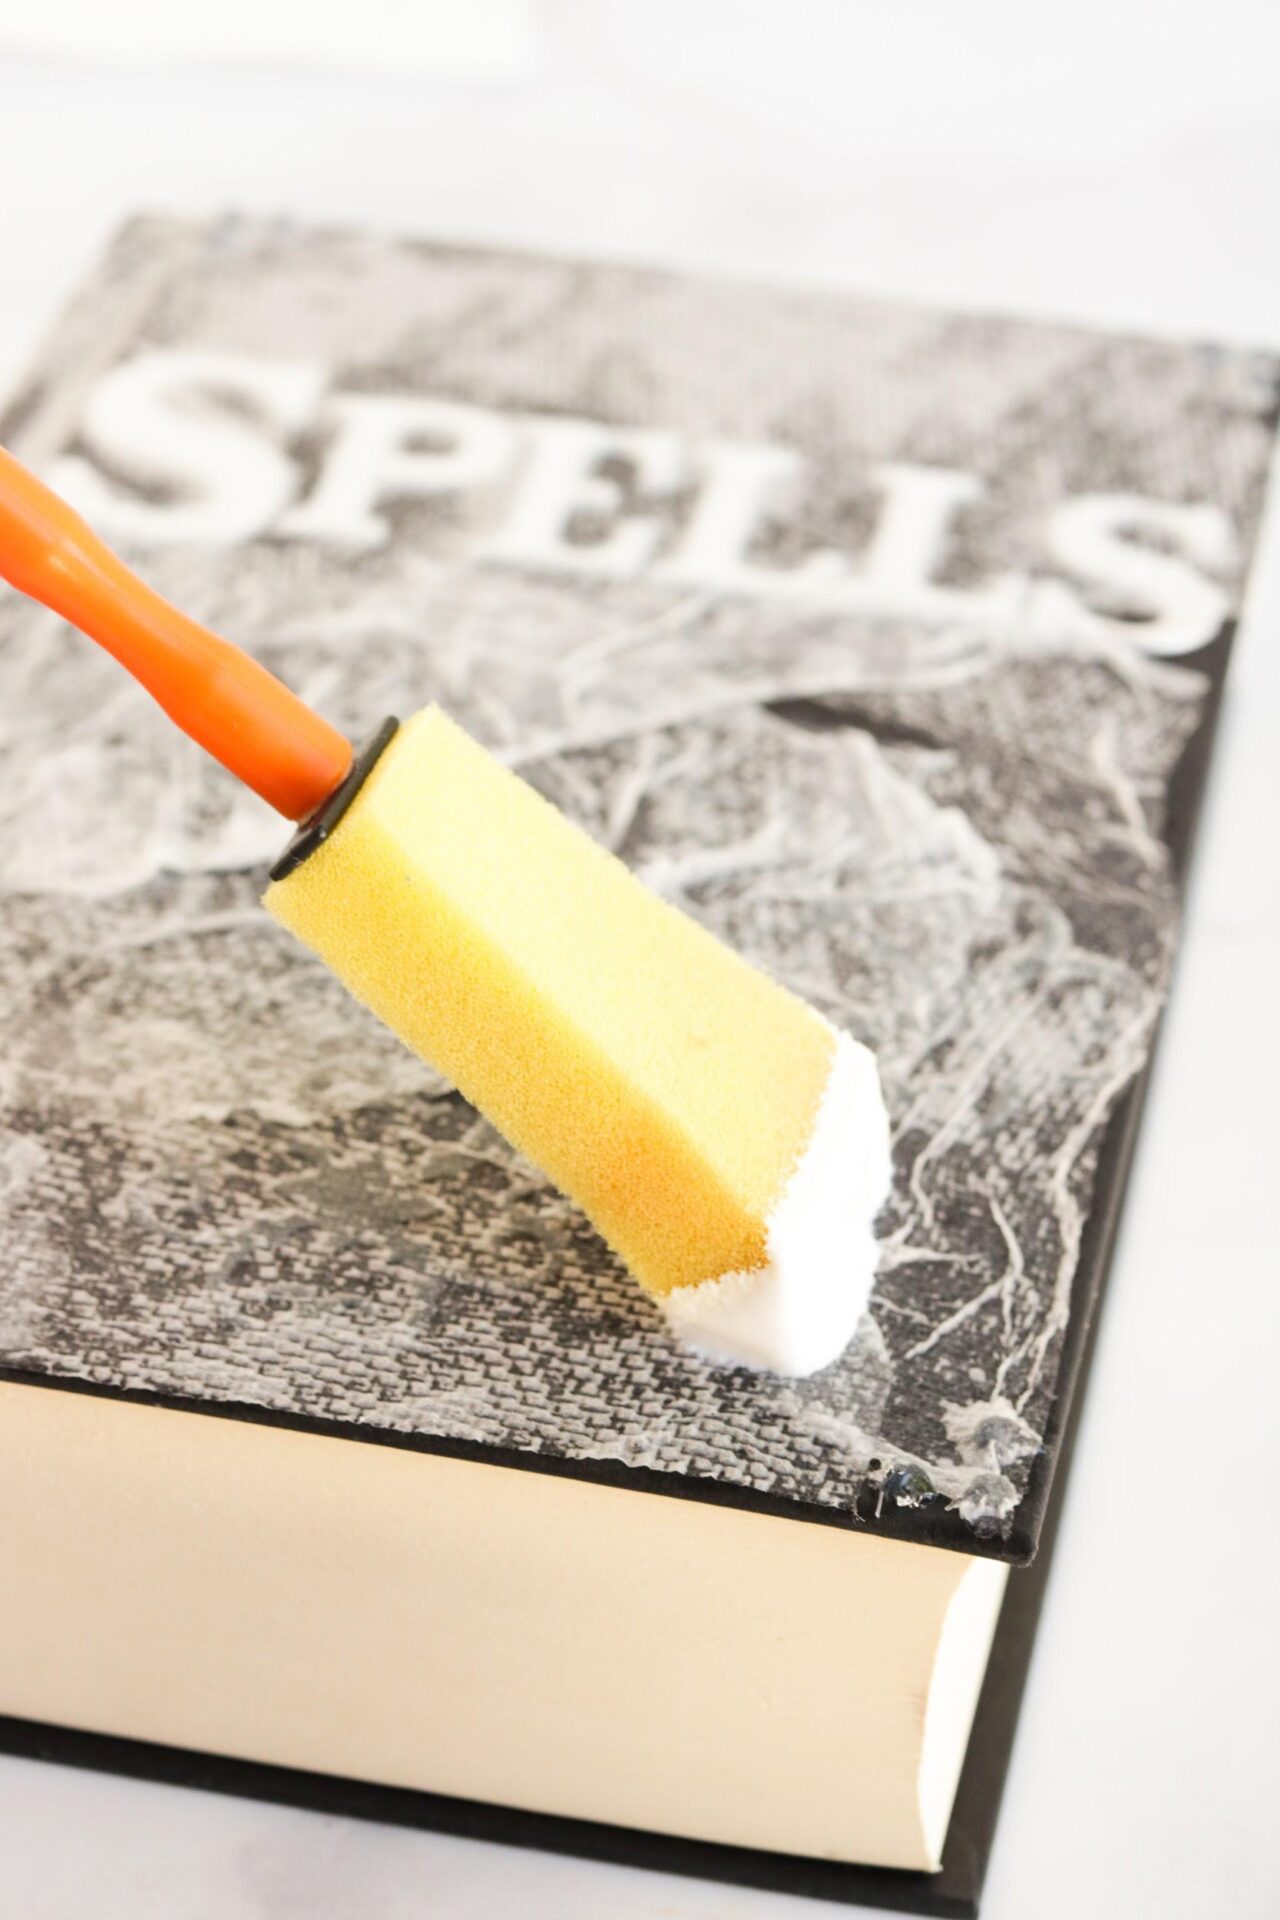
- Then, place the book open with the hardcover sides facing up.
- Apply a layer of mod podge on the book and begin applying the paper towel in small sections to the cover, back, and spine.
- You want to make small wrinkles and work the pieces around any lettering.
- Apply another layer of modge podge using a dabbing motion.
- Use the hairdryer for about 5 minutes to dry. If you don’t use a hairdryer, you will need to let everything sit overnight and it could take a few days.
- Use a sponge paintbrush to apply black paint to the entire cover, back, and spine of the book.
- Use the hairdryer again for about 5 minutes to dry the paint.
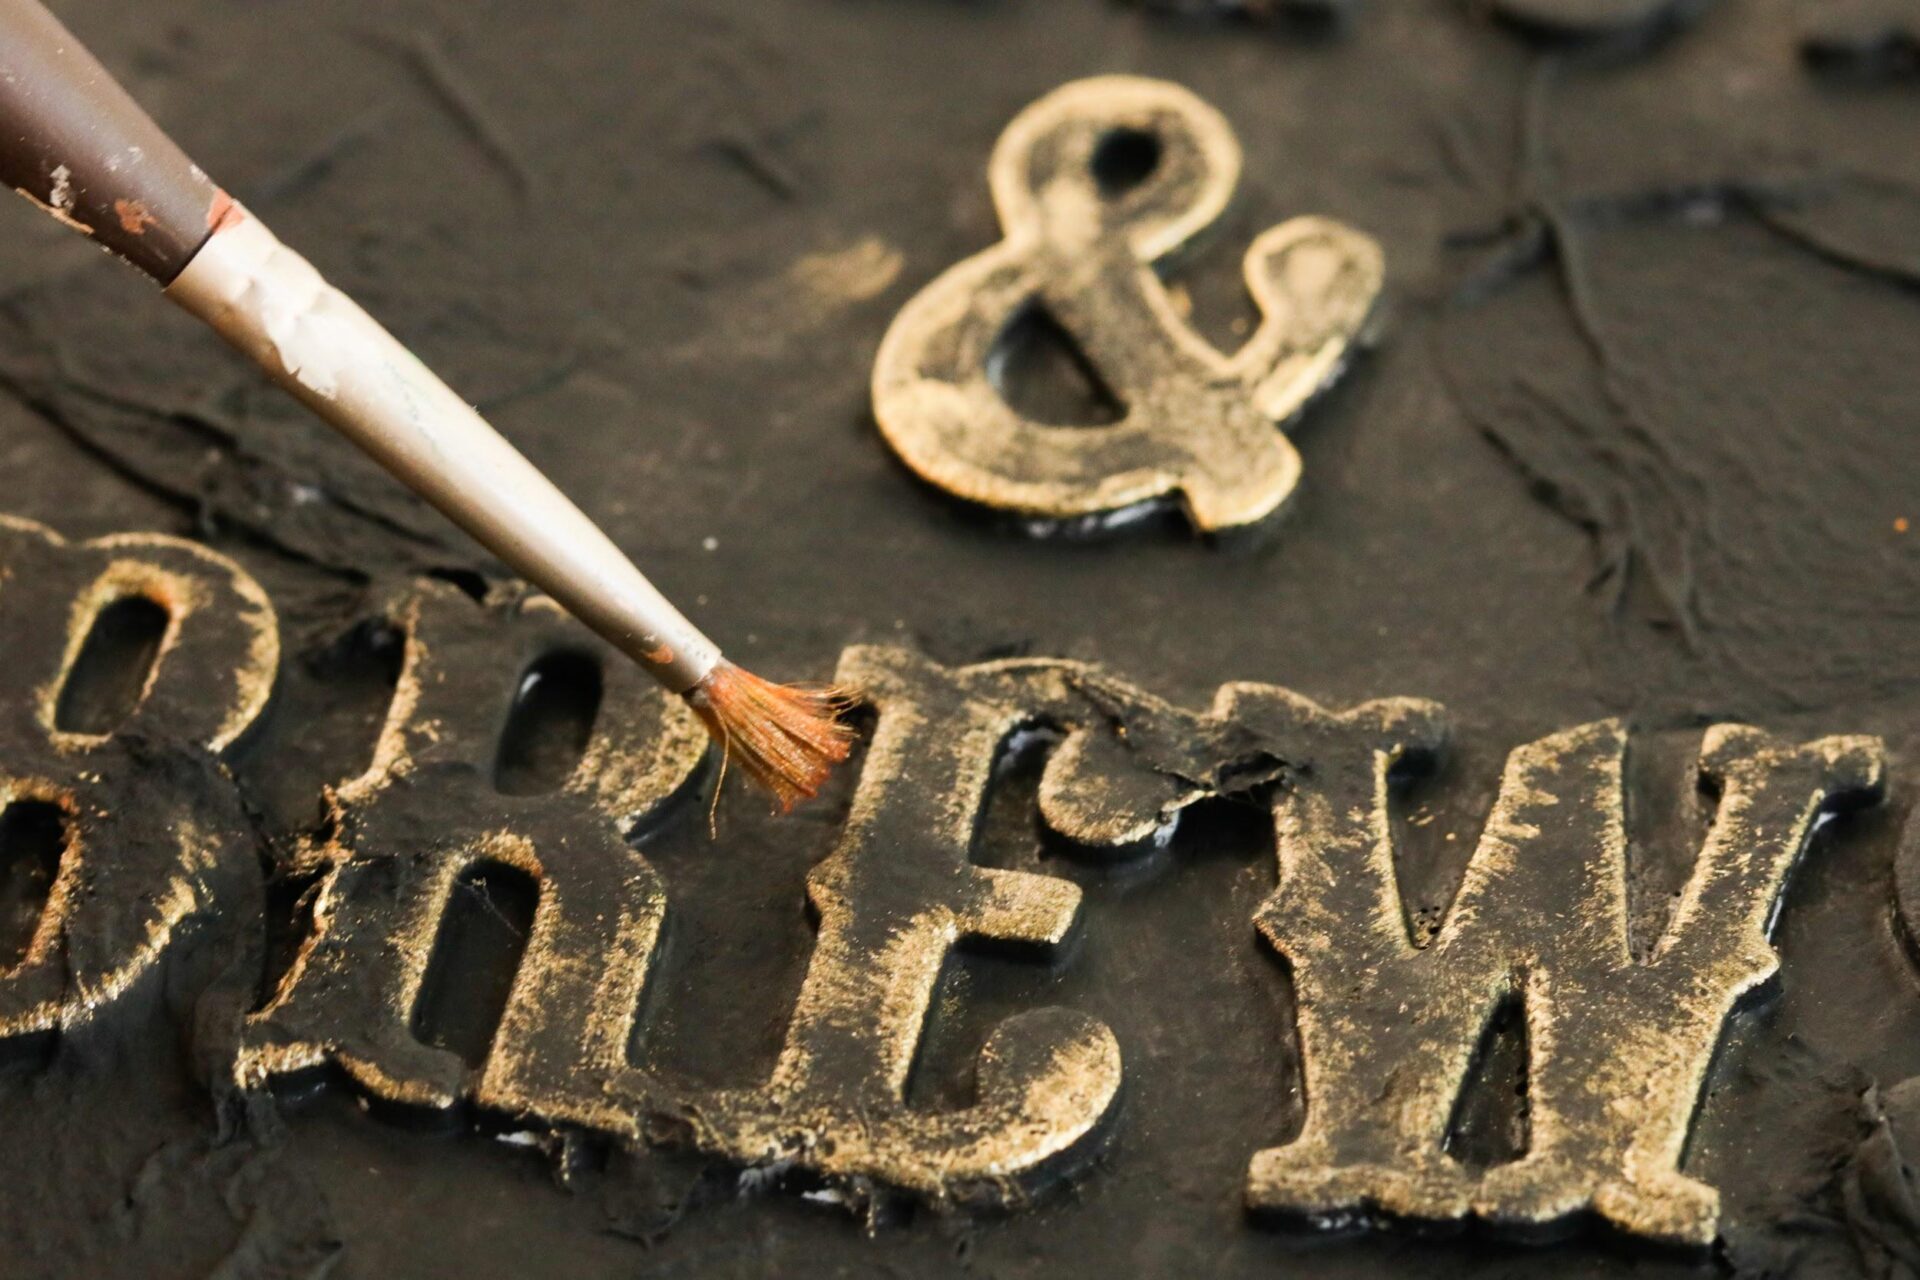
- Use the small bristle brush to apply metallic paint to the lettering and any embellishments that were applied. Try mixing golds and silvers for a really interesting look.
- Use the hairdryer again for about 5 minutes to dry the paint.
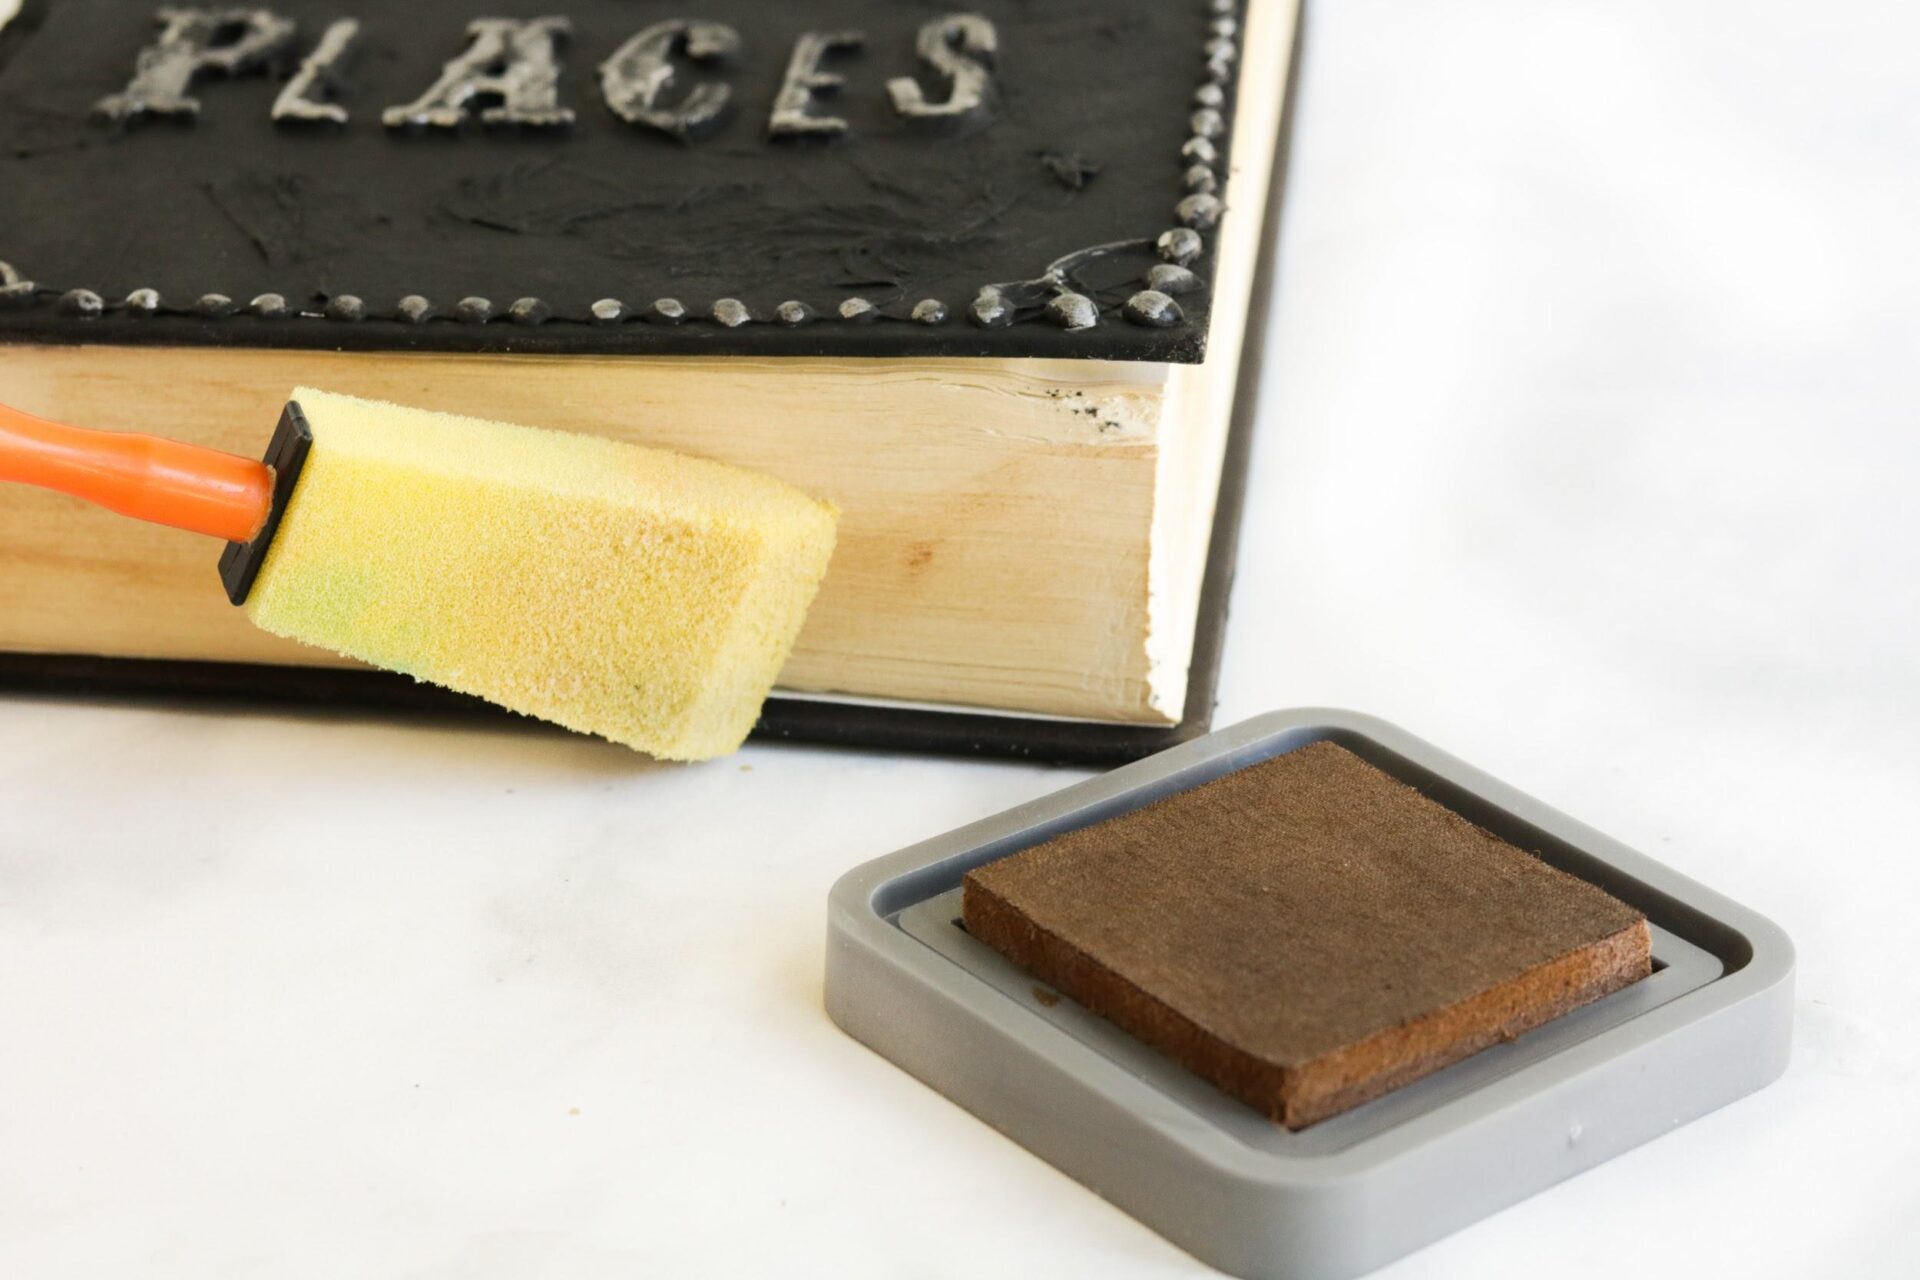
- Use the distressing ink to apply stain to the edges of the pages.
- Crumble and bend the pages without tearing them to create a worn-in look.
- Finish your craft by adding gems or wrapping in ribbon/suede.
- Pro-tip for making DIY Spell Books: I find a “dabbing” motion to be most helpful with this craft … for all the painting steps.
Love what you see? Leave a comment and don’t forget to rate it below! We always love knowing how your recipe turns out! Don’t forget to tag me on Instagram @micheletripple to show me your finished product!

Michele Tripple is a renowned author and expert in the fields of parenting, relationships, and personal development. With her degree in marriage and family studies, her experience as a Family Life Educator, and over a decade of experience as a professional writer, Michele has authored books that provide practical advice and insights into improving family dynamics and personal growth. Her work is celebrated for its blend of research-driven information and relatable, real-world applications. Michele has been a keynote speaker at conferences and has contributed to numerous publications and media outlets, solidifying her reputation as an authoritative voice in her field and helping families build relationships.

Love how my spell book turned out for my sons harry potter themed birthdayparty!! Thank you! I wish I could send you a picture ❤
So glad! You can always tag me on Instagram! @micheletripple
Love this! Where did you find the letters??
Hobby Lobby!
I just finished one and it’s so cool!! Thank you ♥️
Love it, making one for our Halloween party…Thank you
Awesome. I am sure it will turn out awesome!
Thank you so much for this idea and instructions we are going to try to make them this weekend
Yay! Let me know how yours turns out!